◷ Reading Time: 6 minutes
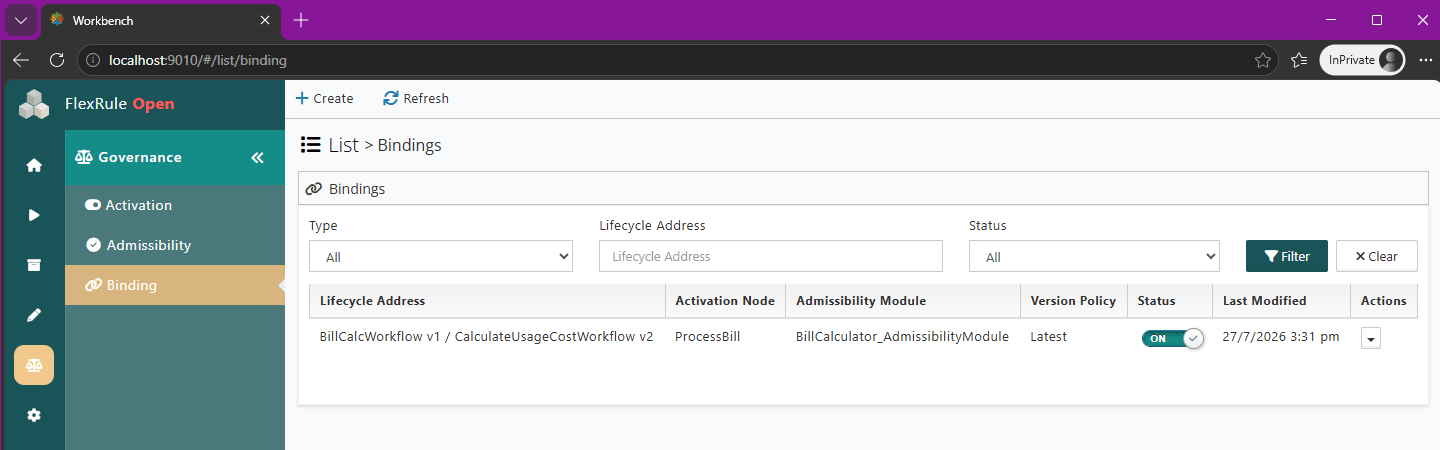
After a module has been successfully registered as an Admissibility Module, it can be used to create an Admissibility Binding by navigating to the Governance > Bindings page.
Bindings are the relationships between the Activation Nodes of Workflows or CDM models and a registered Admissibility Module.
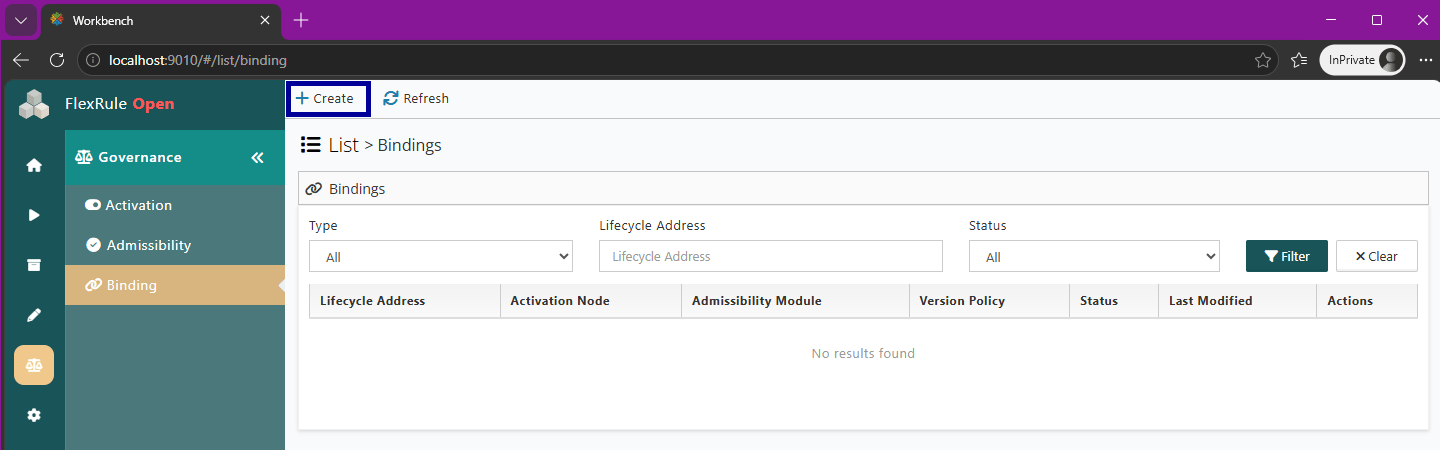
Create an Admissibility Binding
To create an Admissibility Binding, there must be a deployed and active Workflow or CDM module containing at least one Task or Stage to target. A registered Admissibility Module will be selected to be the Enforcement Point invoked before the targeted node is executed.
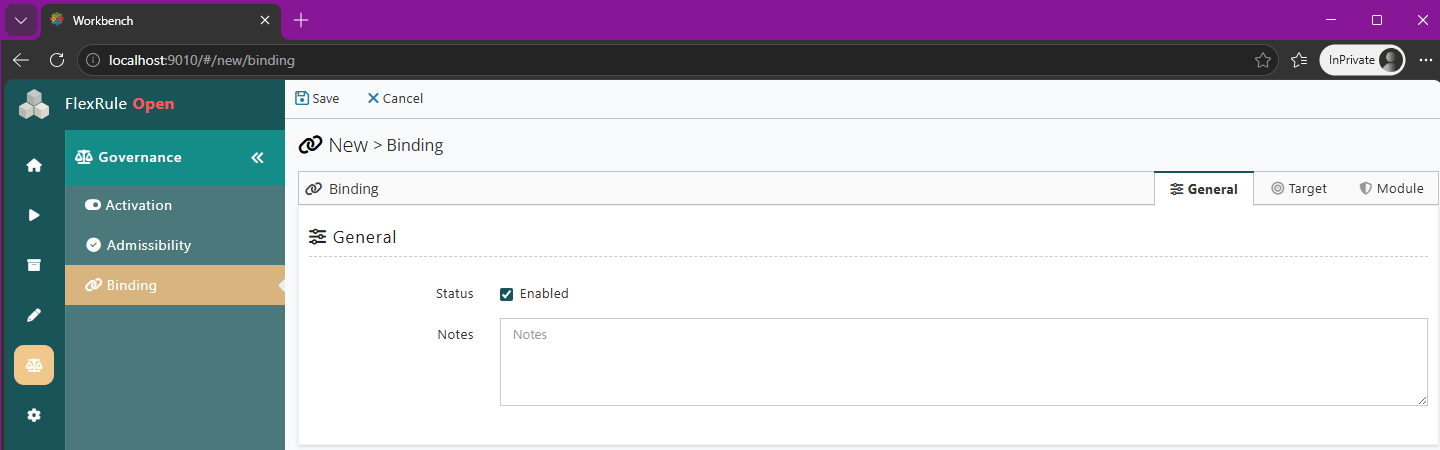
General Tab
In the General tab of a Binding, users can tick or untick the Enabled status for a Binding on creation. There is also a section to add notes about the Binding.
Target Tab
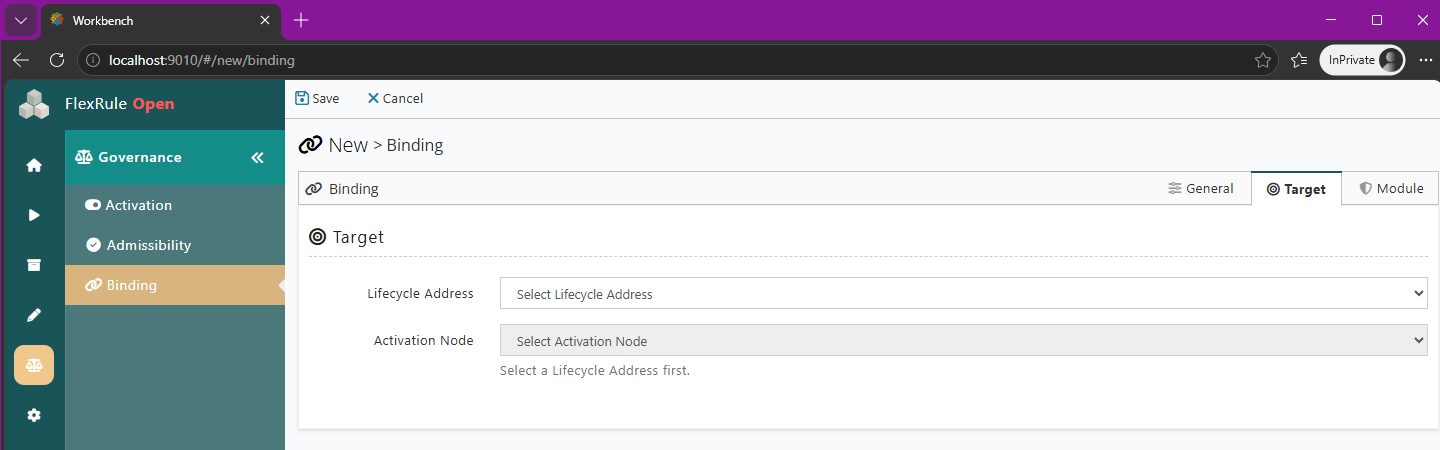
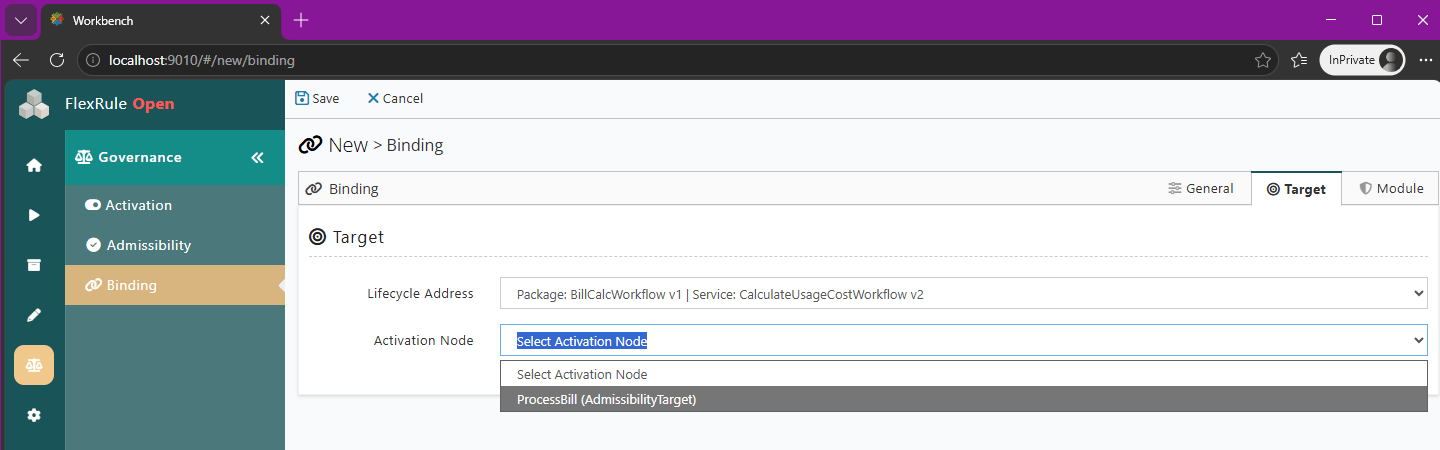
In the Target tab, the desired Lifecycle Activation is selected. We do this using two selectors. First, select the Lifecycle to populate the next section with any Activation Nodes it contains. Next, select the node targeted for this Binding.
Module Tab
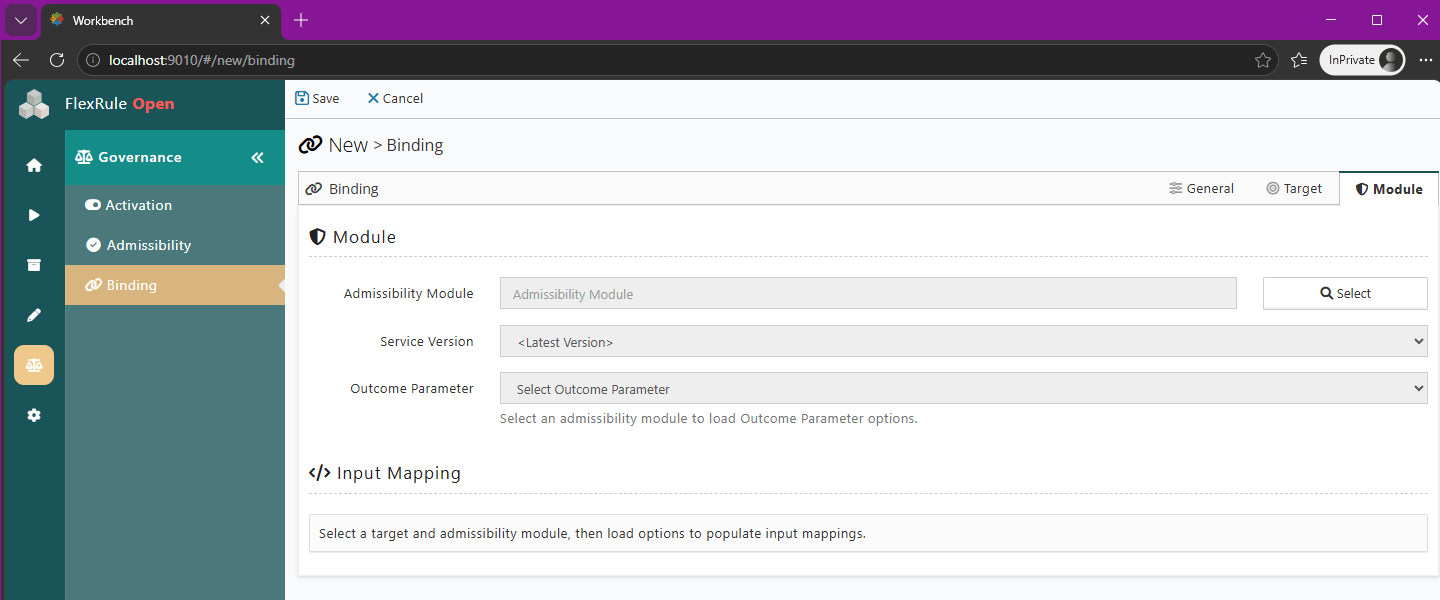
The Modules tab of a Binding is where module settings are configured by selecting the Admissibility Module, the service version to invoke, the module parameter that carries the Admissibility Outcome, and, lastly, the input values to enter into the Admissibility Module.
Admissibility Module
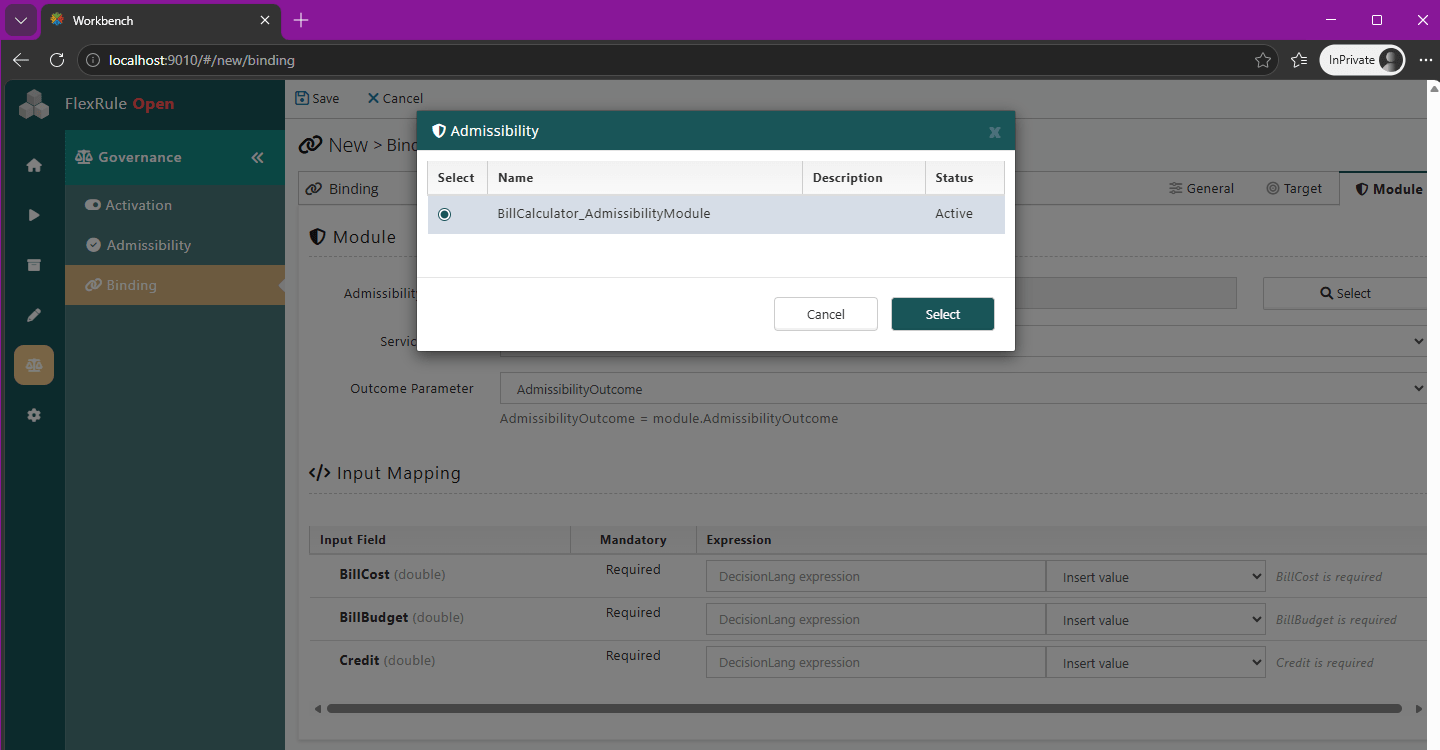
This field selects the Admissibility Module that must be enforced on the targeted Lifecycle. Only successfully registered Admissibility Modules will be listed and available for selection.
Service Version
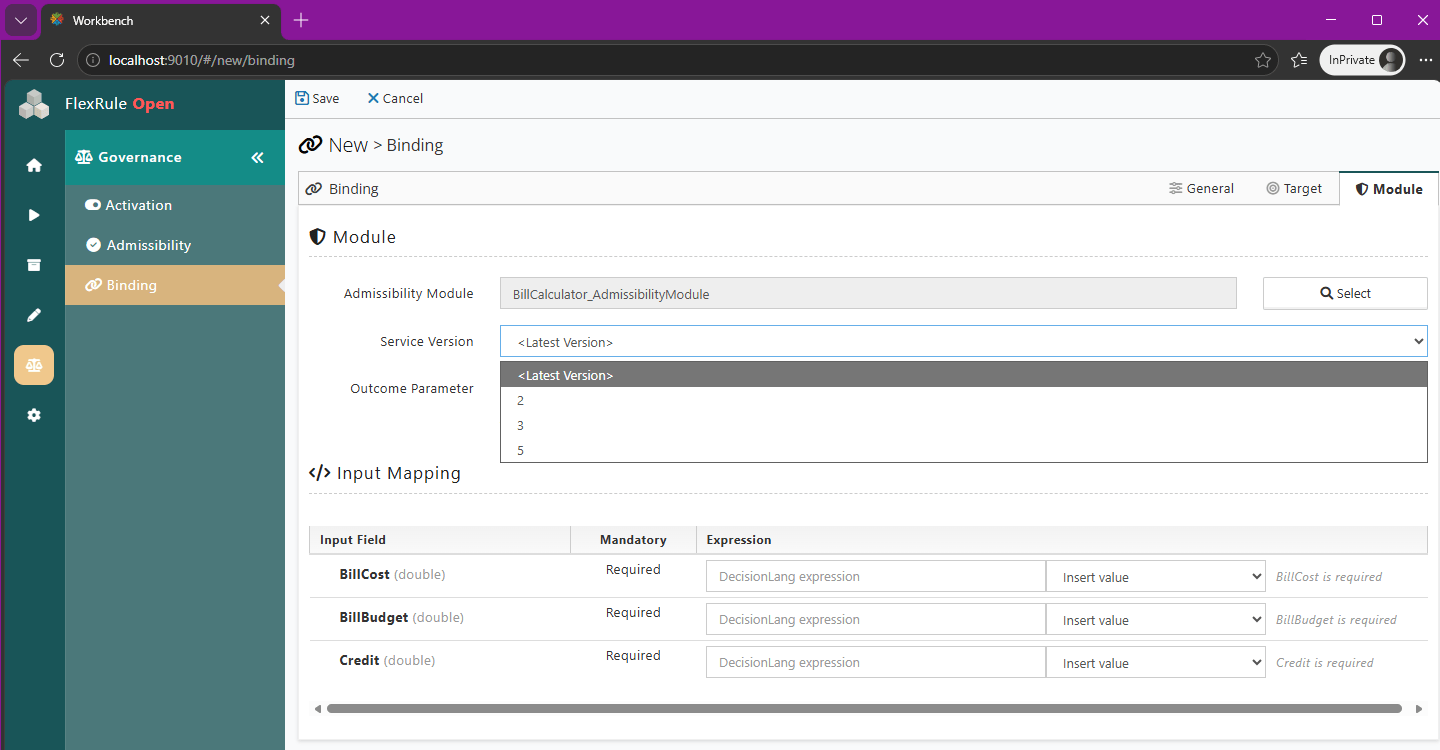
Next is the service version of an Admissibility Module. If the module has multiple versions under the same package, a specific version can be selected for the admissibility process, or the version can be set to always use the service version with the highest number.
Outcome Parameter
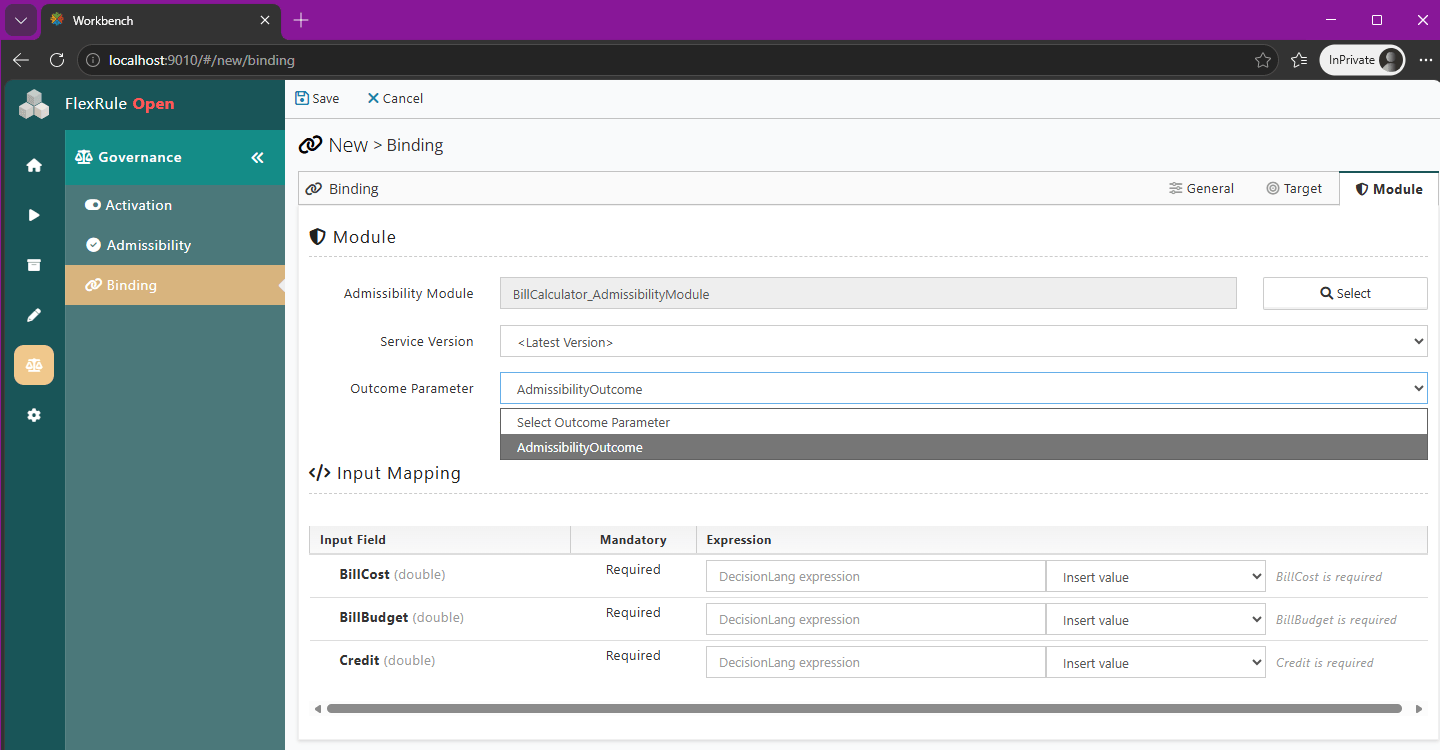
A decision module can have multiple outcomes; this required field is the parameter that outputs the Allow/Defer/Halt string values as the Admissibility Outcome parameter. Failing to give a valid response will result in the Lifecycle being terminated.
Input Mapping
This section sets the inputs for the Admissibility Modules. It is possible to use literal values or expressions as inputs.
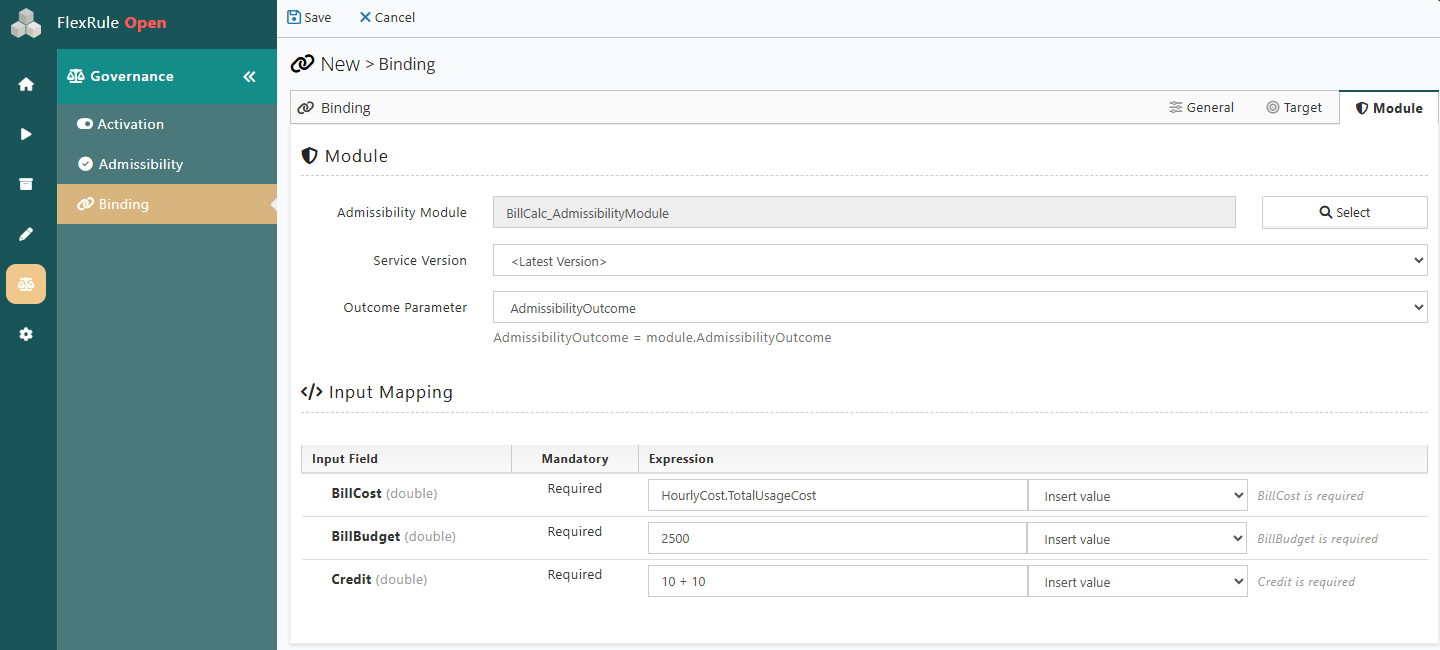
The expressions that can be input can include model-defined parameters, values from actor details, values from CDM signal details, or general expressions.
An example of a model-defined parameter is the one used for the BillCost input in the image above. HourlyCost.TotalUsageCost is a member of a parameter defined in the Bill Cost Calculator sample project that has been converted into a Workflow.
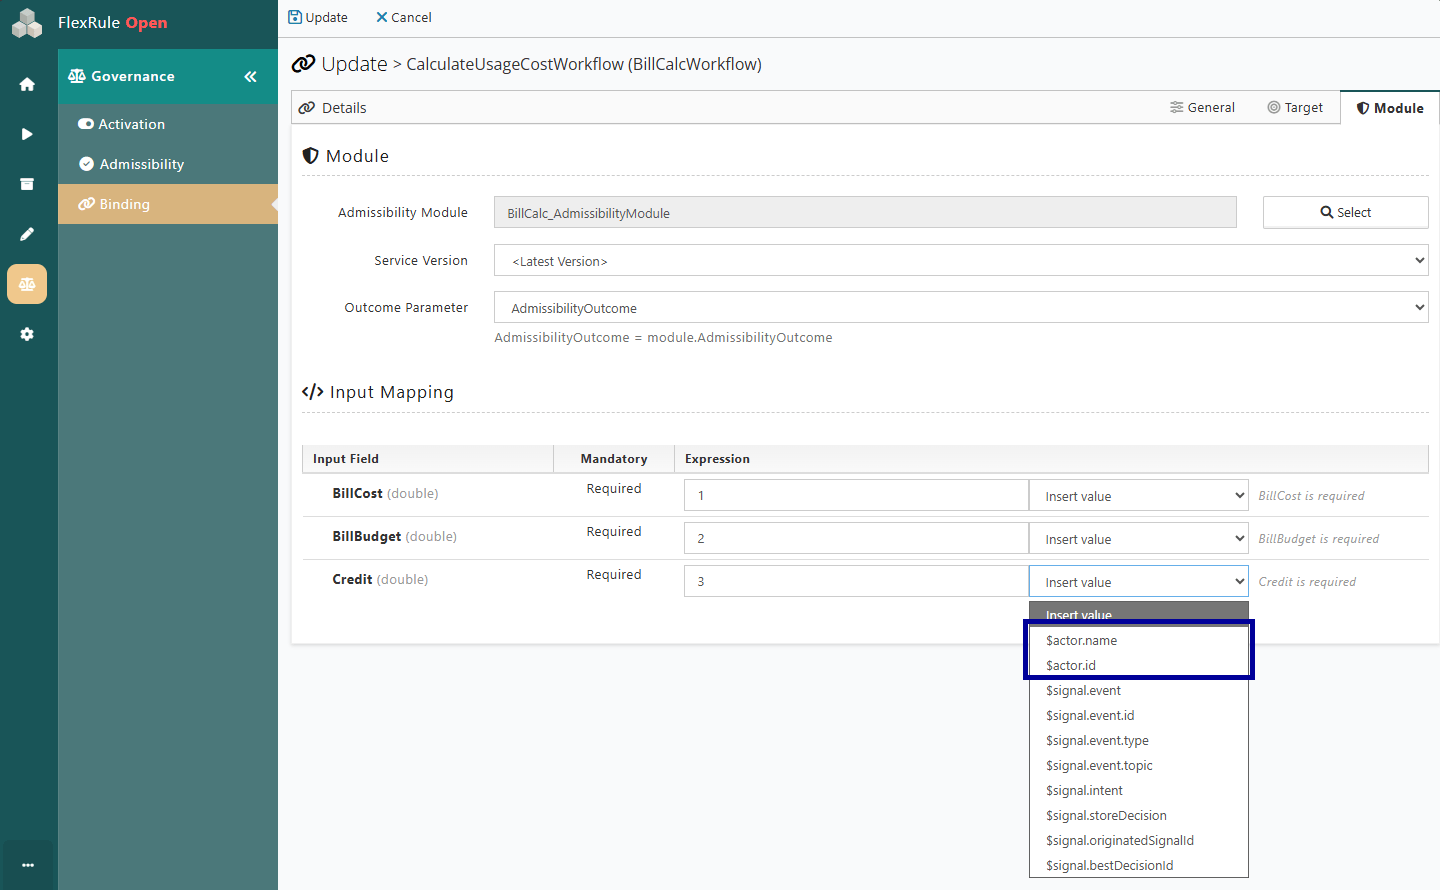
Actor details will include the name and id of the account attempting to resume/activate a Lifecycle. It will be evaluated before the Admissibility Module if $actor.name / $actor.id is included in the input expression.
Signal details are the details saved when a CDM Lifecycle is activated. The following is an example of the structure of the data that a Signal may include:
{
  "Feedback": null,
  "Id": null,
  "Intent": null,
  "Kind": 1,
  "Event": { "Id": "App1-13", "Topic": null, "Type": null },
  "Payload": null,
  "Category": null,
  "Title": "Event of Calculating Delivery Cost",
  "NodeName": null,
  "Outcome": null
}
These values can be called using expressions similar to the actor details seen in the image below:
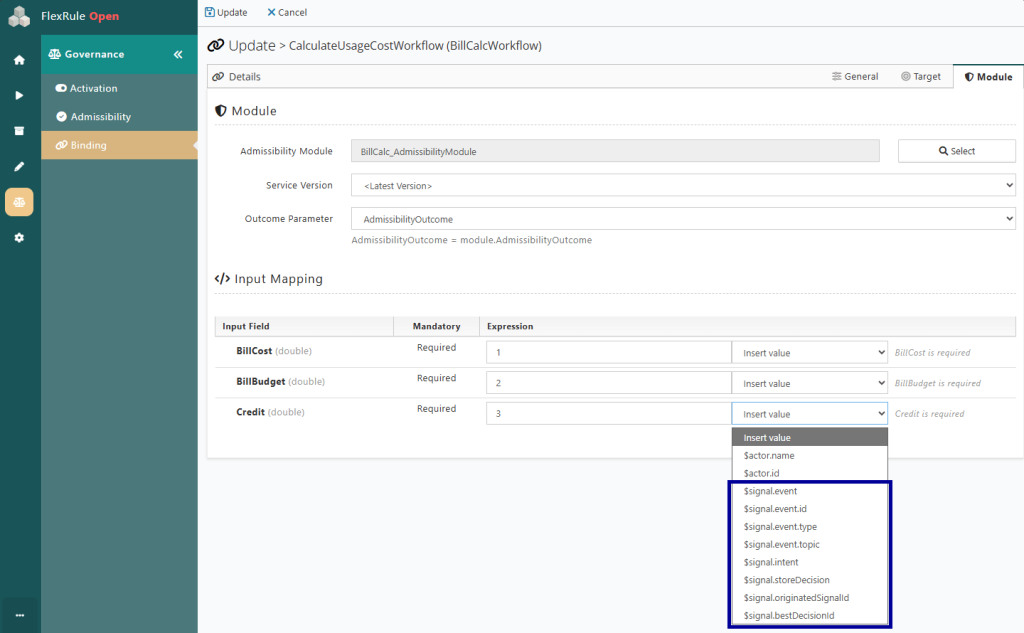
General expressions, such as 2 + 2 - 1 or the expression used for the Credit input will be evaluated before the Admissibility Module is executed.
It is also possible to use an If-Else expression (if <condition> then "OutcomeA" else "OutcomeB") as an input.
Binding Rules
Admissibility Modules can be reused across numerous Bindings, but an Activation Node can have only one Binding.
If the parameter carrying the Admissibility Outcome from the Admissibility Module is not either Allow/Defer/Halt, then the outcome will be treated as a Halt outcome.
Updating an Existing Binding
To update the details of an existing Binding, click on the Details button from the action list of the desired Binding.
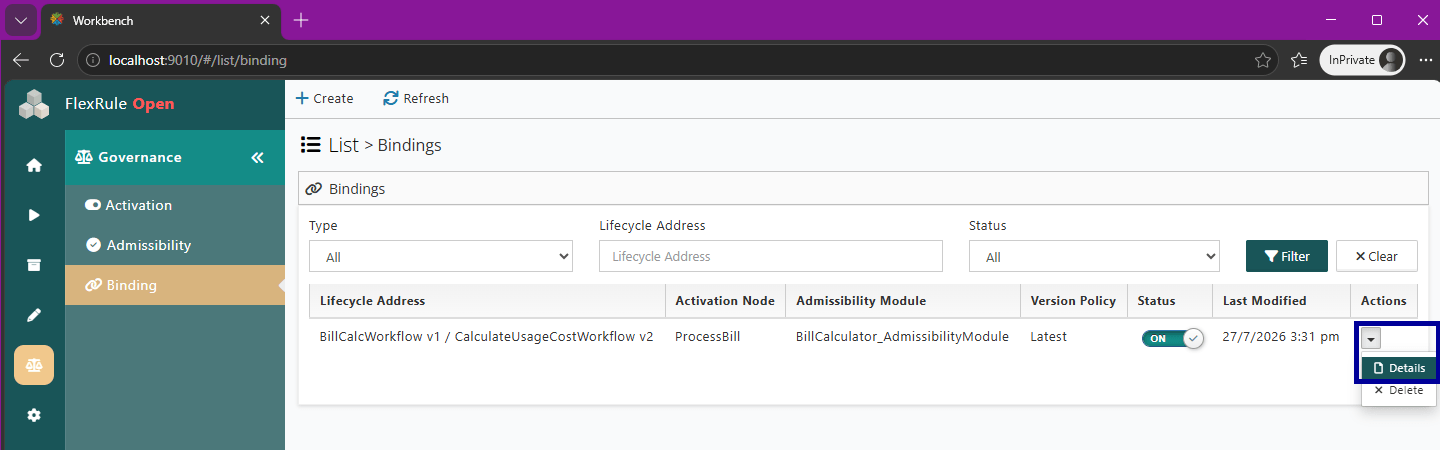
All of the fields and tabs when a Binding is created will also appear when updating existing Binding details.
Deleting a Binding
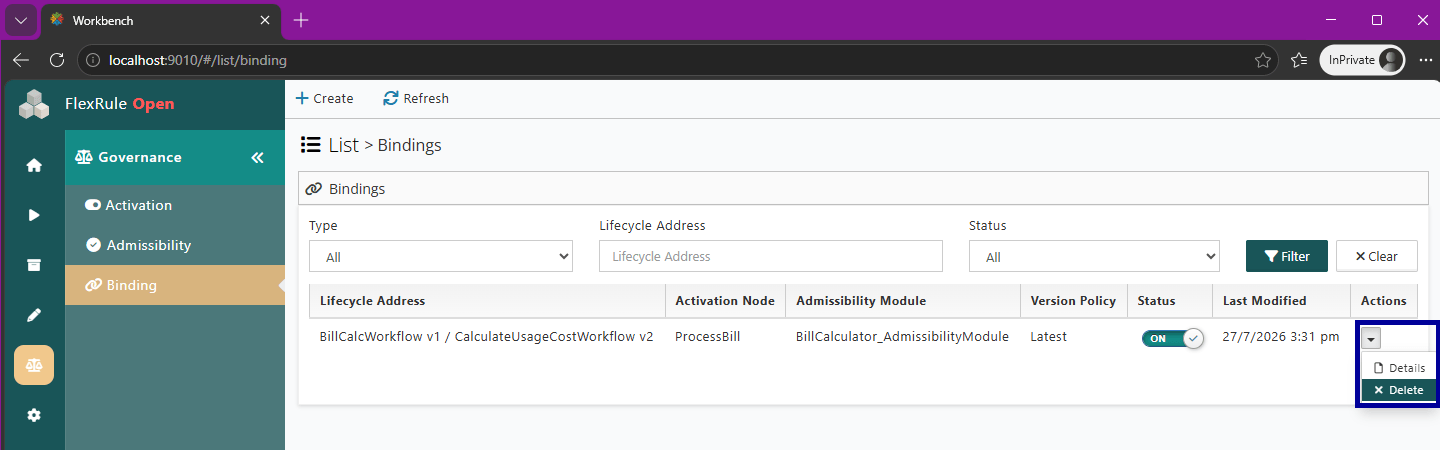
Permanently removing an existing Binding is a straight-forward process; click on the actions list of the Binding and select Delete.
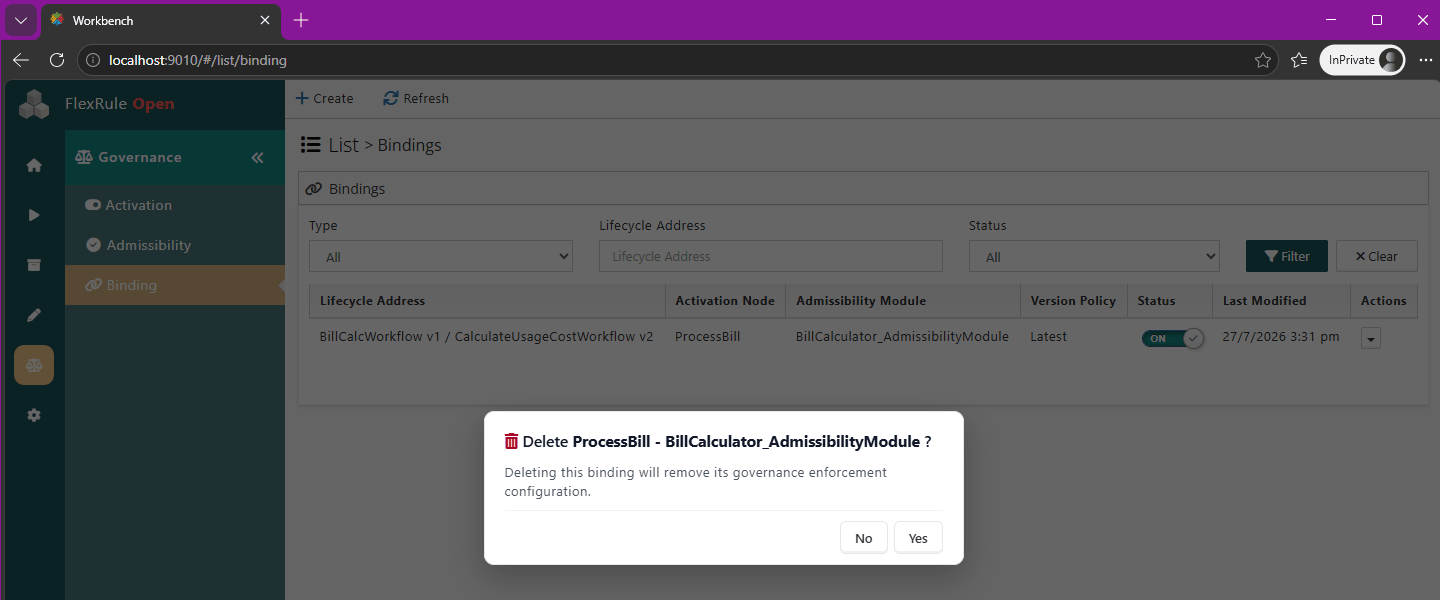
This is the last chance to cancel the Deletion of a Binding, otherwise to finish deleting, click Yes.
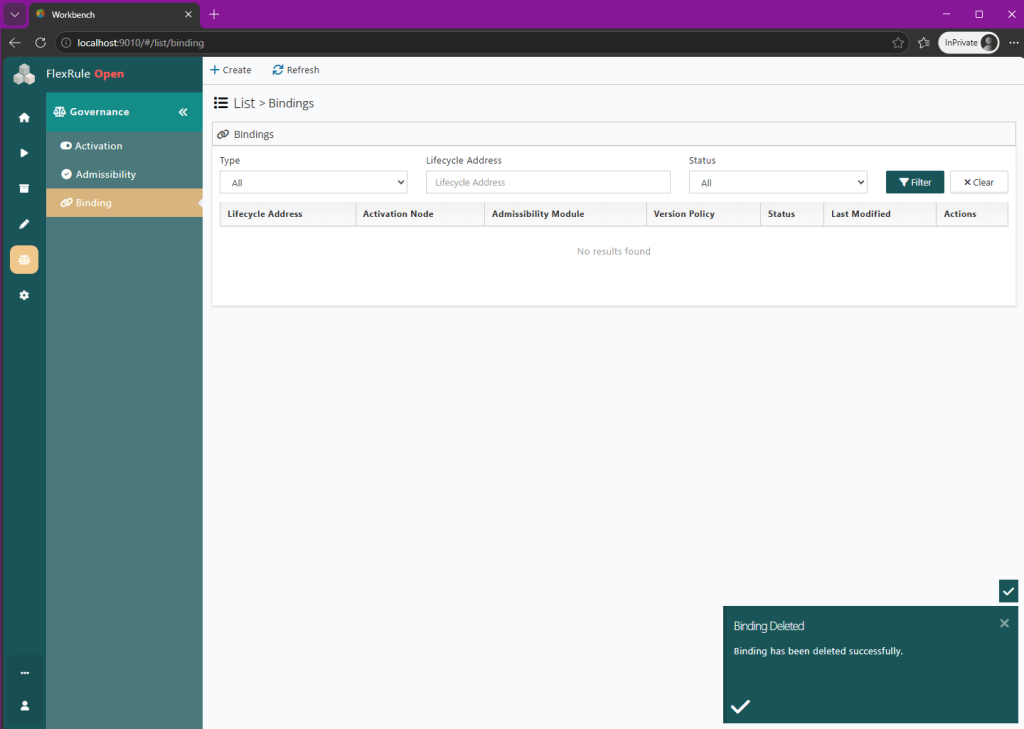
A successful Binding deletion notification will appear if the Binding was deleted successfully.