◷ Reading Time: 5 minutes
Admissibility Modules are standard FlexRule decision modules that are registered on the Governance > Admissibility page. Successfully registered modules will be used to govern or set the conditions under which a Lifecycle may be resumed/activated.
Requirements
The only two conditions that are imposed on an otherwise regular decision module are:
- Admissibility Modules must have one of the following entry logic documents: DRD, DT, ActivityFlow, or NL.
- It must produce an Admissibility Outcome as an output; only
Allow/Defer/Haltstrings are valid Admissibility Outcomes. Any other outputs will be treated as aHalt.
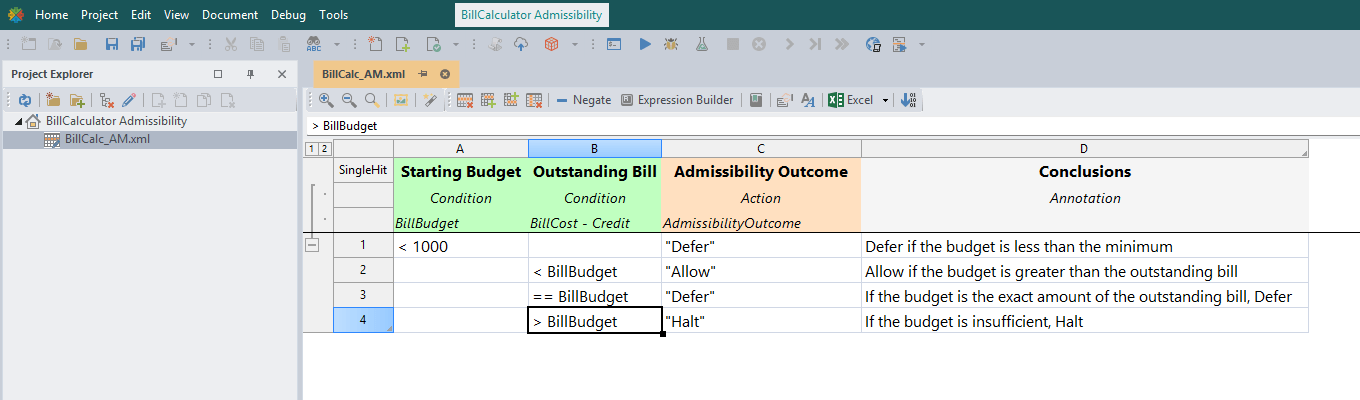
The image above is an example of a Decision Table that outputs a valid Admissibility Outcome and could therefore be used as an Admissibility Module.
Registering an Admissibility Module
If a decision module has been deployed, active, and meets the two conditions above, it can be registered as an Admissibility Module and used to govern Lifecycles.
Create a Module fulfilling the requirements
First, a decision module must meet the two requirements mentioned above. If the module is missing one of the requirements, it will fail either during registration or in the step after, when creating Bindings.
The decision table shown in the image above is an example of a module that can be registered successfully.
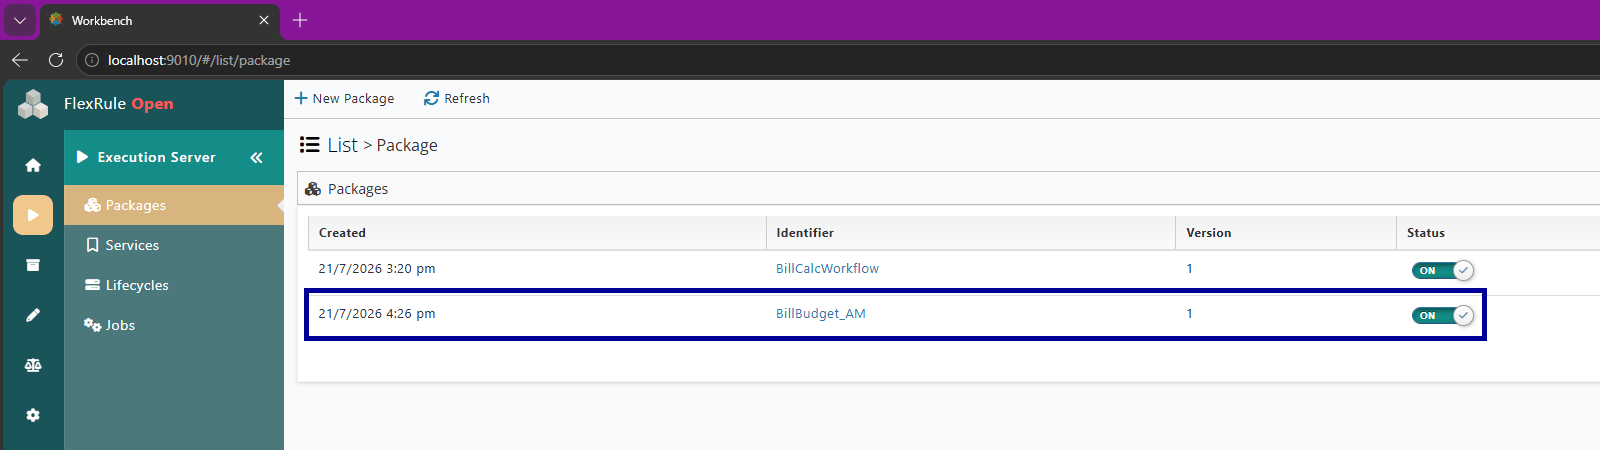
Deploy and Set Active
The created module needs to be deployed and given an active status to start the registration.
Register
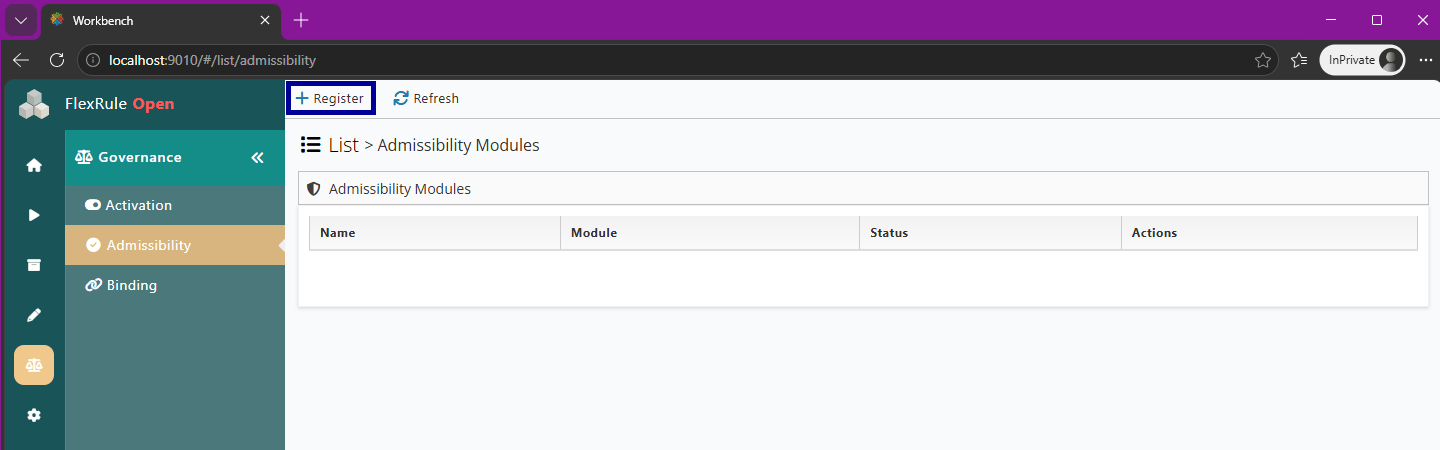
Navigate to the Governance > Admissibilities page. This page lists all registered modules and shows their active status.
To register a new module, click on the Register button in the top-left of the page.
There are four fields on this page:
- Name: the name of the admissibility module; this is a required field.
- Module: the module being registered for admissibility; this is a required field.
- Status: the status of the admissibility module upon creation; it defaults to an active state. This is a required field.
- Notes: Use to give any notes about the module being registered.
Give the Admissibility Module a name.
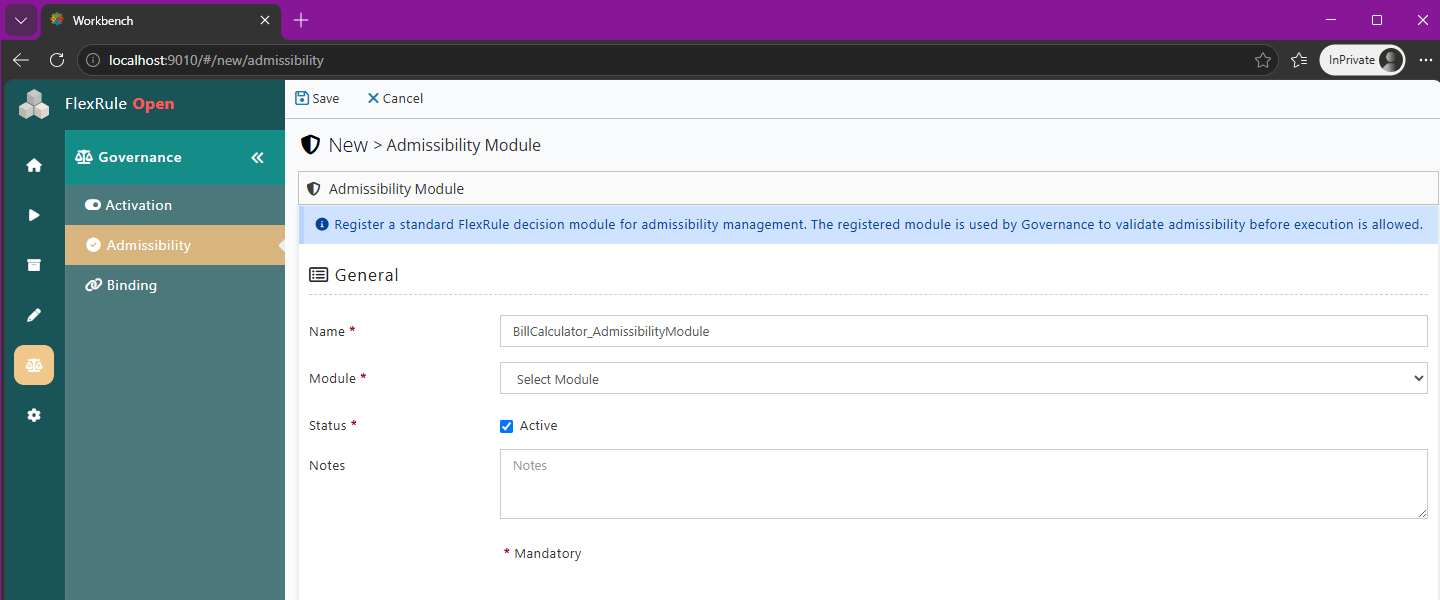
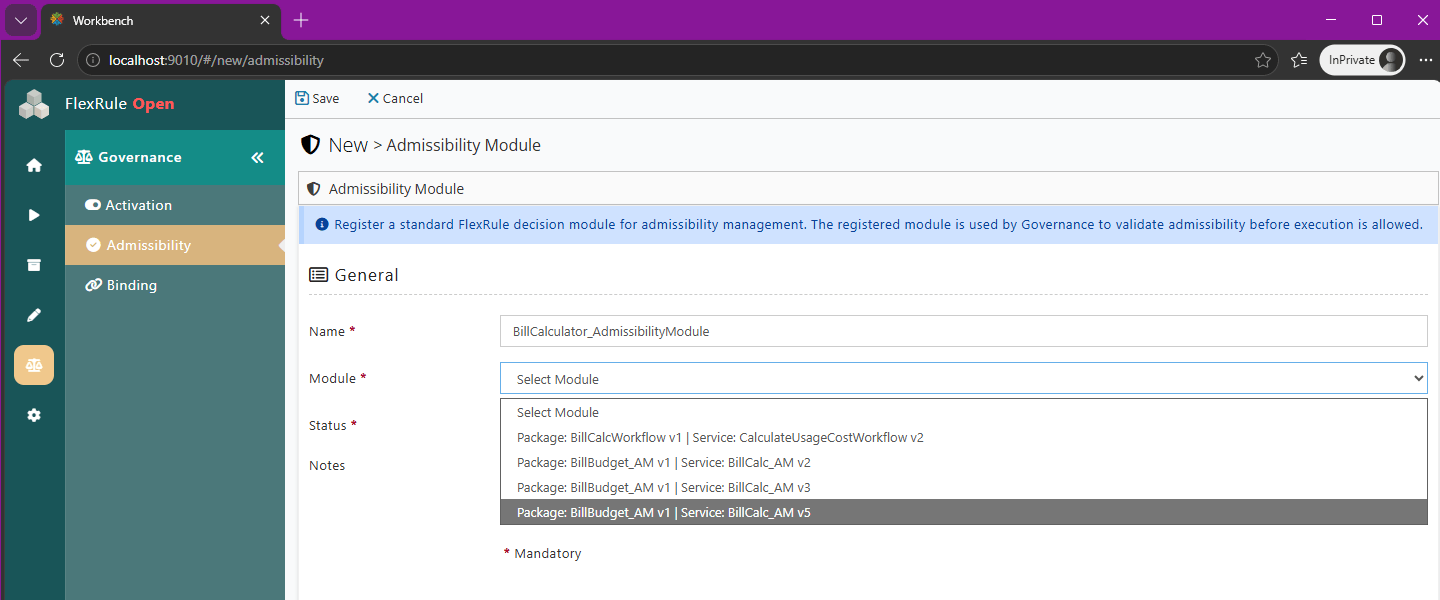
Select the desired module, and click Save in the top-left.
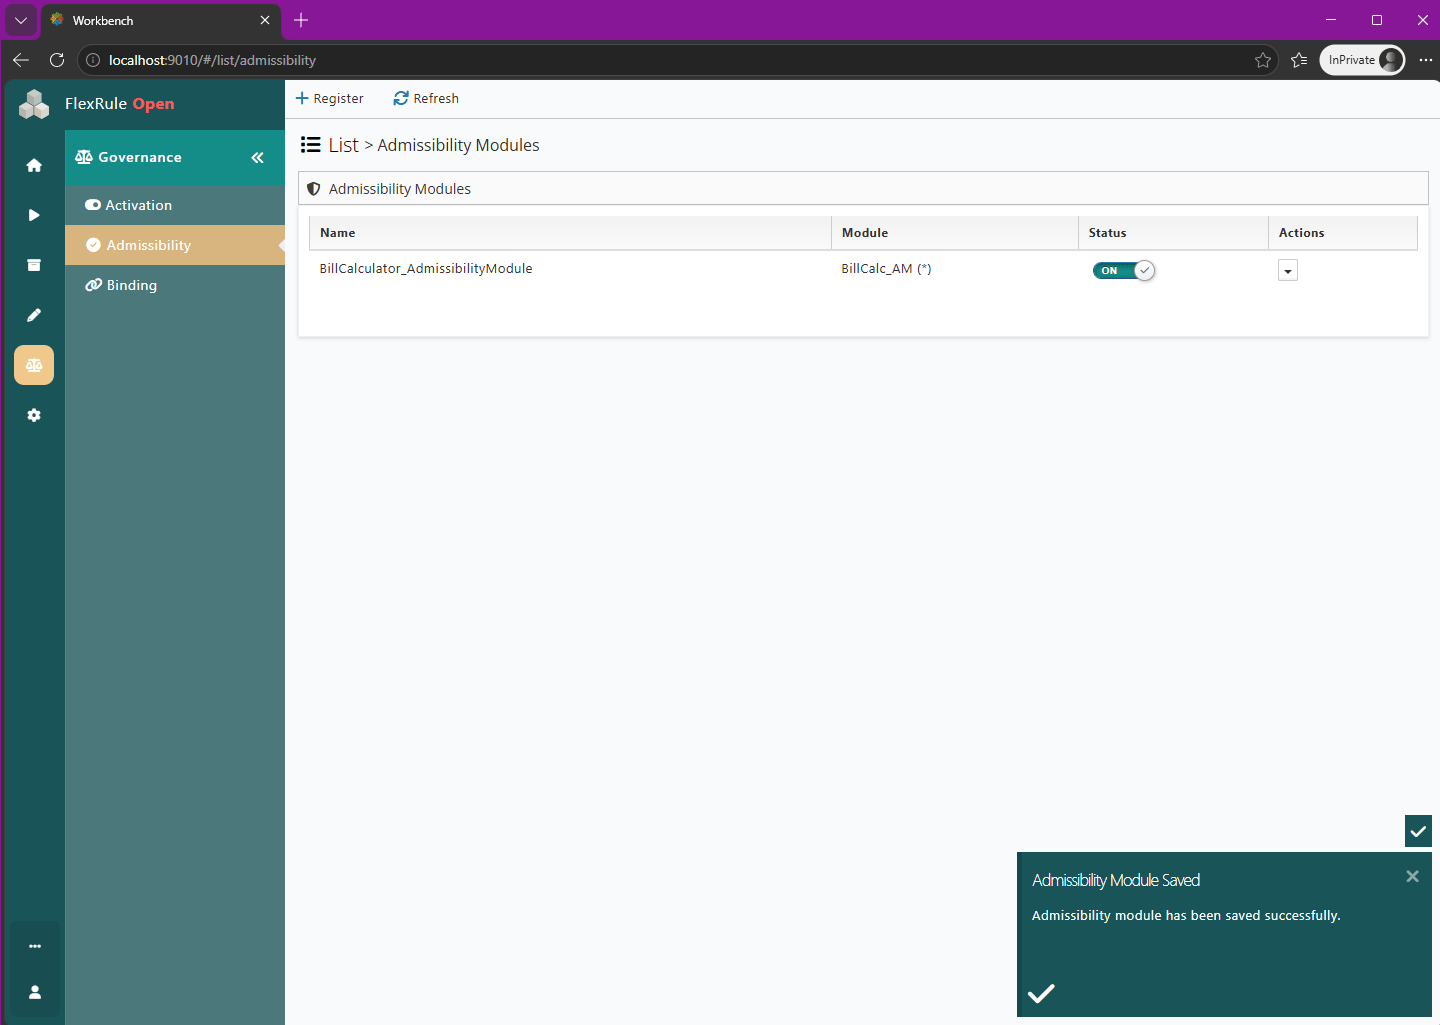
If the module is registered successfully, the following notification will appear, and the admissibility module will be listed.
Note that the service version used for admissibility is not selected in this step, but in the next step of Governance, when Bindings are created, the service version will default to the Latest.
Updating an Existing Module
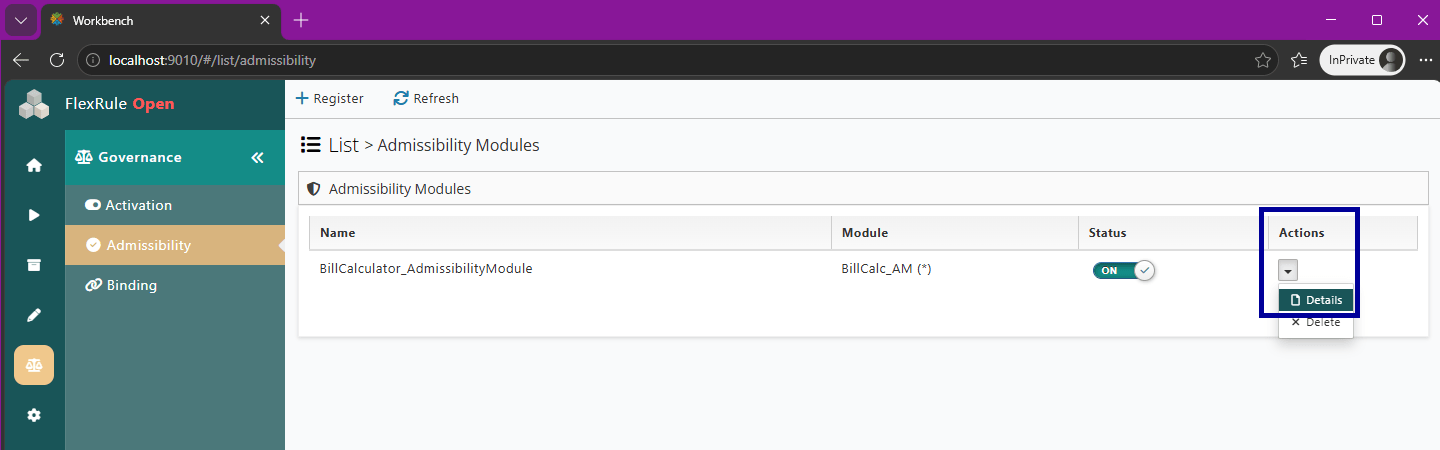
To access or update the details of an existing Admissibility Module, click on the Details button under the actions list of the module.
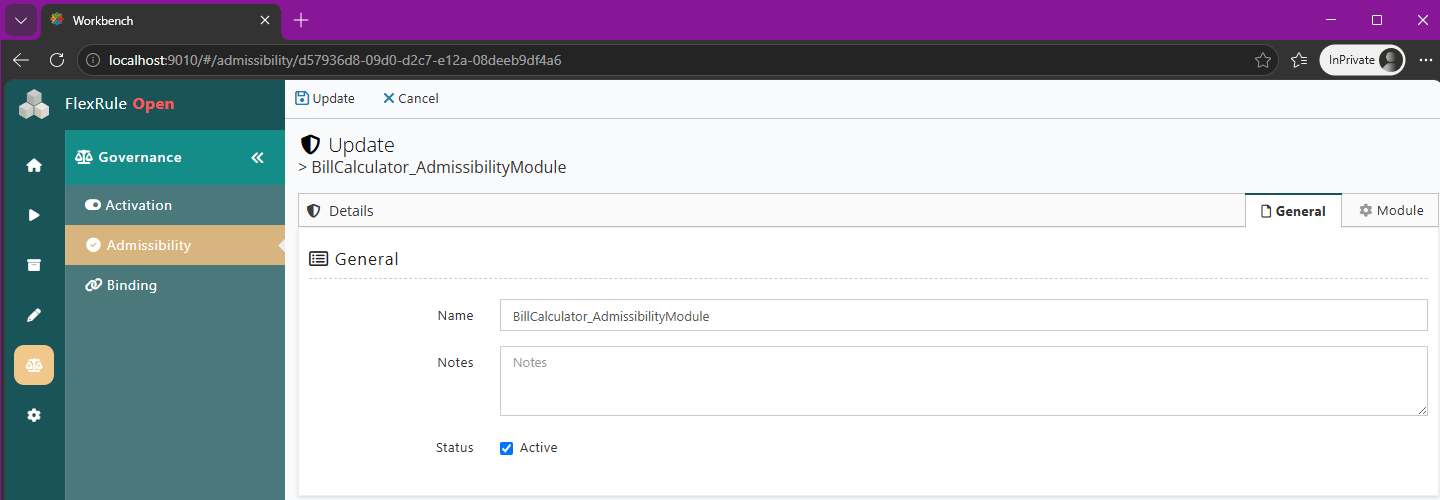
General Tab
The General Tab is where the Admissibility Module can be renamed. This tab is also where notes can be added/removed, and where the module status can be toggled.
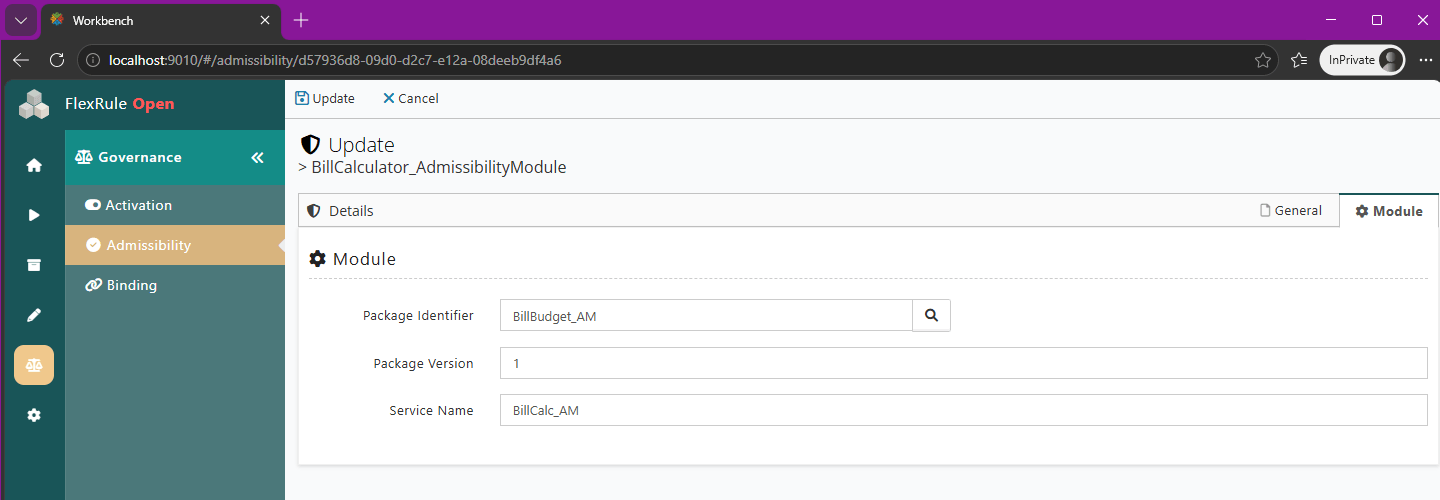
Module Tab
Under the Modules tab, the module can be changed by selecting a different package, package version, or service. The new module must also meet the requirements to successfully update the admissibility module.
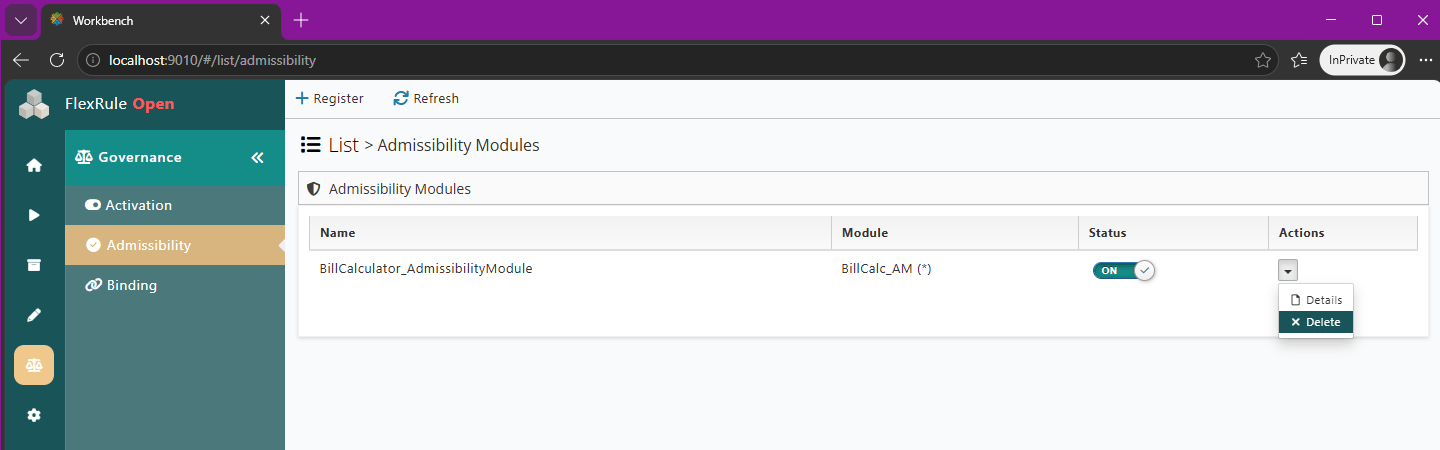
Delete an Admissibility Module
To delete an admissibility module, click the Delete button from the actions list of the module.
It is possible to cancel the deletion at this point. Ensure the selected module is correct because there is no way to undo this deletion once it is confirmed.
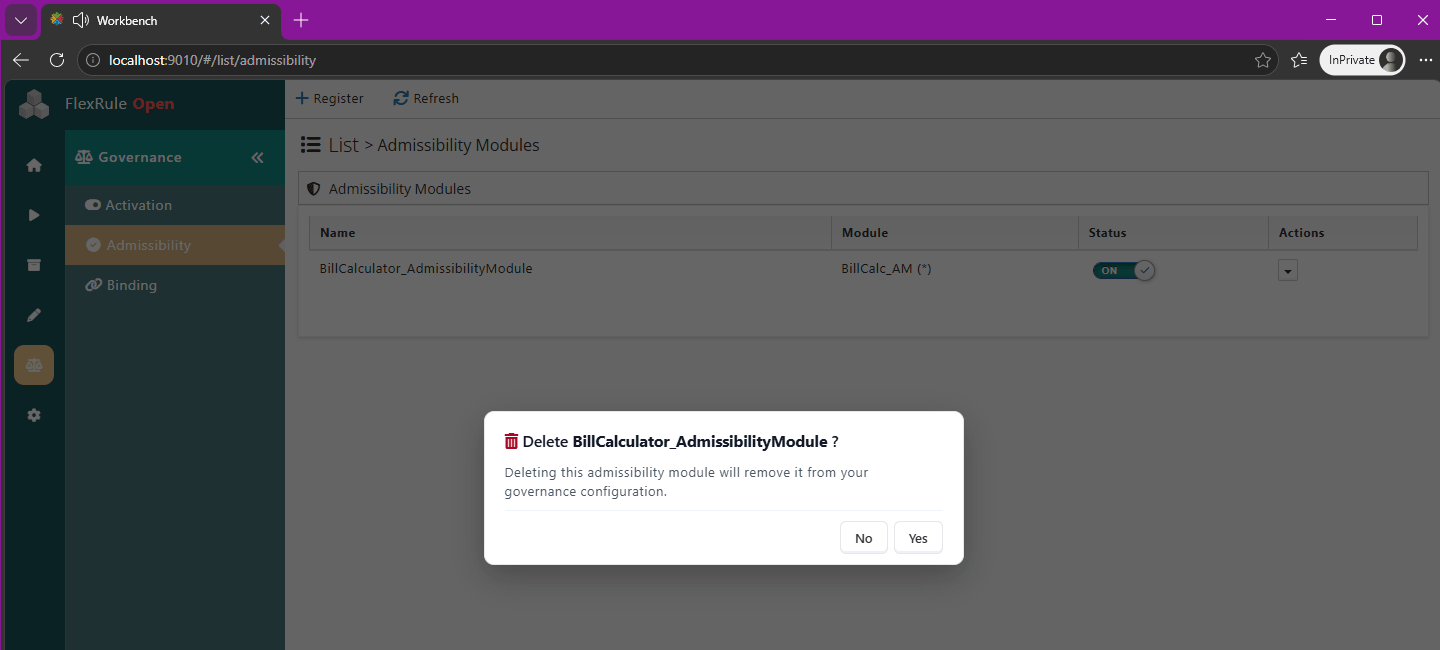
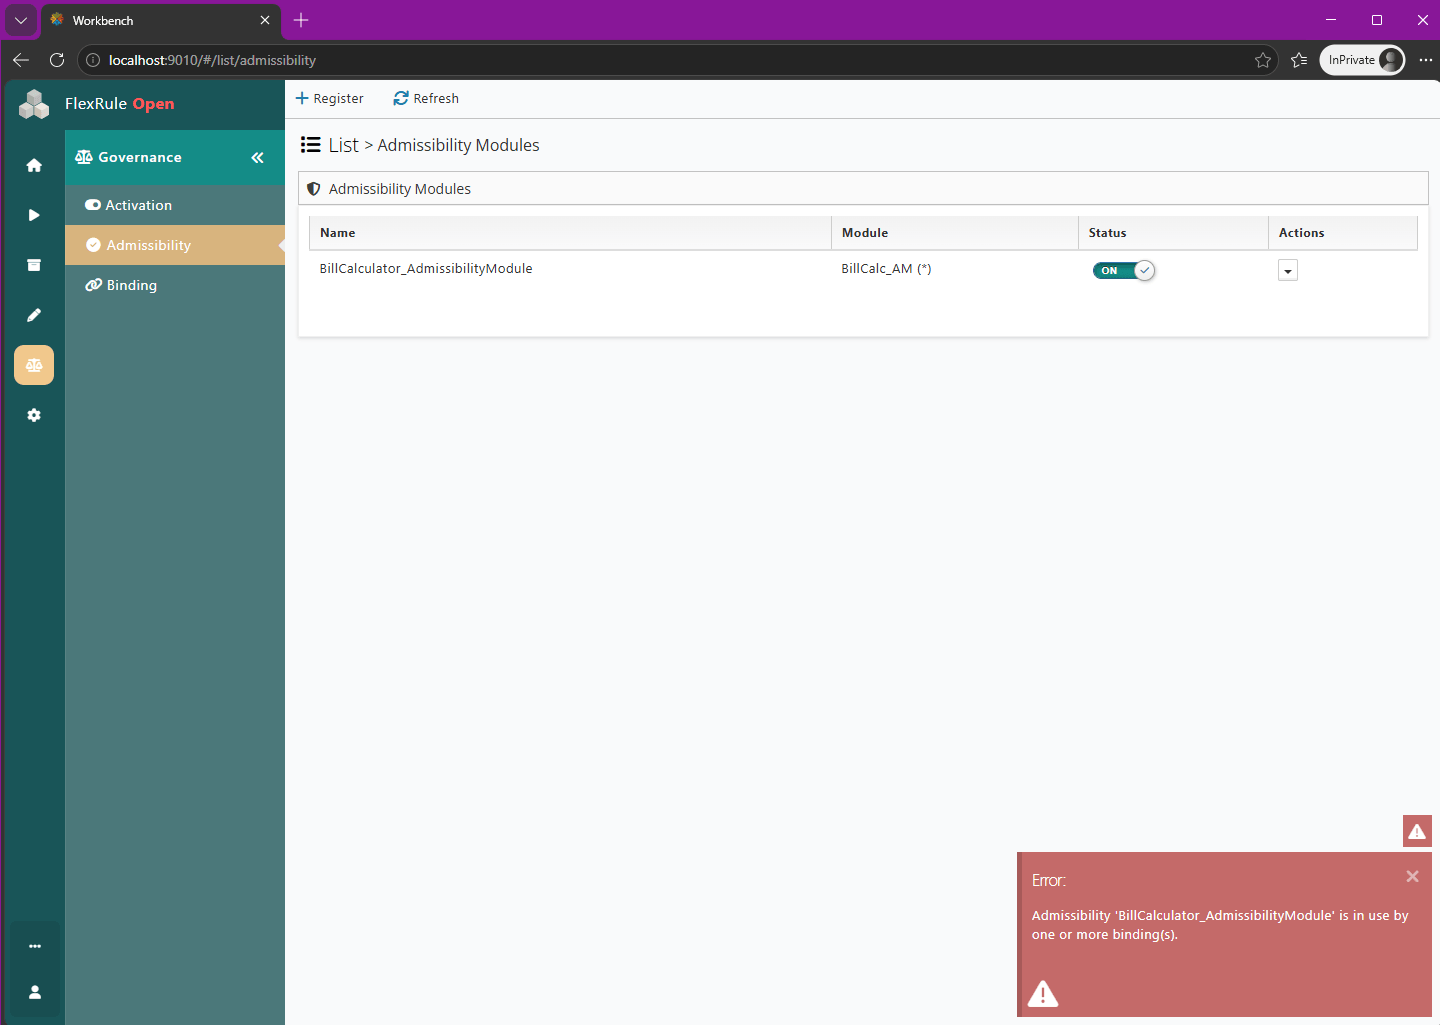
If there are any Bindings that use the selected Admissibility Module, it will not be possible to delete. To delete, first remove/update Bindings before attempting to delete the Admissibility Module again.