◷ Reading Time: 10 minutes
Introduction
The scheduled jobs option in FlexRule Workbench offers an option to Batch Jobs. Allowing multiple request objects to be batched in the Job for execution.
The key benefits of this feature is executing jobs with a large number of requests in one call for the same service.
For example, if you need to process similar payments to large numbers of people. Using single jobs would require a job per person being paid. Batch Jobs allows you to add these multiple requests together into one Scheduled Job.
Creating Batch Jobs
For details on setting up a Job see our Job Scheduling article
For all Batch jobs the Service in the targeted package will need to specify the response location. i.e. a database where responses are captured.
There are two options for creating a batch, adding the request parameters directly or uploading a .csv of request objects.
Adding Parameters
First option is to add a JSON array of request objects directly to the Services tab of the Job Settings.
Under the Inputs section of the Services tab, you will find an “Input Type” dropdown. Select the JSON Content option (this is default) and the Parameters field expands. Input or paste your array of requests here.

Following is an example of a JSON request format for a batch job using our Delivery Cost Calculator Sample Project :
[
  [
    {
      "Name": "parcel weight",
      "Value": 35
    }
  ],
  [
    {
      "Name": "parcel weight",
      "Value": 64
    }
  ],
  [
    {
      "Name": "parcel weight",
      "Value": 128
    }
  ]
]
Adding a csv file
The second option is to upload a .csv of the batch request objects.
When creating a Job, select .csv file from the “Input Type” dropdown under the Input section of the Services tab. An “Upload .csv” field appears and you can either paste the .csv file path or upload the file via the File explorer.

The .csv JSON request format will need to be in the correct form to execute.
Column headers should be the JSON properties, the rows will be the batch of values.
parcel weight
5
10
23
30
46
52
65
74
85
93
If unsure the format is correct, it is recommended to manually test a few instances as a small batch run.
Once the new Job is saved and the Job enabled, either of these will occur
- If no timestamp is applied to the Job, the Job instances will immediately start being scheduled from the .csv file.
- If a date/time is added to the Effective From timestamp, the Job instances will commence scheduling from that date and time.
It may take some time to schedule all instances, depending on the number and complexity of the request objects in the .csv file.
Additionally, Job instances may start executing while the .csv requests are still being scheduled to the queue.
When adding batches, Batch Job will need to be enabled under the General tab of the Job creation view.

Scheduling Job Batches
Once a Batch job is set up using either the JSON Content option or the .csv import, the remaining options for Job are all the same. The Batch Job can be assigned a schedule along with a Recurring CRON setting.
If no scheduling is applied, the Job will commence immediately the Job is enabled.
Set up a Worker to run a Job
To view the existing Workers in Workbench, go to,
Administration --> Nodes --> Workers
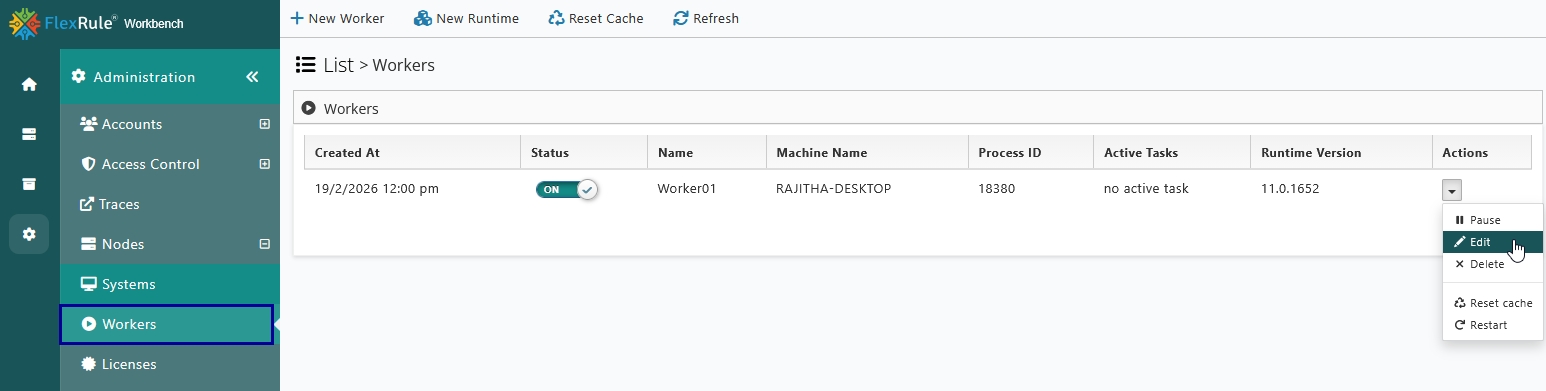
Click the Edit option under the Actions menu of the Execution Worker that is being configured.
View Job Logs
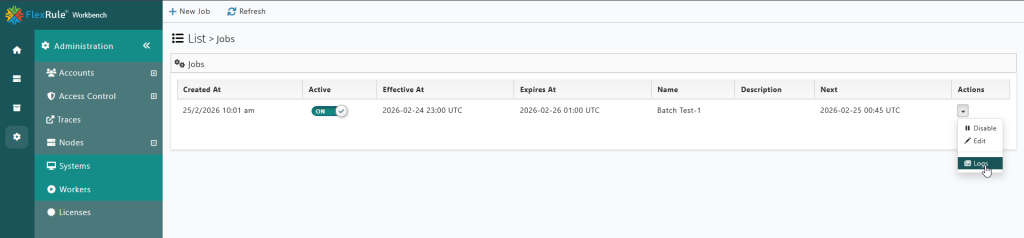
Job information including job execution times, running services, requests, responses, and exceptions of the job can be viewed under Logs.
Go to Execution Server --> Jobs and under the Actions menu of a Job, select Logs. You will navigate to the logs of the selected job.
For full details on Job logs including viewing, filtering and pagination see our Resource Hub article on Job Logs.
Retry Batch Job Instances
Any Job Instances showing a status of Completed with Errors or Abandoned can be requeued for retry execution.
Note: Although the process to retry is the same for these two status. There is a subtle difference in how they are displayed in the Logs view.
In the Job log List view, select “Retry” from the Actions menu of a particular Job Instance that has Completed With Errors or Abandoned Status.
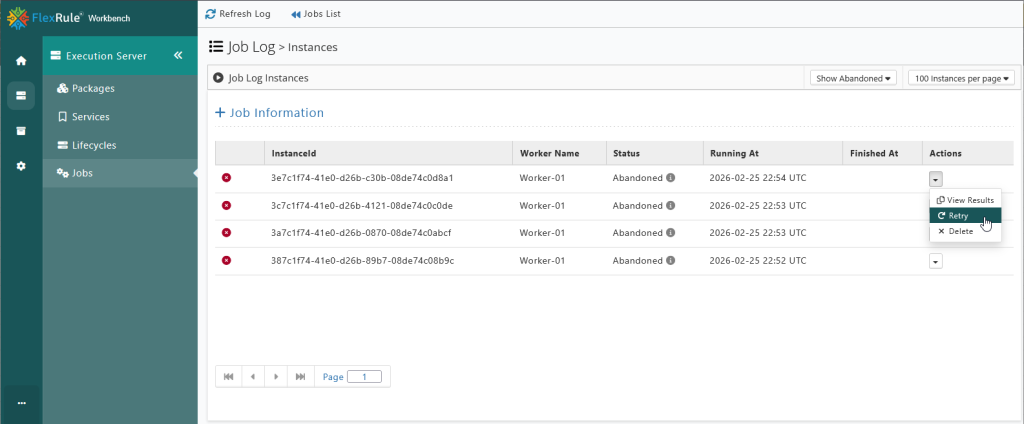
Retry Instance
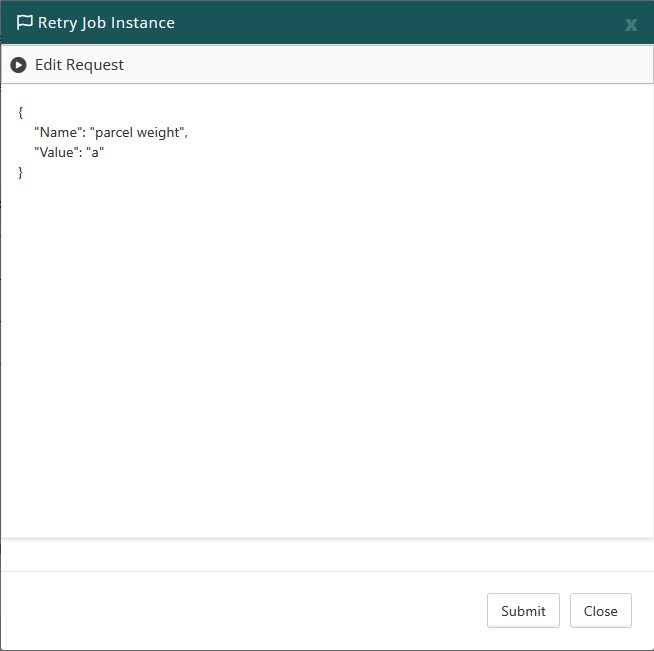
This will open the retry modal where you can modify the request JSON. Do this if the failure was due to an issue with the request format or content.
Selecting Submit will initiate a retry of the original Job Instance including any changes to the request object.
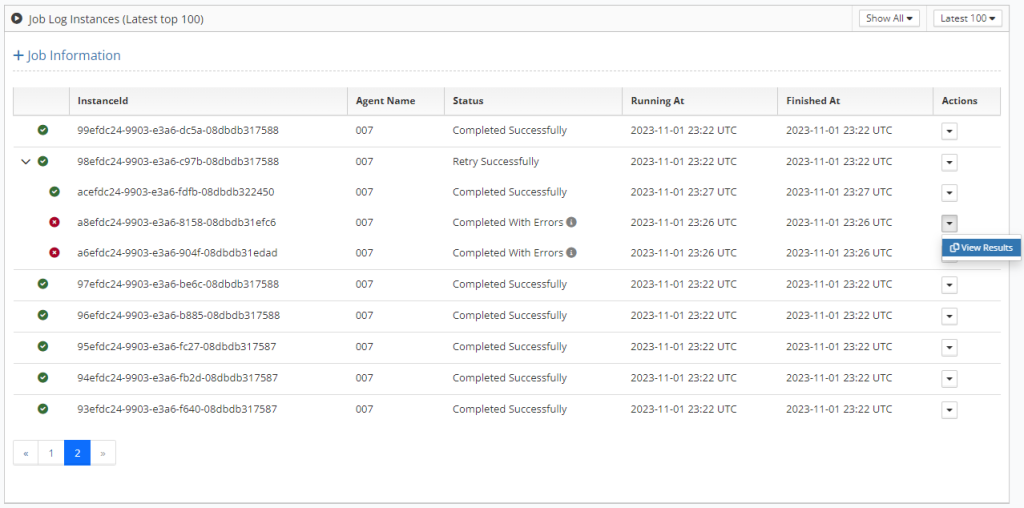
Retry Successful
If the Retry succeeds to execute without error the status of the original Job Instance will change to Retry Successful and the icon at the far left of the Job Instance will change from a red circle, white cross to a green circle, white tick.
Once a retry is triggered you will see an arrow on the far left of the original job Instance. If you select the arrow icon it will expand a view of all child retries of the original failed instance. Selecting the arrow icon again will collapse the view.
All child retry instances will be assigned the Completed Successfully or Completed with Errors status. The original failed parent instance will have the status Retry Successfully or Retry with Errors, depending on the result of the retried child instance.
In the Abandoned case, the original parent instance will maintain the Abandoned status. This allows that instance to still appear under the Abandoned filter.
For any retry child instance, the details of the retry Job Instance can be viewed by selecting View Details from the Actions menu.
Retry with Errors
In the case of a failed retry, the parent Job Instance Status will change to Retry With Errors and the red circle with a white cross icon will remain. Similarly to above, select the arrow icon to expand the retry child view to see the retry instances.

Jobs Tab
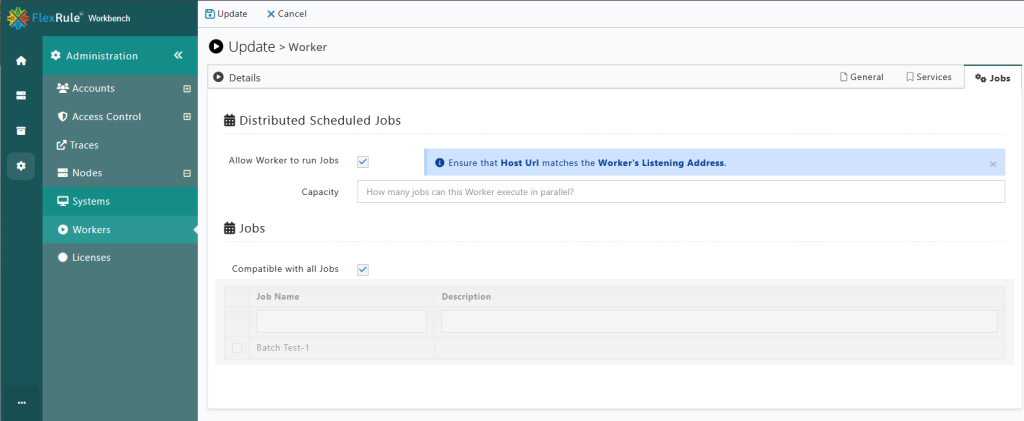
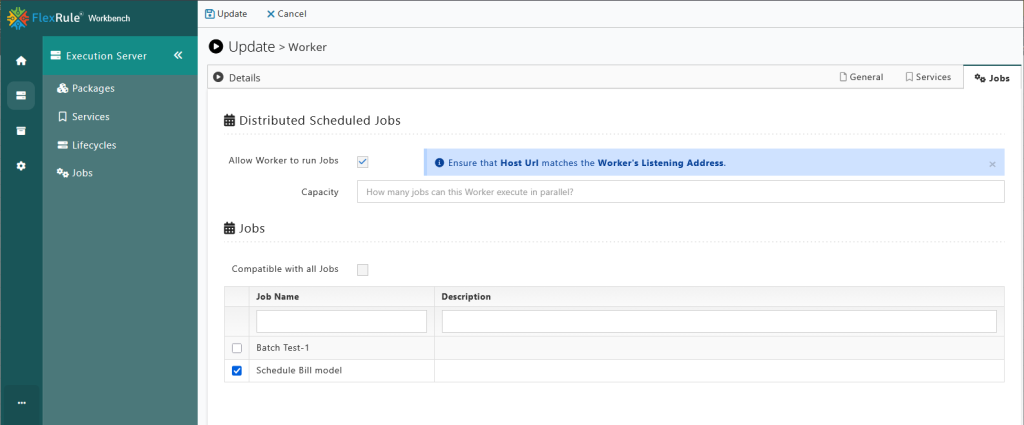
An execution worker is made compatible with a Job via the Jobs tabs in edit view
An execution worker can be selected to run specific Jobs or assigned to run all Jobs.
If the execution worker is dedicated to one or more Jobs, leave “Compatible with all Jobs” unchecked and select the individual Jobs to assign to the execution worker.
Capacity
This setting controls how many jobs an execution worker can run concurrently
Troubleshooting
If your jobs are not starting or not running correctly, ensure the following.
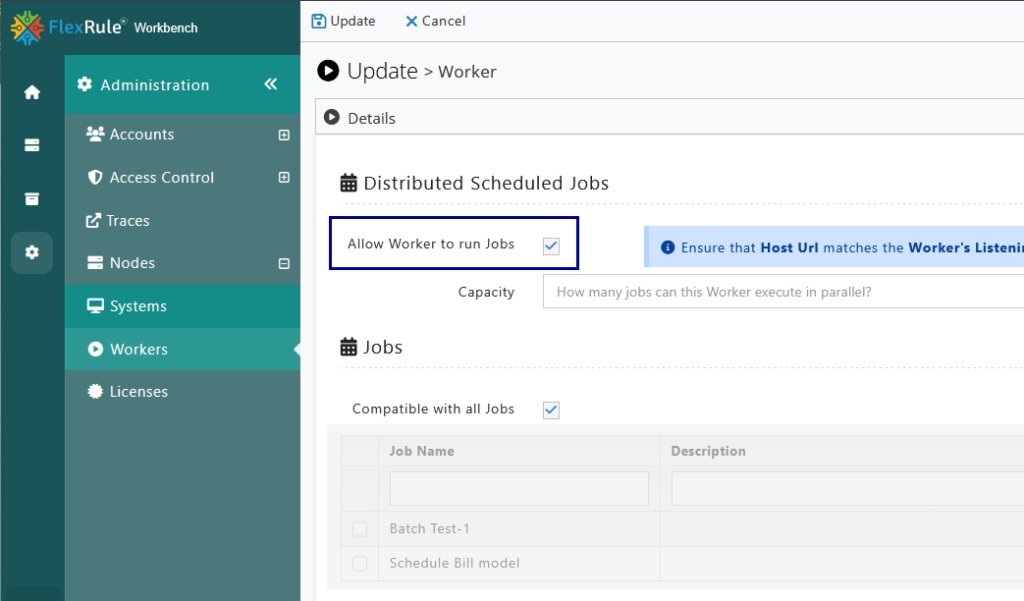
- The execution worker should have permission to run a job.
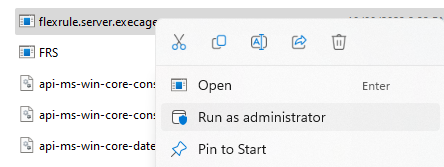
- All server nodes should be run as an Administrator.
- Both the Execution worker and the Job should be enabled.


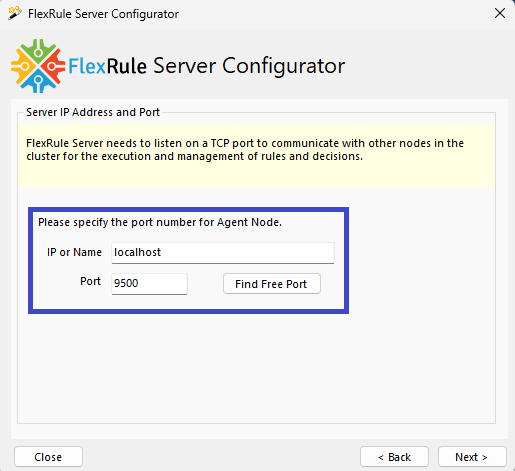
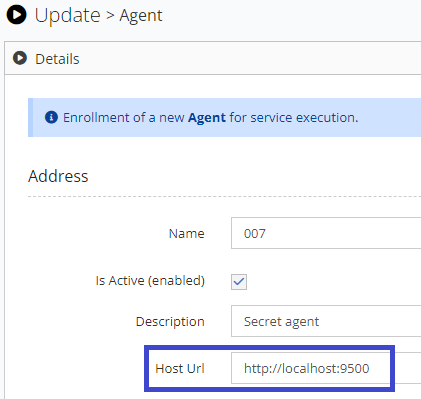
- The IP address and port that the execution worker is listening on must match the URL set for the execution worker in the Workbench