◷ Reading Time: 6 minutes
Create an empty Decision Knowledge Document
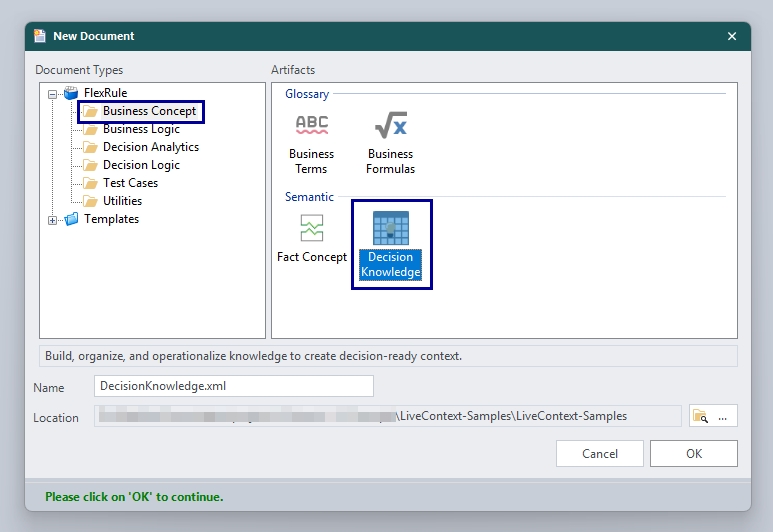
Click on New Document from the Project Explorer window and create a Decision Knowledge document.
Connect Database as a Source
Connect a Data Table
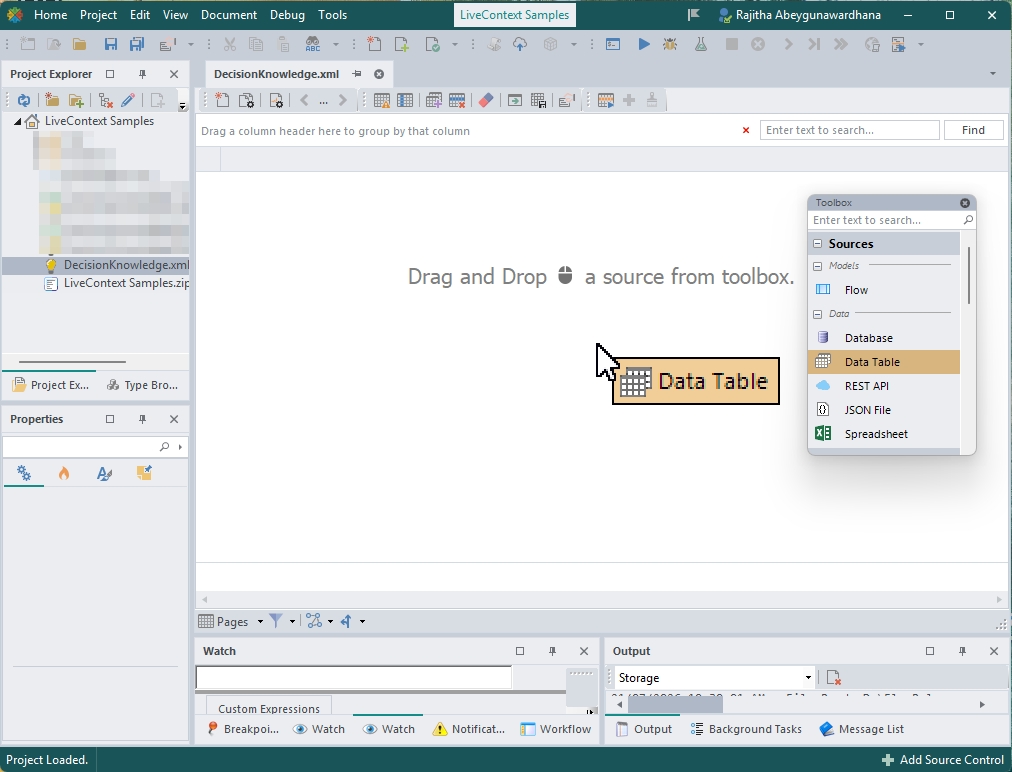
Drag and drop Data Table from the Toolbox.
Connect Database
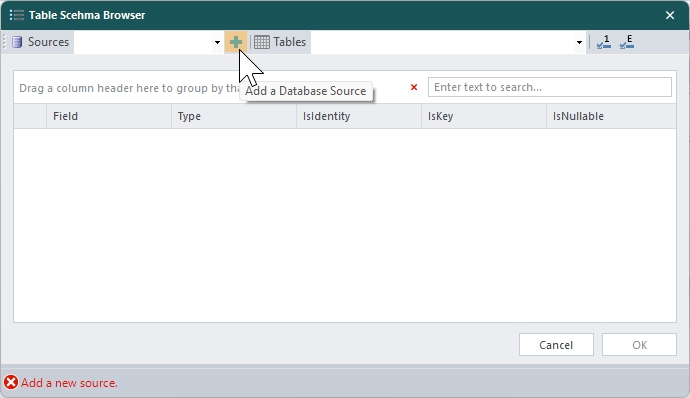
The following window will pop-up after you drag and drop the Data Table. Then click on the Green plus icon to add your Database.
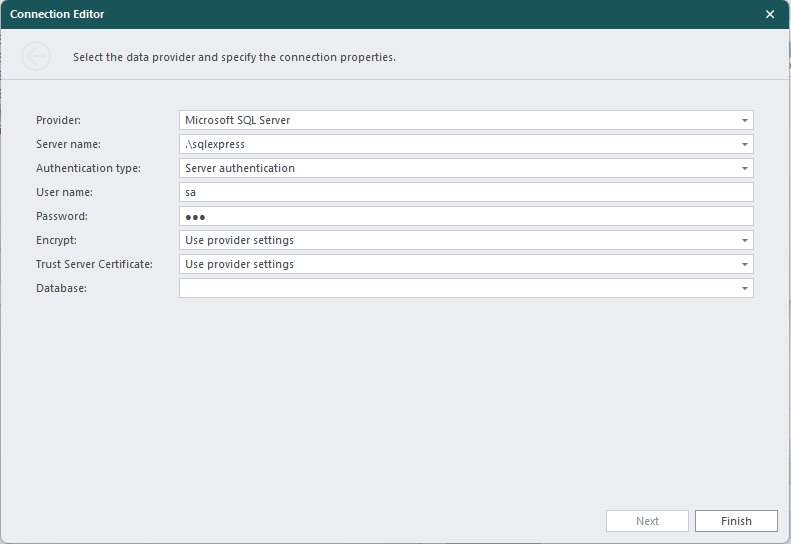
Then fill in the connection details and select the Database from the drop-down once you fill in the authentication details.
Create New Page for the Table
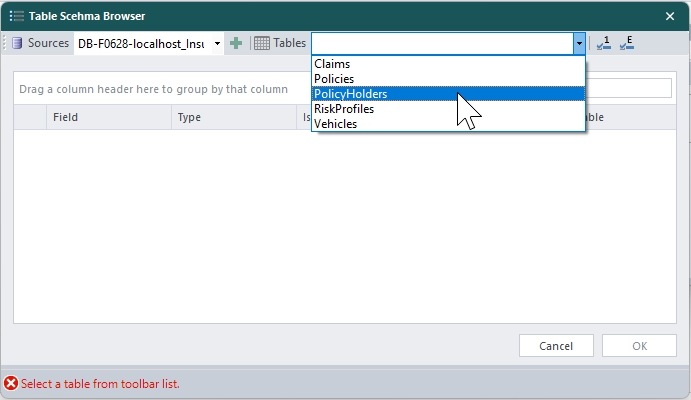
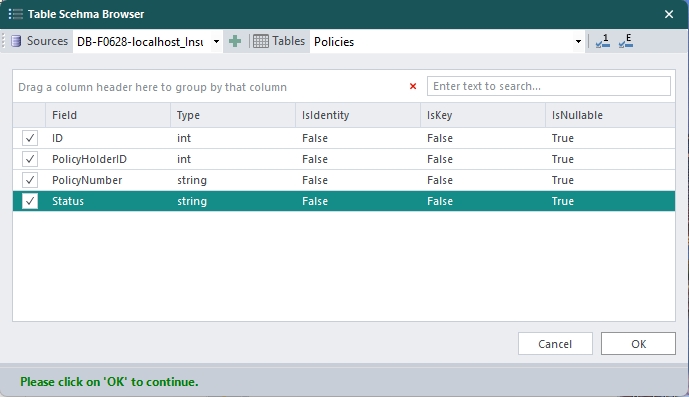
Once you click finish, you can select the Tables from the Table Schema Browser.
Then select all the necessary fields.
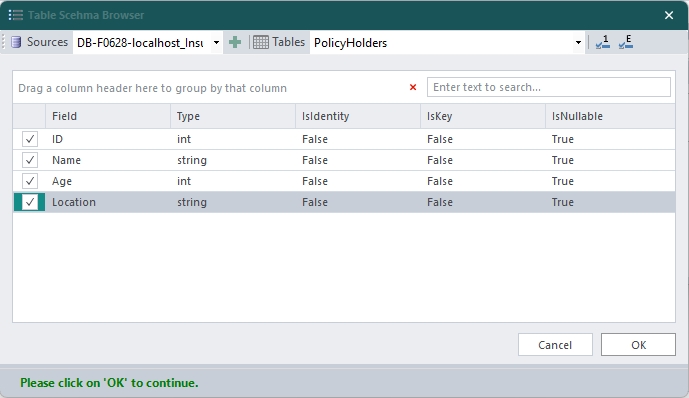
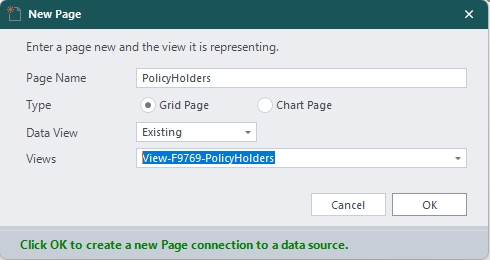
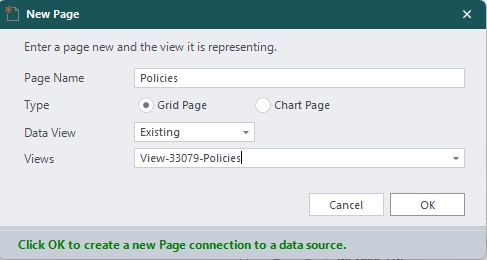
Then click ok. You will be asked to create a new page with the view its representing. You can also edit the page name, type, and Data view.
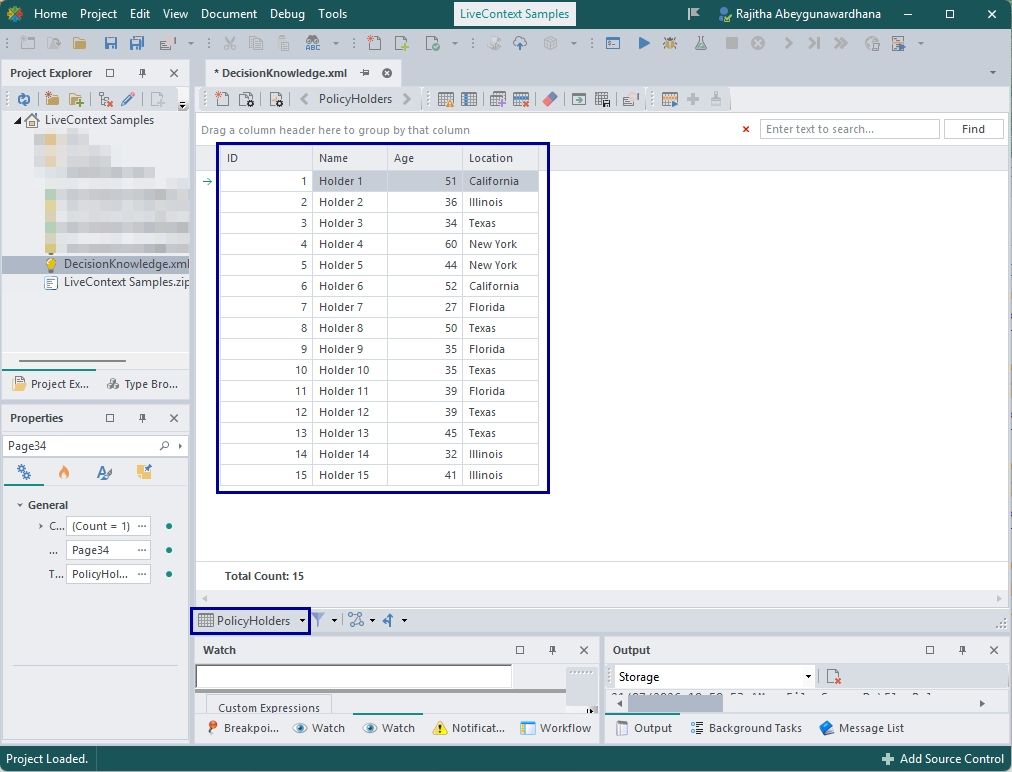
Once you done, you can see the grid view as follows.
Create a New LiveContext
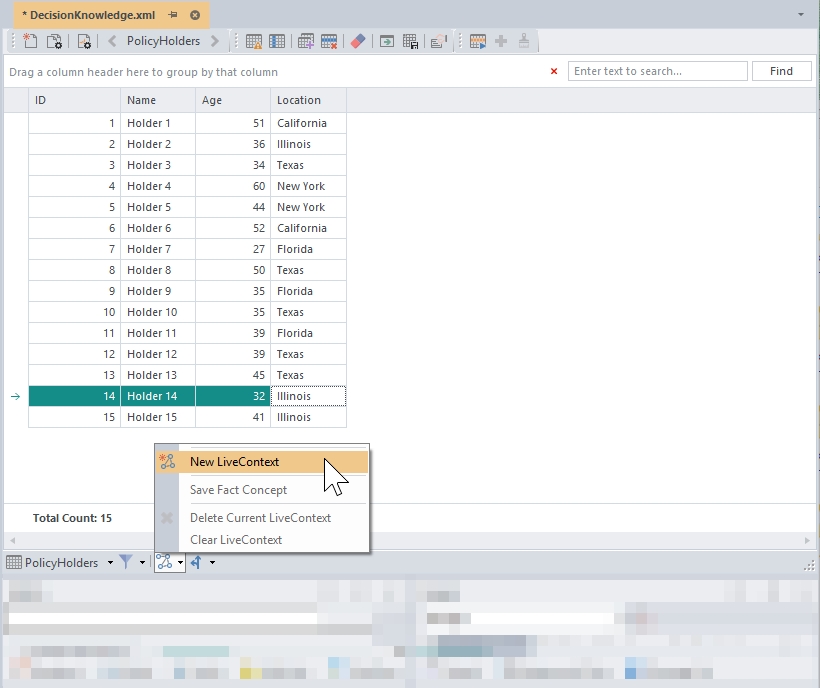
When you created the Pages, you click on the Live Context Icon and click on New LiveContext as follows.
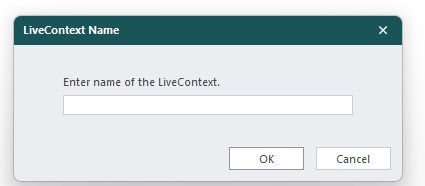
Give a name for the LiveContext.
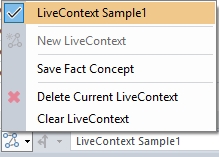
Now you can see the new LiveContext you created as follows.
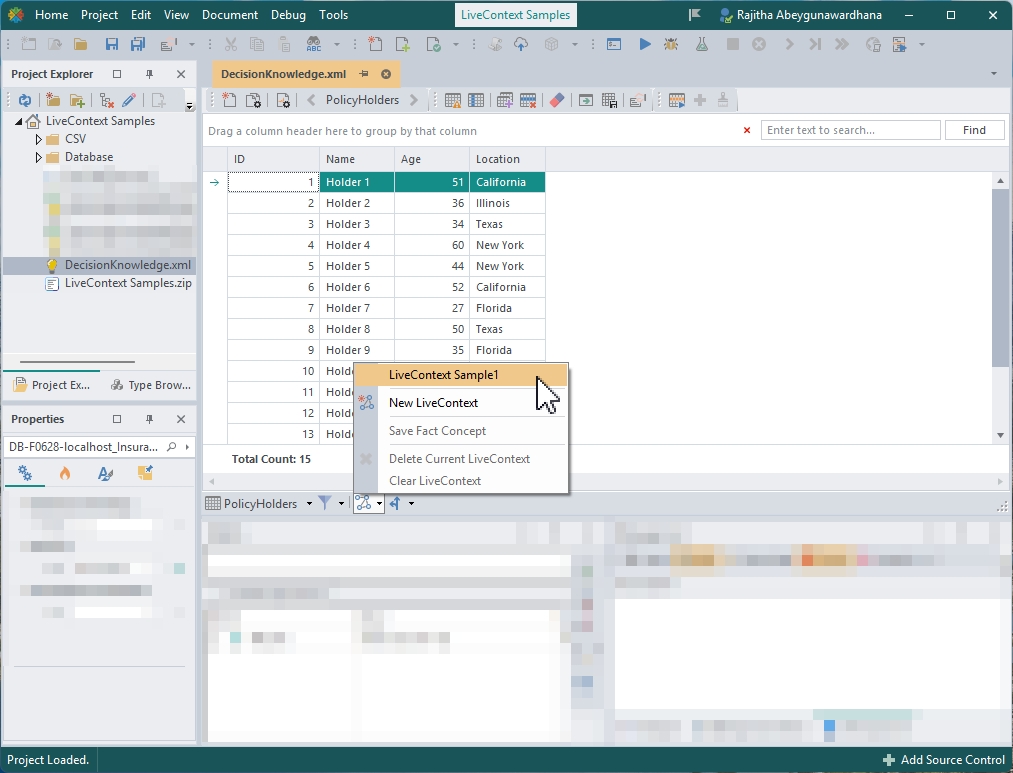
Create Hierarchy and Relations
First, make sure your LiveContext is selected.
Once you select the LiveContext, you can see that the “Hierarchy” is enabled in the “LiveContext” category in the Toolbox. Make sure you
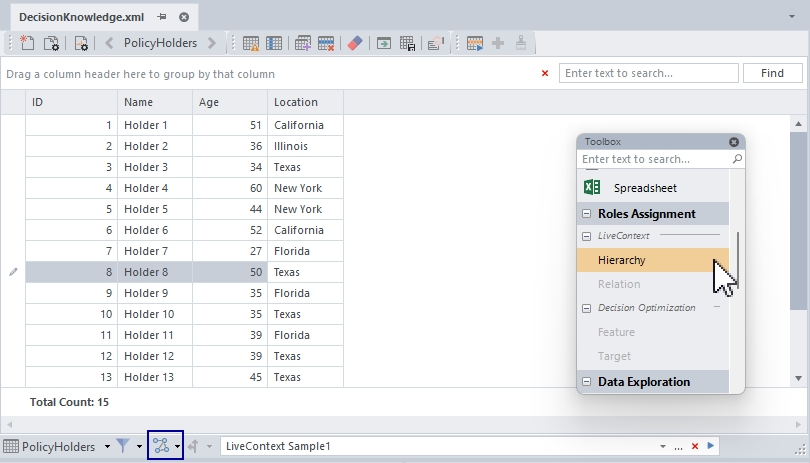
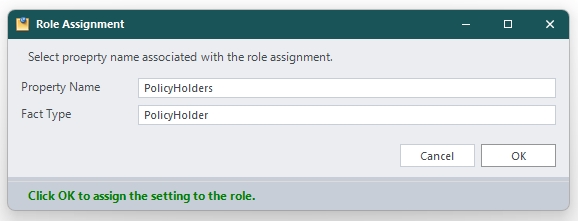
Drag and drop the Hierarchy to the data grid, and the following window for the “Role Assignment” will appear.
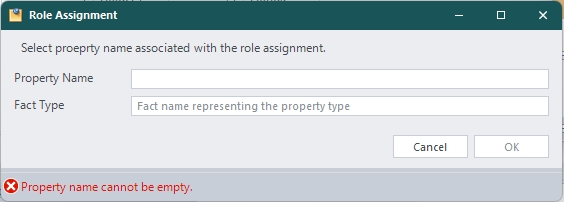
As a best practice, the “Property Name” should be plural, and the “Fact Type” should be singular, since it represents a unique entity. We’ll be creating a Fact Concept document later based on the hierarchy you’re creating now. For example, as follows:
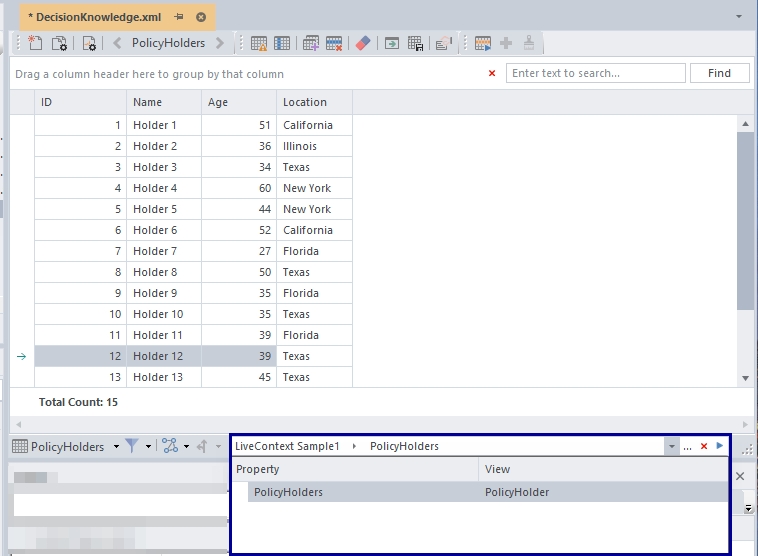
Once you clicked ok, you can see the hierarchy is building along with the LiveContext.
Relations
Now we are going to build the rest of the hierarchy while creating Relations associated with the Data table. You can repeat the same for creating the Data Table step.
Now you have a new page with the data grid. You will see that the “Relation” tool in the toolbox is now enabled. You can drag and drop the “Relation” to the data grid. When you create the Relations, you need to explicitly drop the relation to the data grid column where you want to establish the hierarchical relationship.
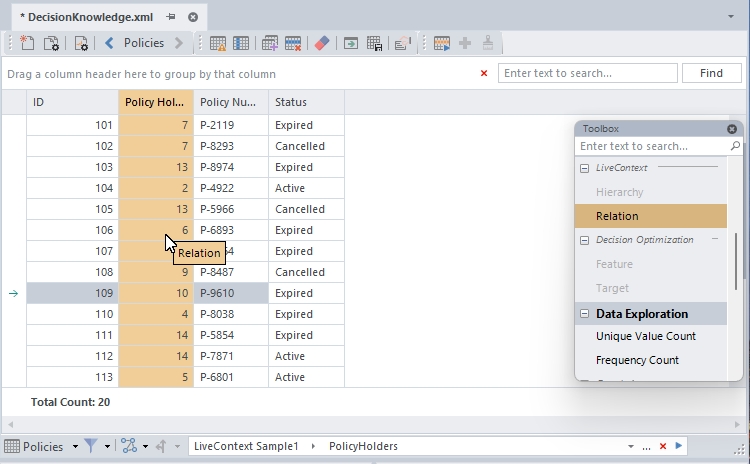
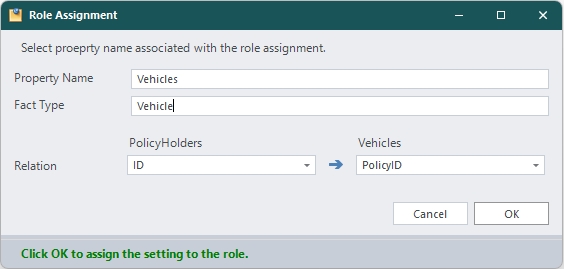
Then the Role Assignment window will pop up to specify the Property and Fact types as before. Along with that, you need to specify the relation between hierarchy nodes.
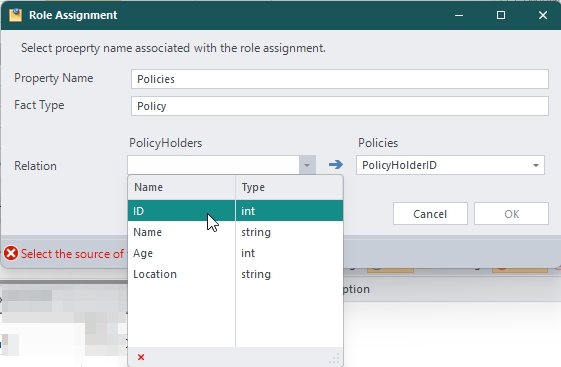
Then you can see the hierarchy is building as follows.

Then you repeat the same steps for the rest of the tables as follows.

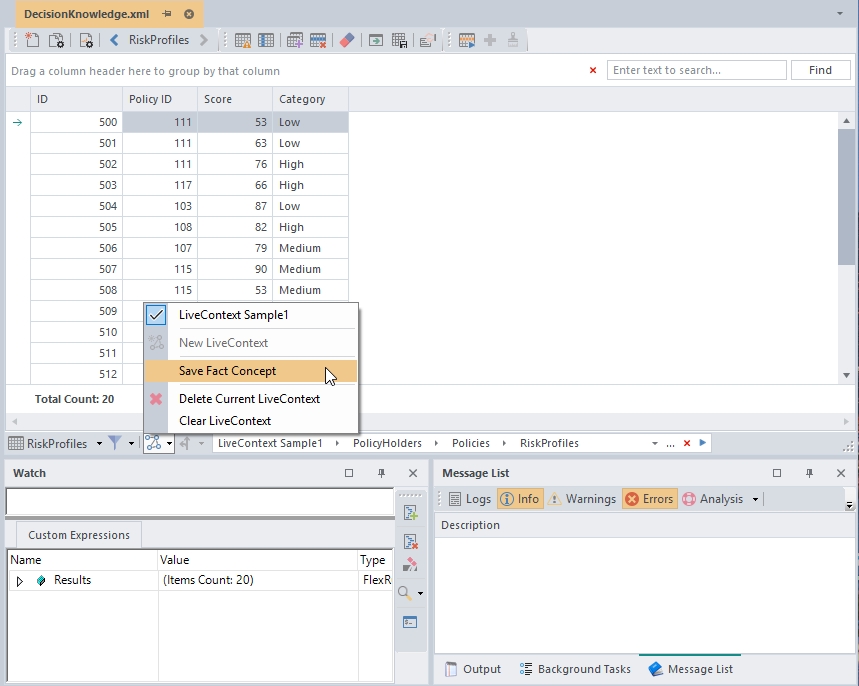
Save as a Fact Concept
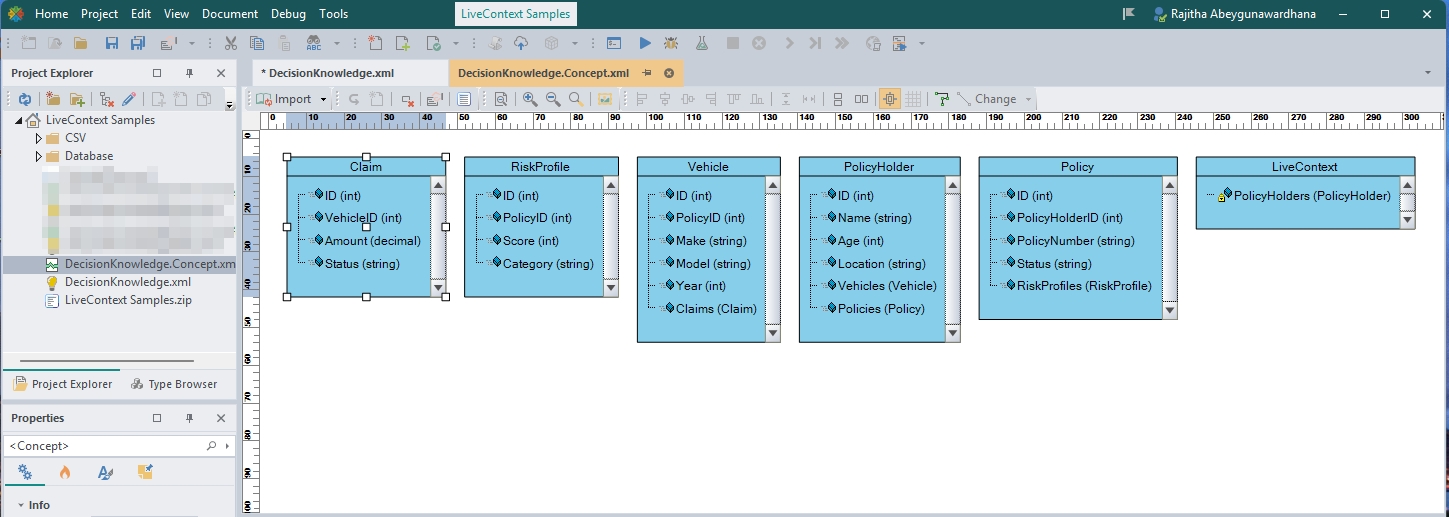
This allows you to create a Fact Concept Document based on your LiveContext.