◷ Reading Time: 4 minutes
How to Create a Module
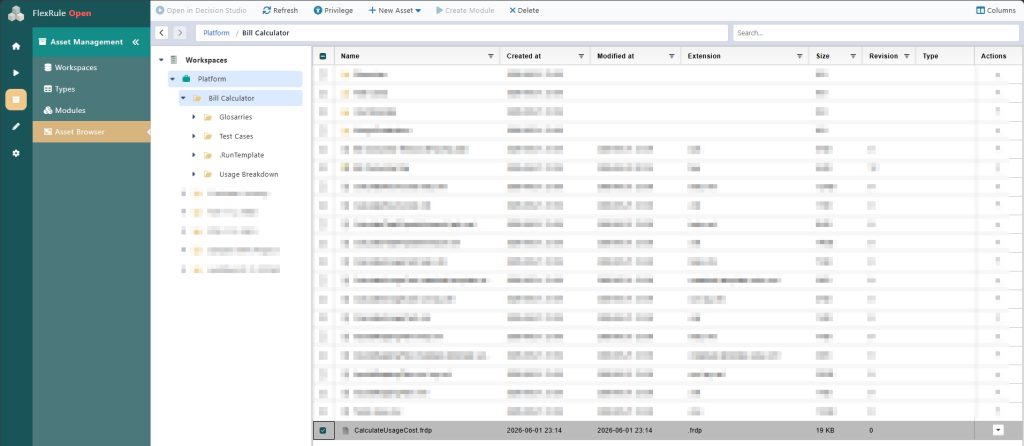
To create a Module, navigate to “Asset management” and then “Asset Browser”.
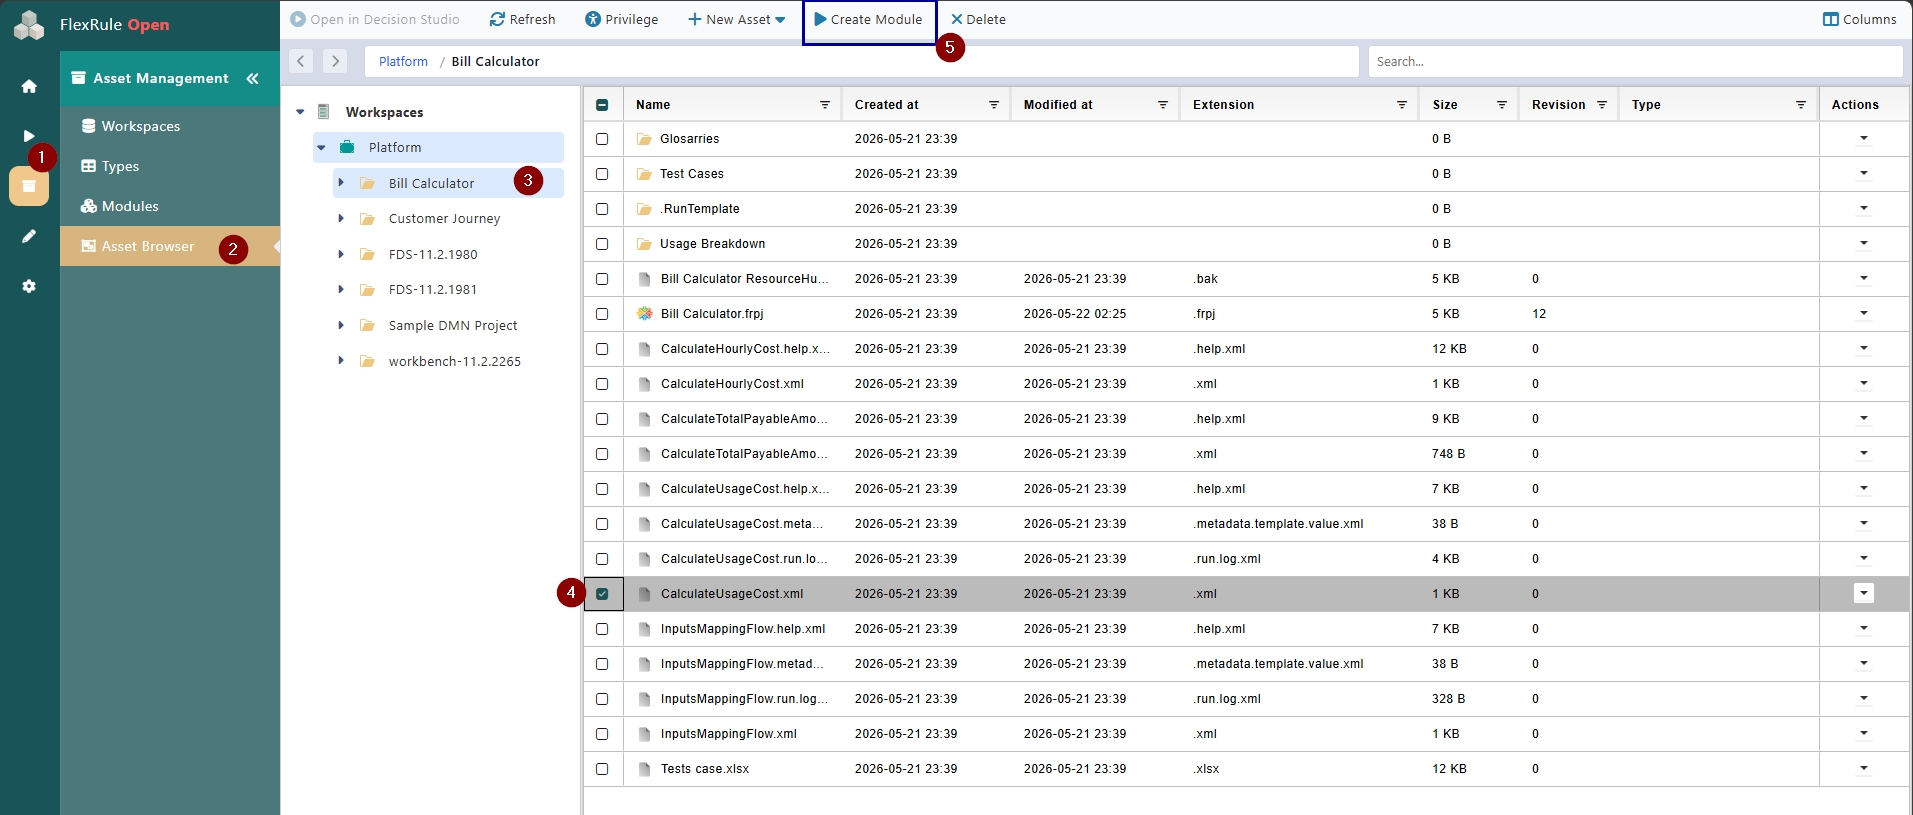
- Click on “Asset Management”
- Click on “Asset Browser”
- Select relevant Workspace and project
- Select the logic document you need to create a Module
- Click on “Create Module”
When you click on Create Module, it will open the following window to edit module information.
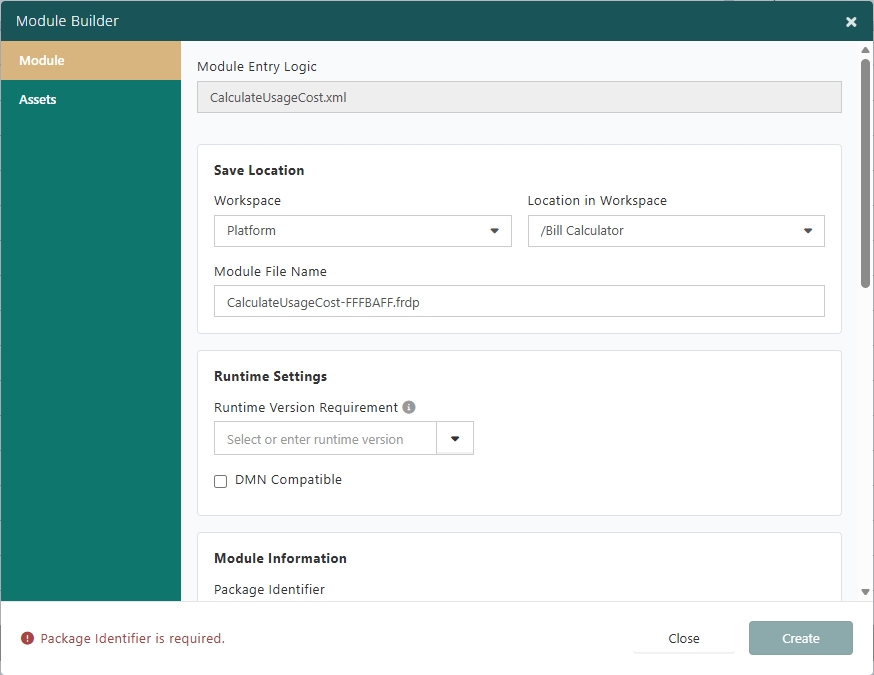
Save Location: You can specify where this module will be saved inside your asset management. Module File Name will be auto generated one which you can change it.
Runtime settings: This is an optional field. If you need to specify a certain runtime version for this module, you can do it here or else leave it empty. If this module is a DMN project, you must tick the “DMN Compatible” check box. Otherwise, leave it unchecked.
Module Information: You need to give the package identifier and package version. If your project has separate assemblies or extensions, you need to check this “Include project assemblies in this module”
Service Settings: Service Name is a view-only field. And you can specify the service version.If you have multiple versions of the same module, you need to have different service versions while having thesame package identifier.
Module Metadata: these details are used to store information about the module. These data will not be associated with the service execution.
Then navigate to the Assets tab, which shows all the dependencies of the selected logic document.
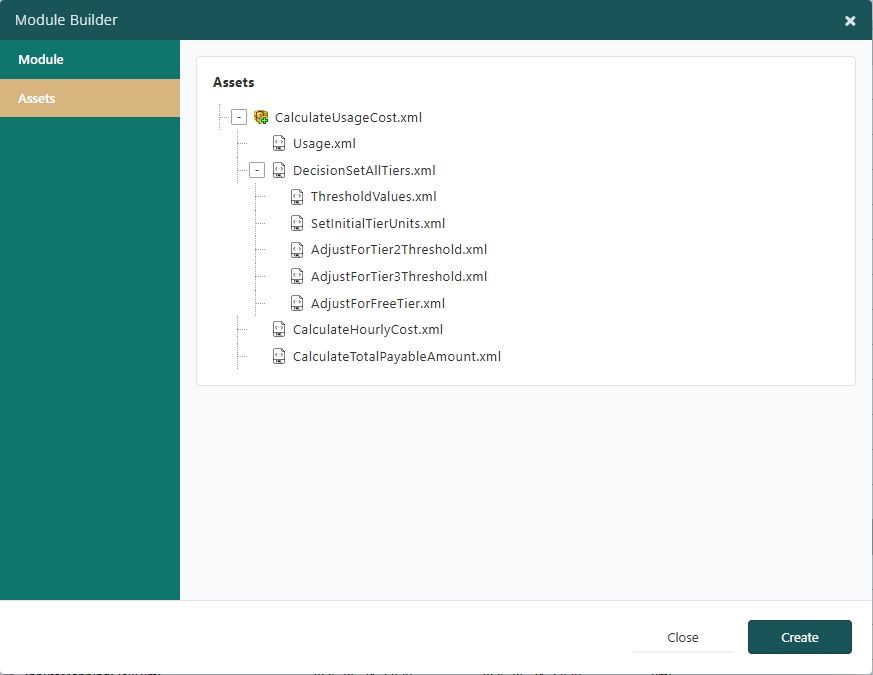
Then click create. You can see the FRDP file created on your selected location.
Modules
Navigate to Modules to view the created module.
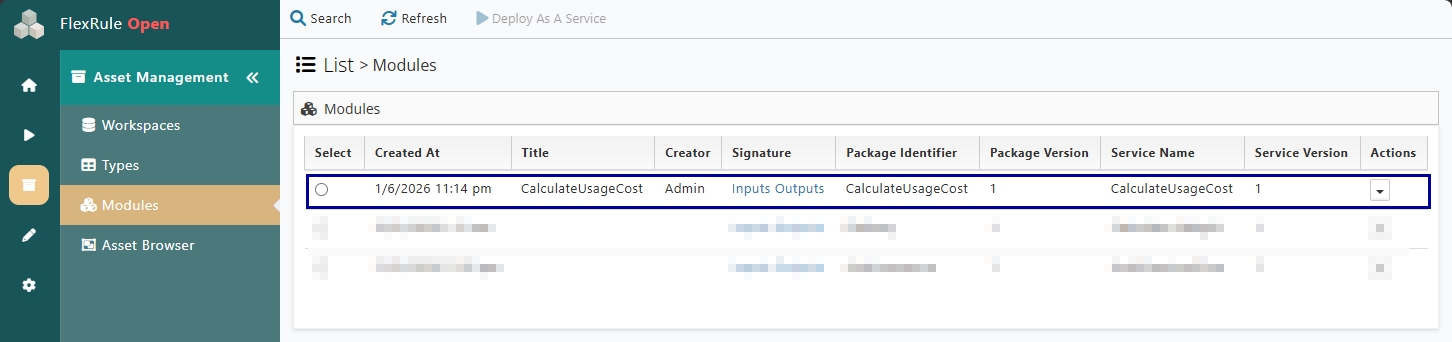
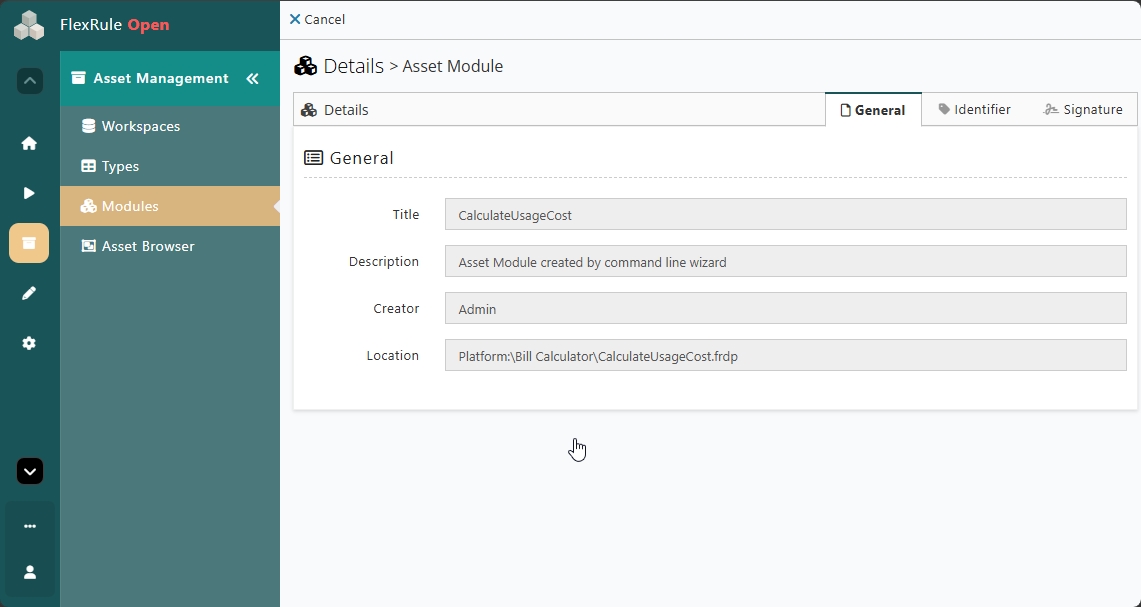
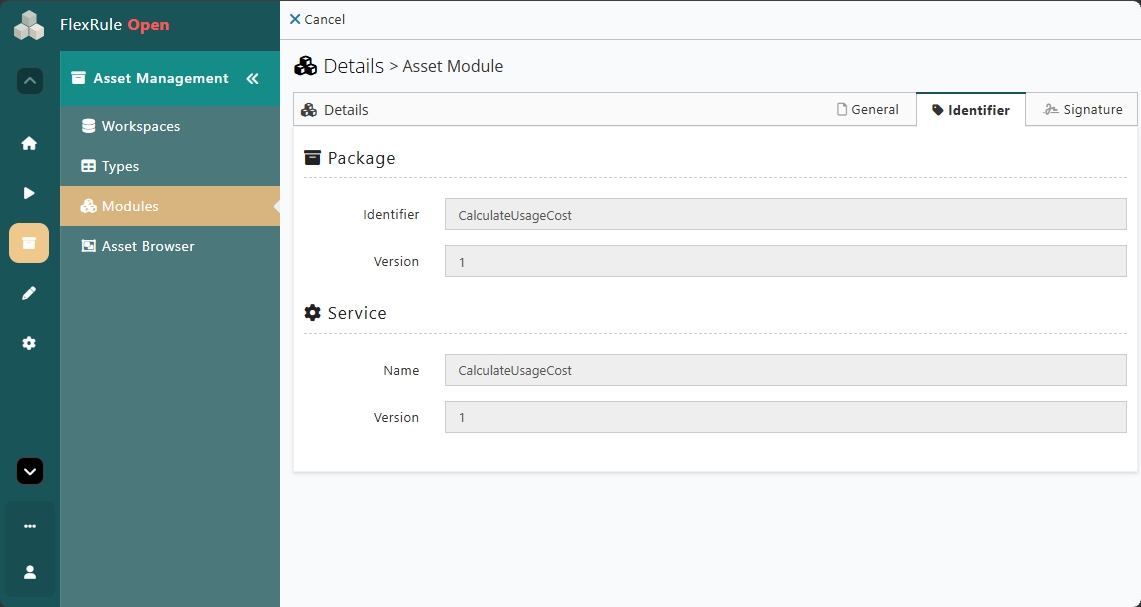
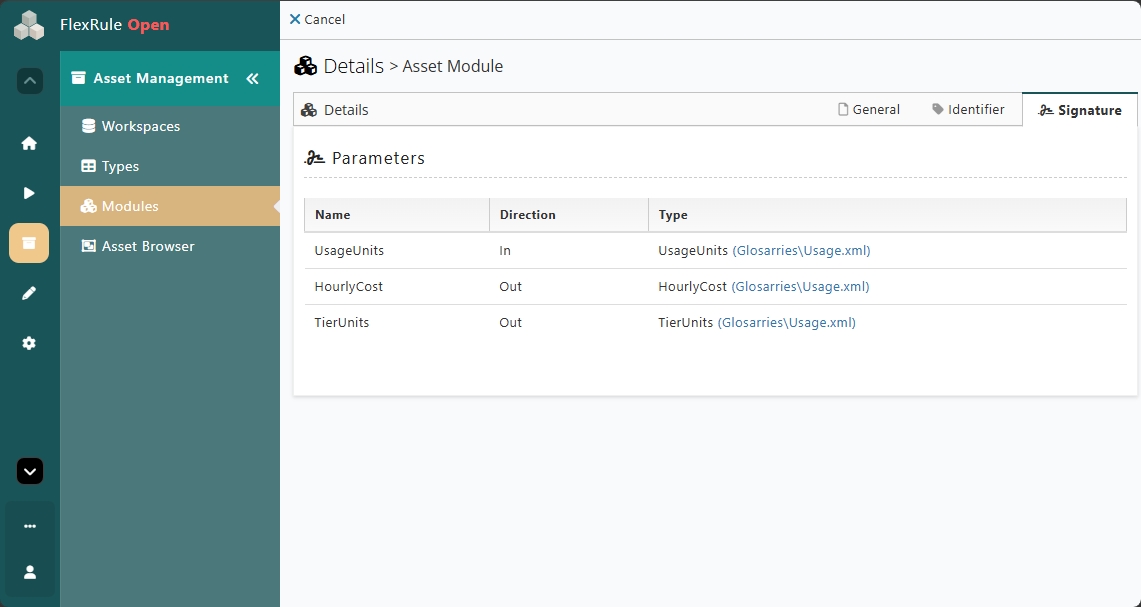
Click on the Details under the Action column to check the details of the created module.
Deploy As a Service
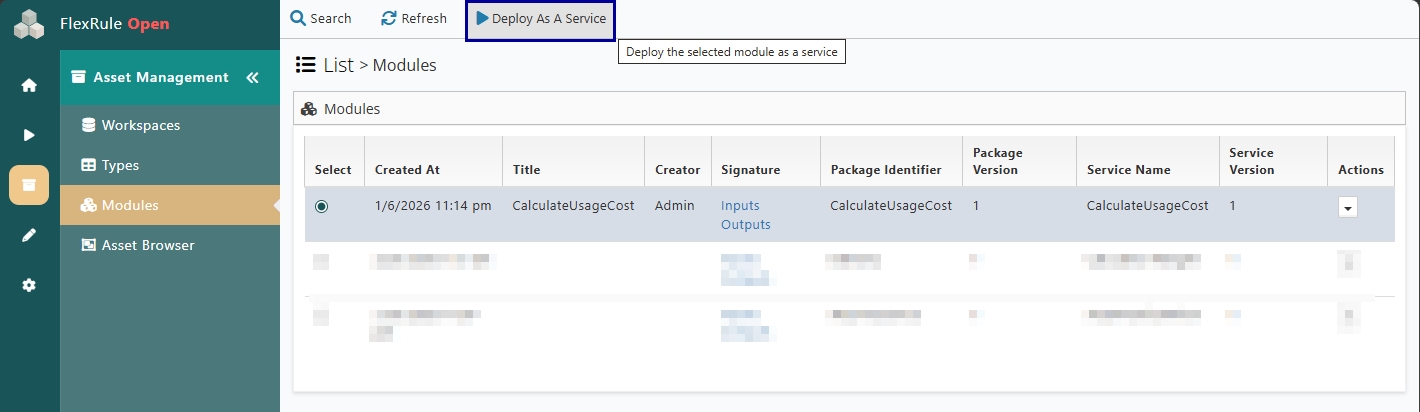
You can deploy your created module as a service. Select the module you want to deploy and then click on “Deploy as a service”.
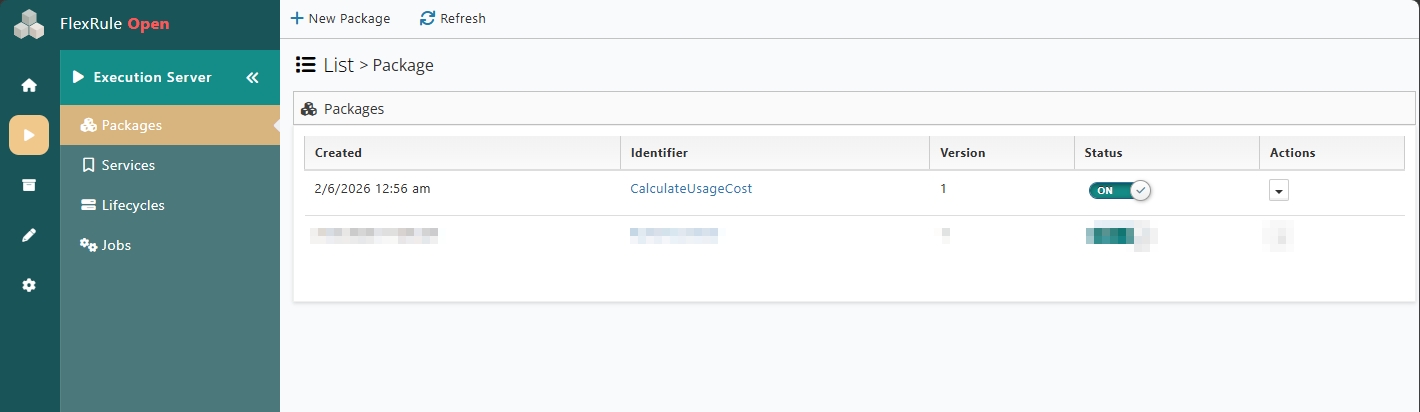
Then you can navigate to Packages from the main menu, and then you can see the deployed package.