◷ Reading Time: 3 minutes
Workspace is a place for storing all assets (Documents and objects). It is a boundary for collaboration and governance. The user can apply access permission, retention policies, and visibility to each workspace.
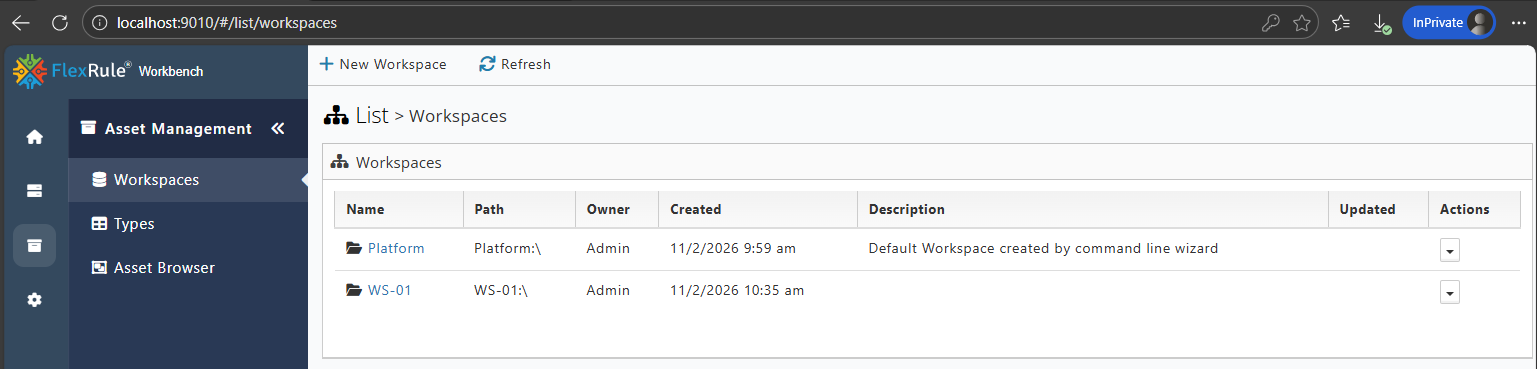
To create a new workspace or to access the Workspace list, navigate to theAsset Management --> Workspaces.
Create a new Workspace
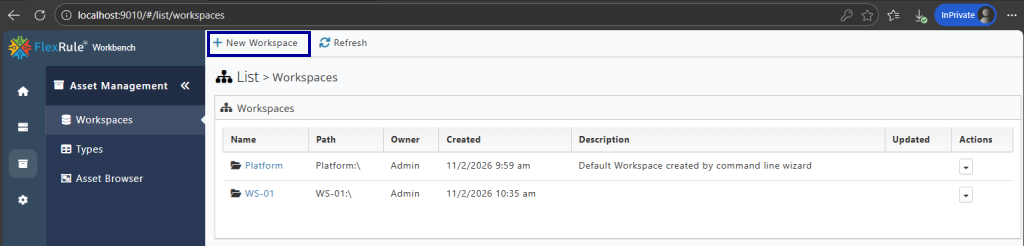
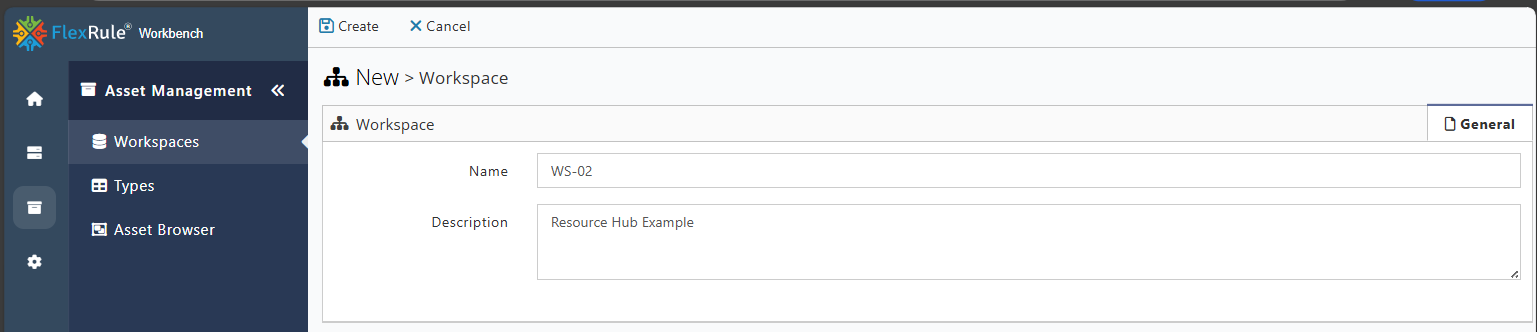
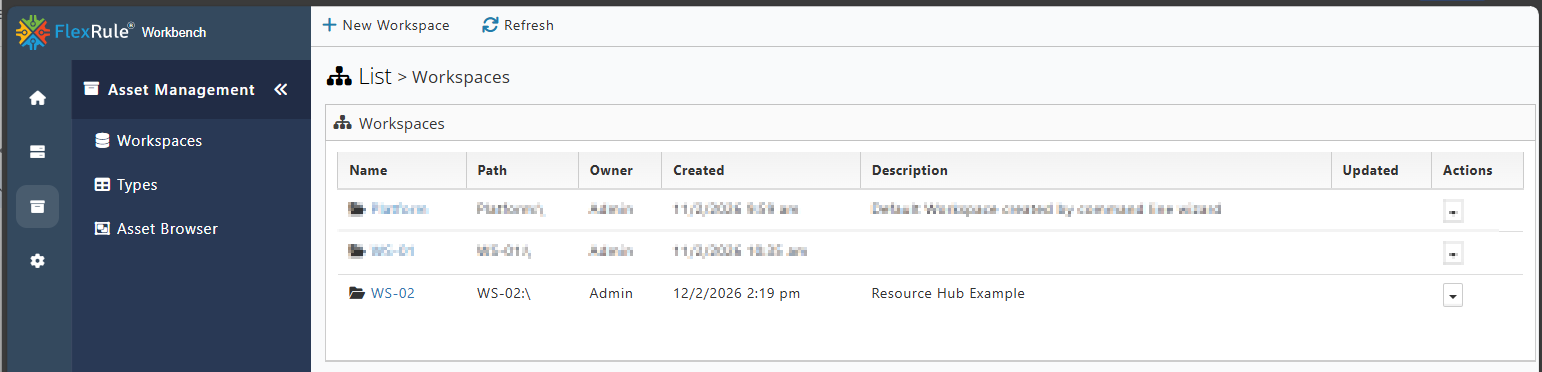
To create a workspace, click “New Workspace” in the top-left corner and set the workspace’s name and description. Then, click on Create to see the new workspace in the list.
Assign a Privilege to a Workspace
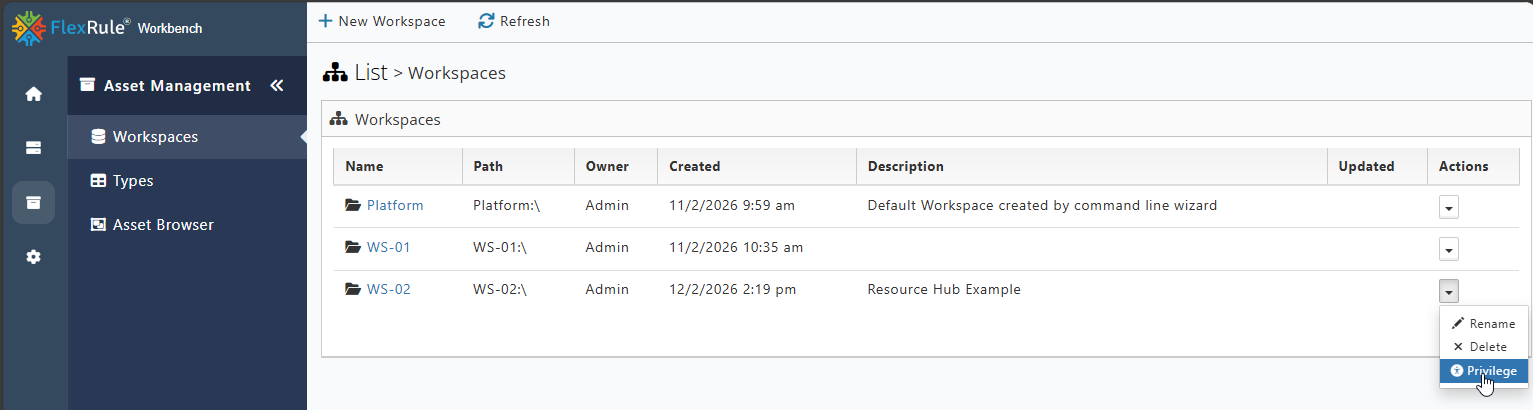
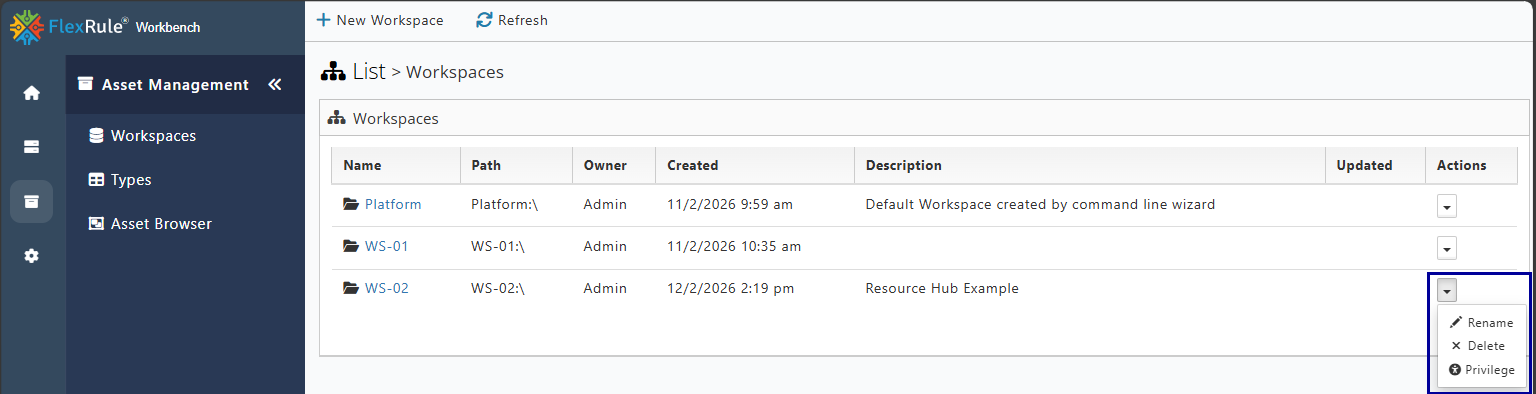
To assign privilege to a workspace, users can click on the drop-down on the right side of the workspace and select the Privilege.
Once the user clicks Privilege, the Privilege Workspace window opens, allowing them to create a new privilege for the workspace.
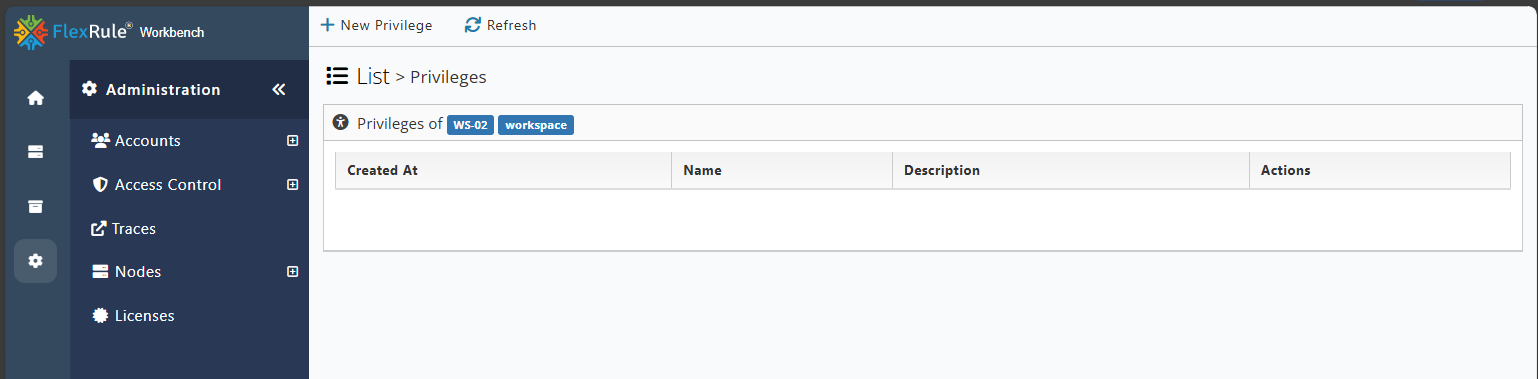
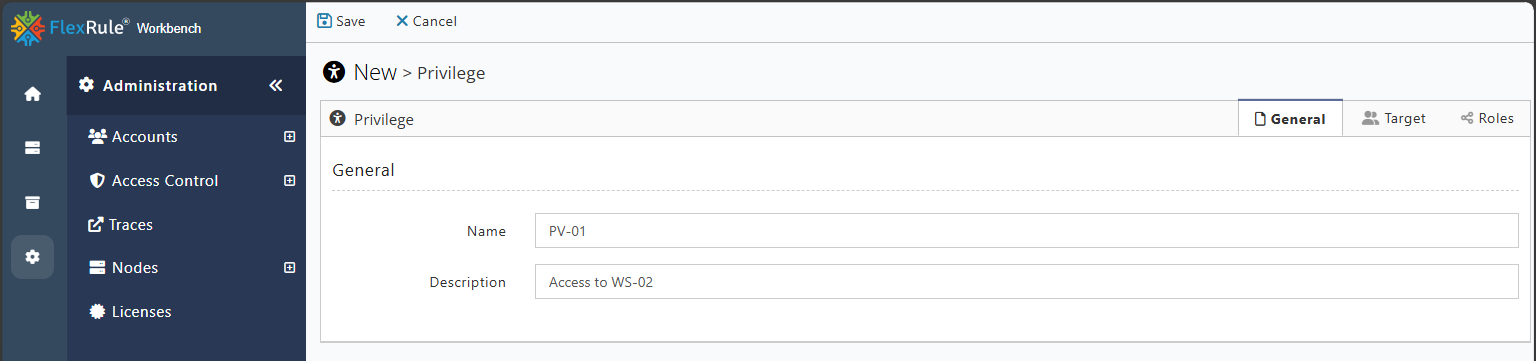
Click on the New Privilege in the top right corner to add the details of the privilege. On this window, there are three tabs: General Information, Target, and Role.
Add the name and description for the new privilege.
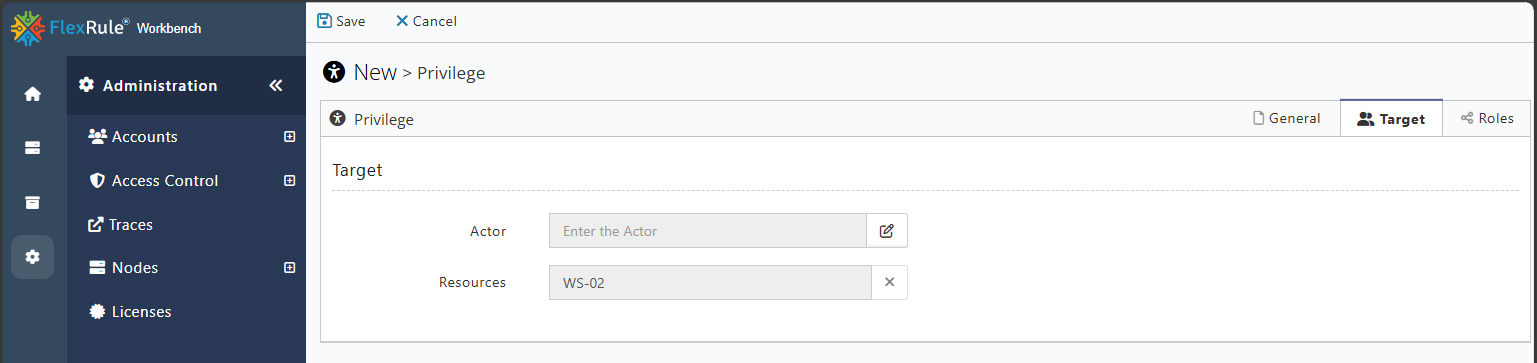
Determining the Actor for the privilege is on the Target tab window. The user can select actors between users and groups by clicking the pen icon next to the Actor. Selecting at least one Actor is required to create a privilege.
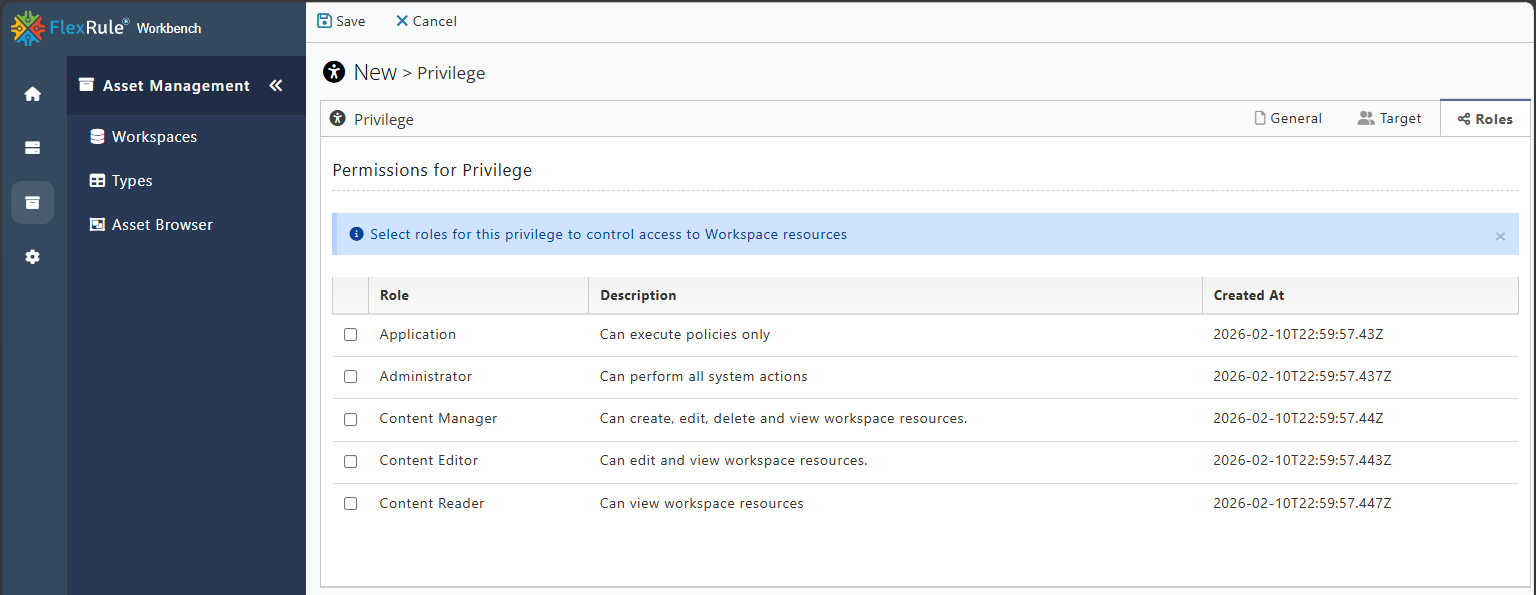
The user can select roles for the privilege on the Roles tab. By default, there are five different roles, while users can create new roles with different access by navigating to the Administration--> Access control --> Roles.
Rename or Delete a Workspace
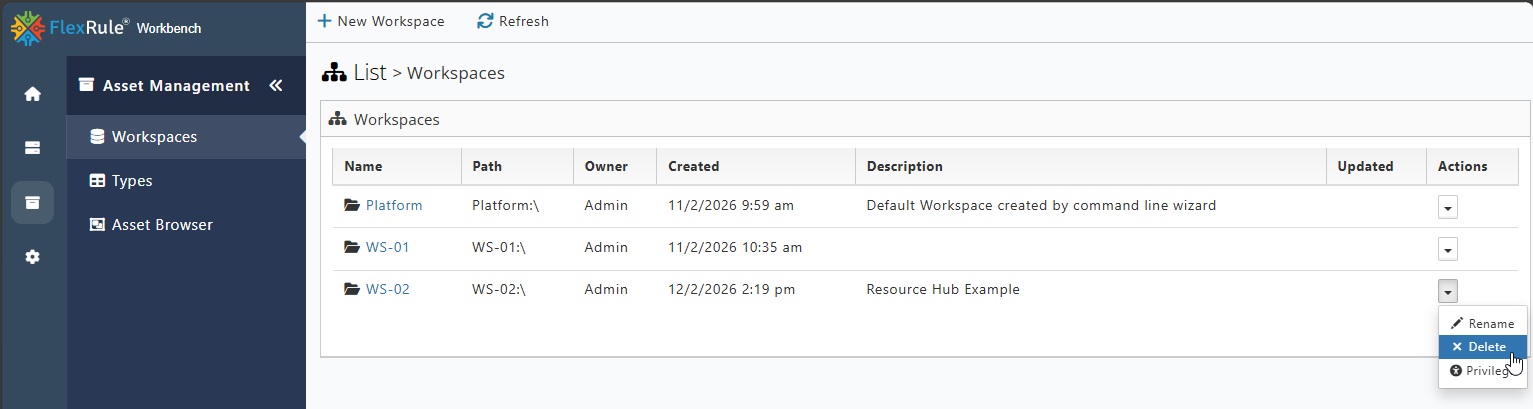
To rename or delete a workspace, users can click on the drop-down on the right side of the workspace and select the action.
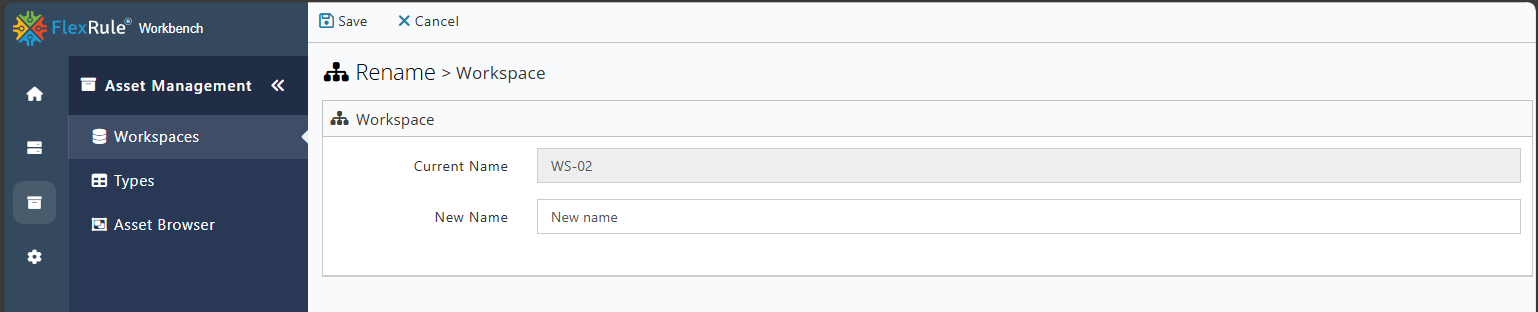
Once the user clicks Rename, the Rename Workspace window opens, allowing them to enter a new name for the workspace.
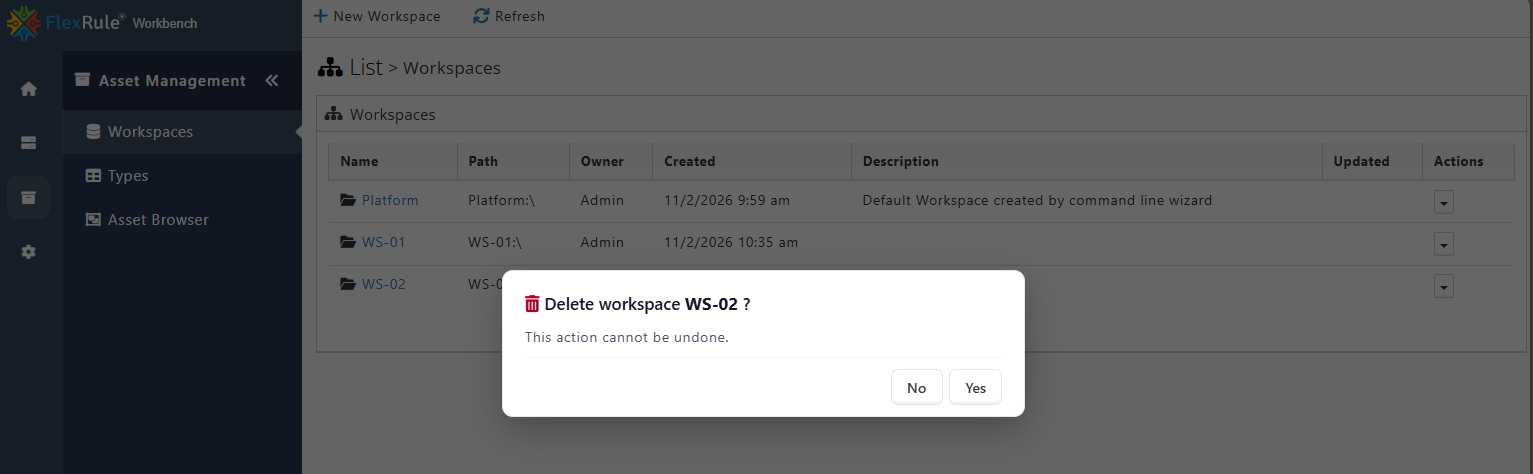
To delete a workspace, the user can click Delete and confirm the deletion.