◷ Reading Time: 6 minutes
Scenario Context
The Admin has created a private Workspace, by default, no other user can access it. The private Workspace includes a folder application log which needs to be writable by all users, but keep all other content within the Workspace private.
This can be implement just by creating two new Privileges. The first Privilege will be to allow users to see the Workspace as it is the root/parent of application log, and the second will give users the Privilege to write, but only in the desired folder.
Implementation
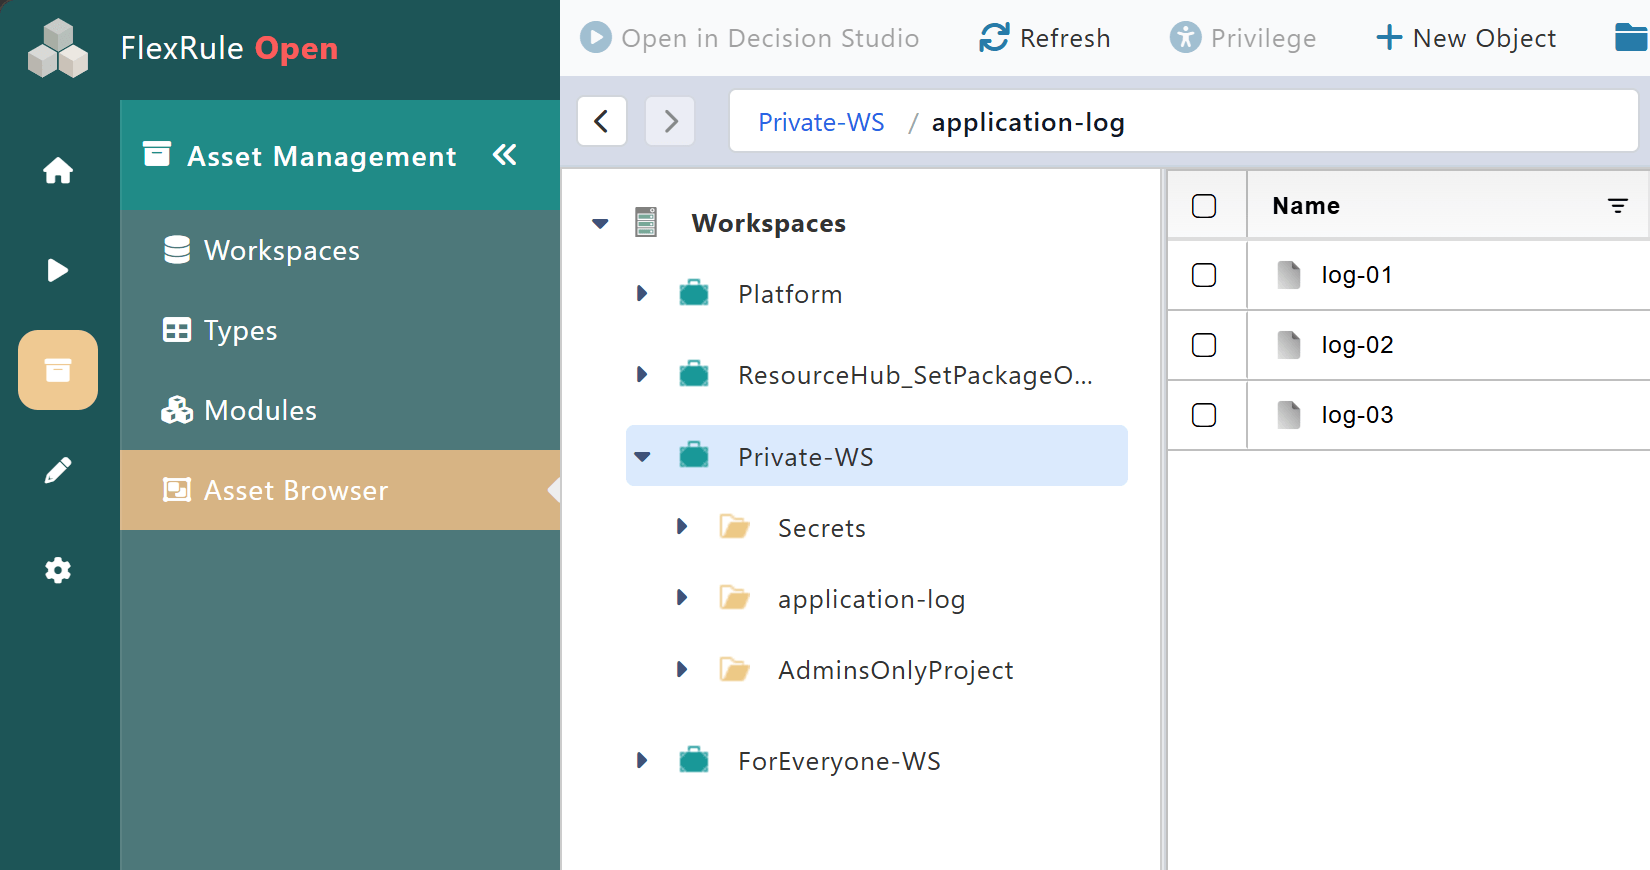
The following steps will give detail on how to implement the correct Roles and Privileges for this scenario. For this example, there are two users: Admin and Theo but with this implementation all users besides Admin (on the left) will have the same Roles and abilities as Theo (on the right).
Step 1: Give Everyone Roles
In order for all users to have write-Privileges, they must first have the Actions to allow them to write and make changes.
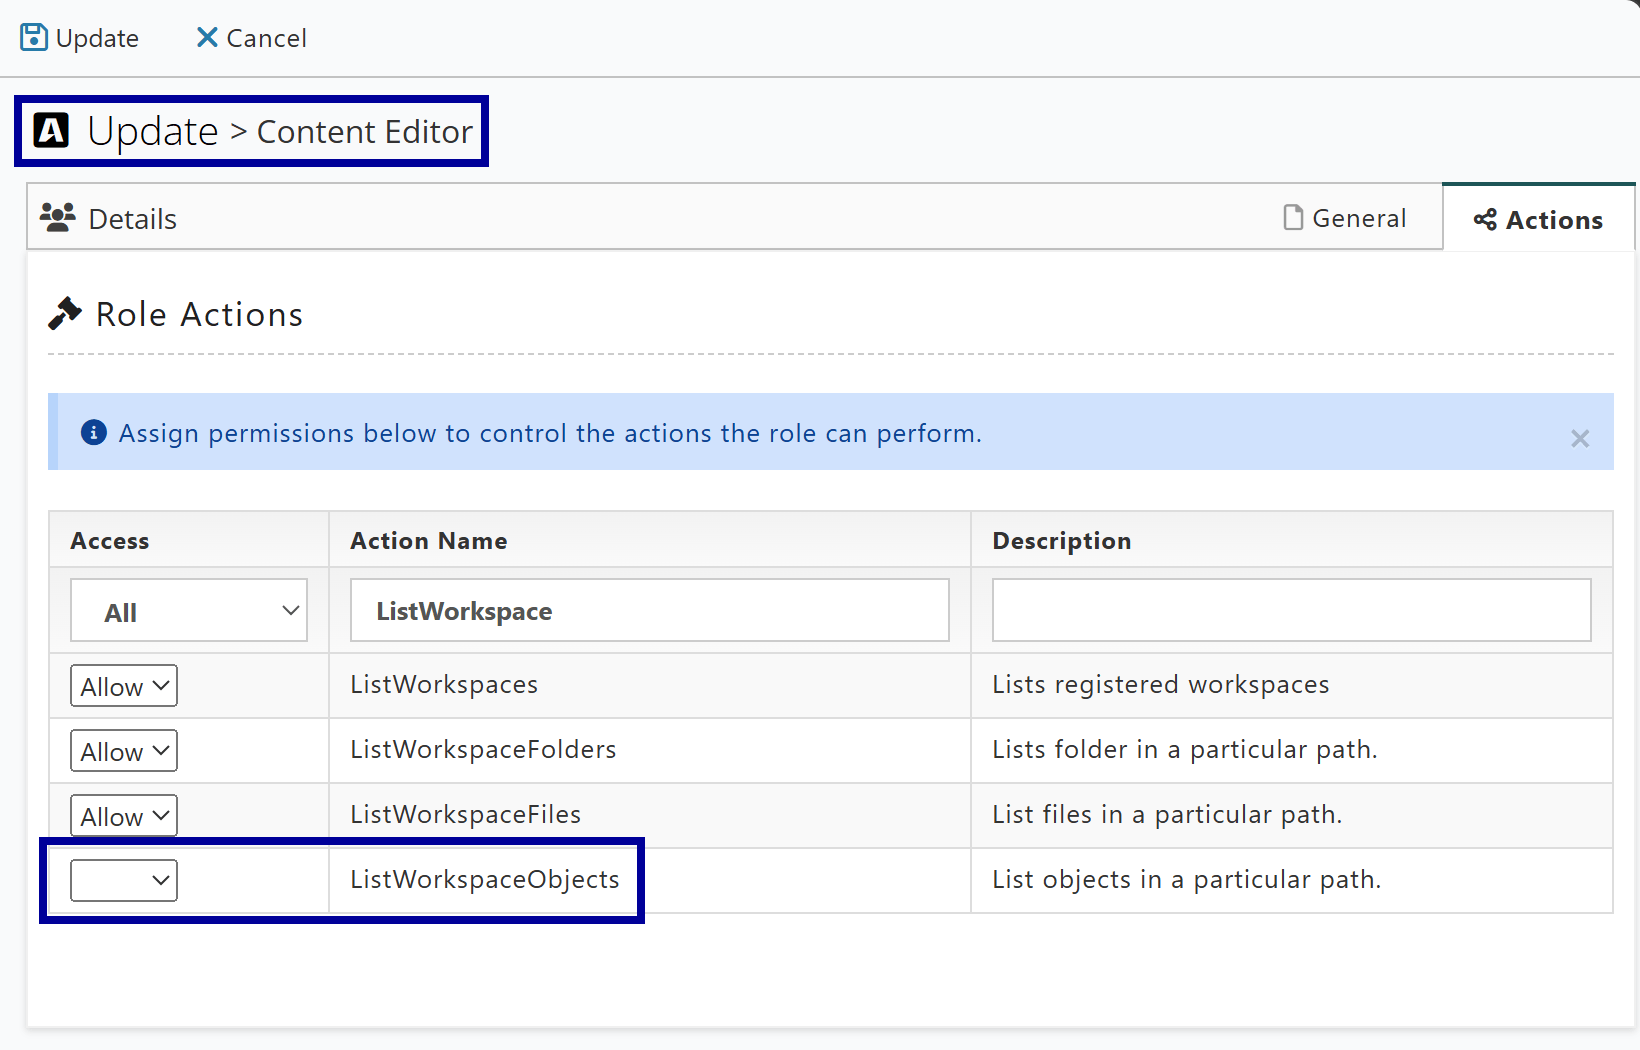
We’ll be using the default Role Content Editor as it already has the Actions needed for write-access.
This Role will be assigned to the default Everyone Group because all users are always included.
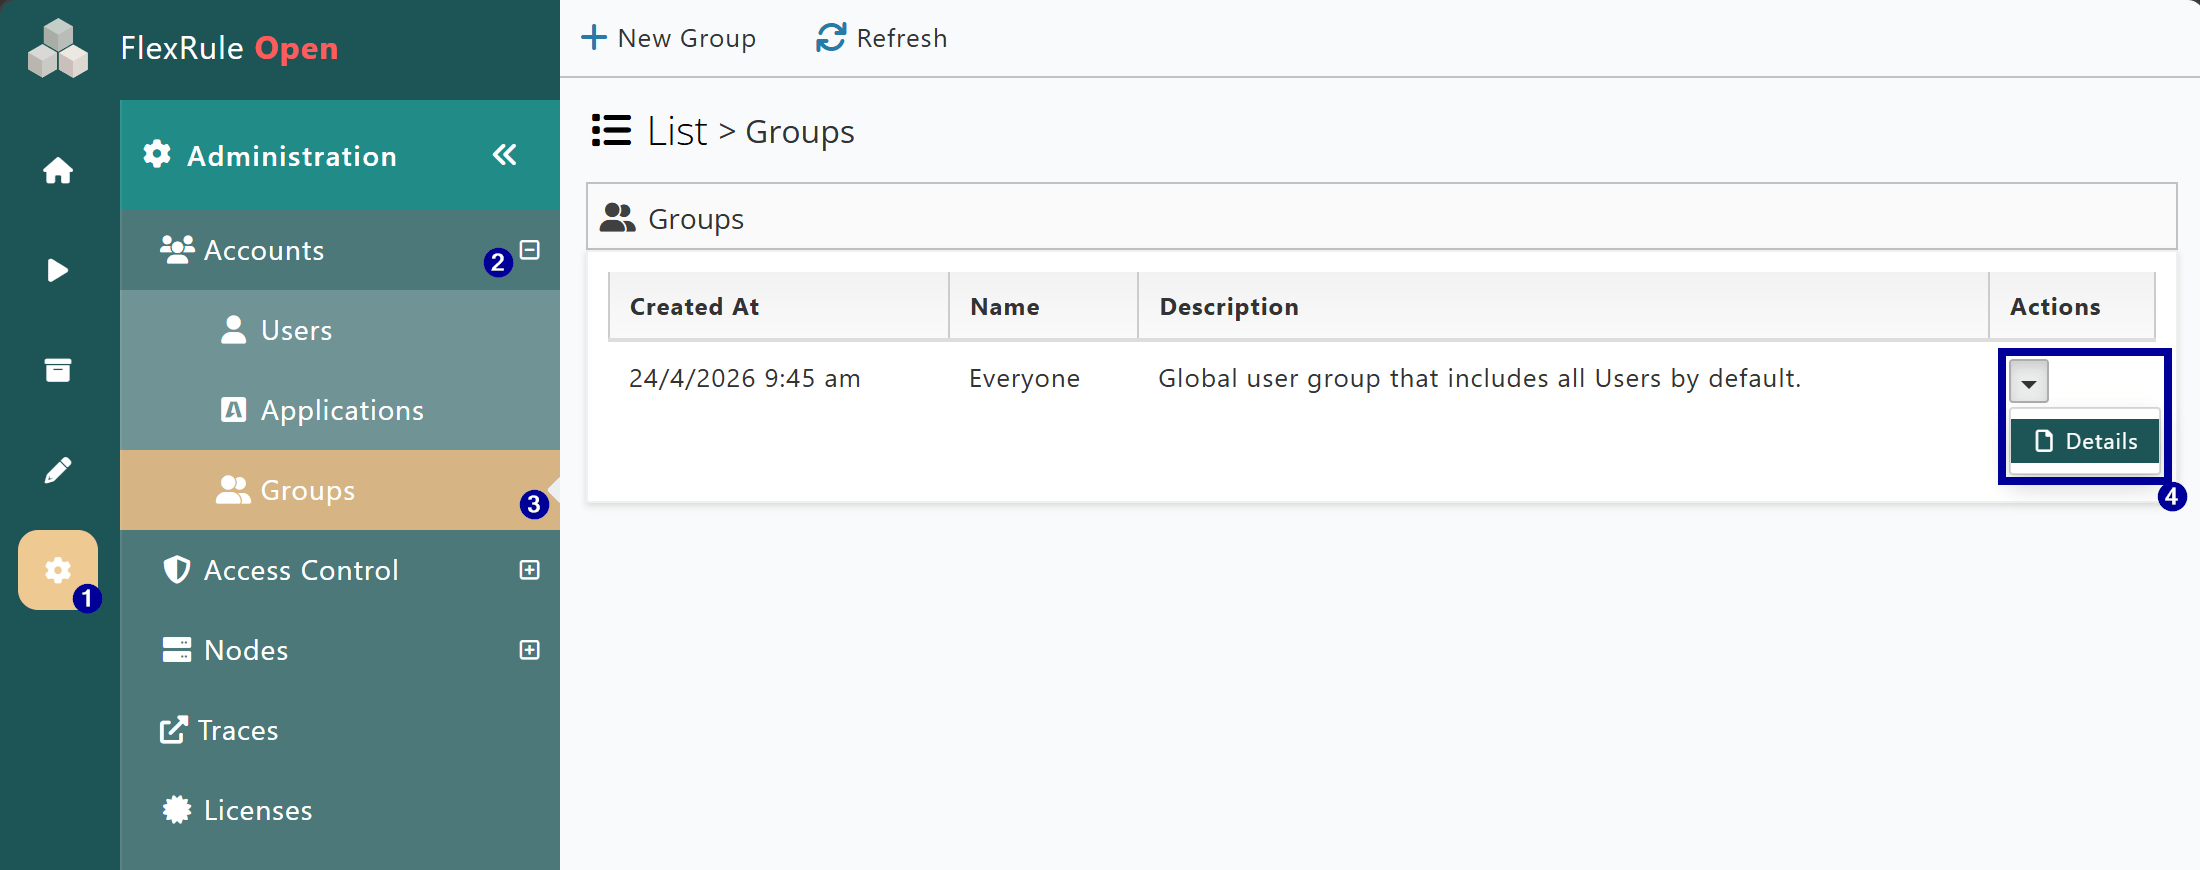
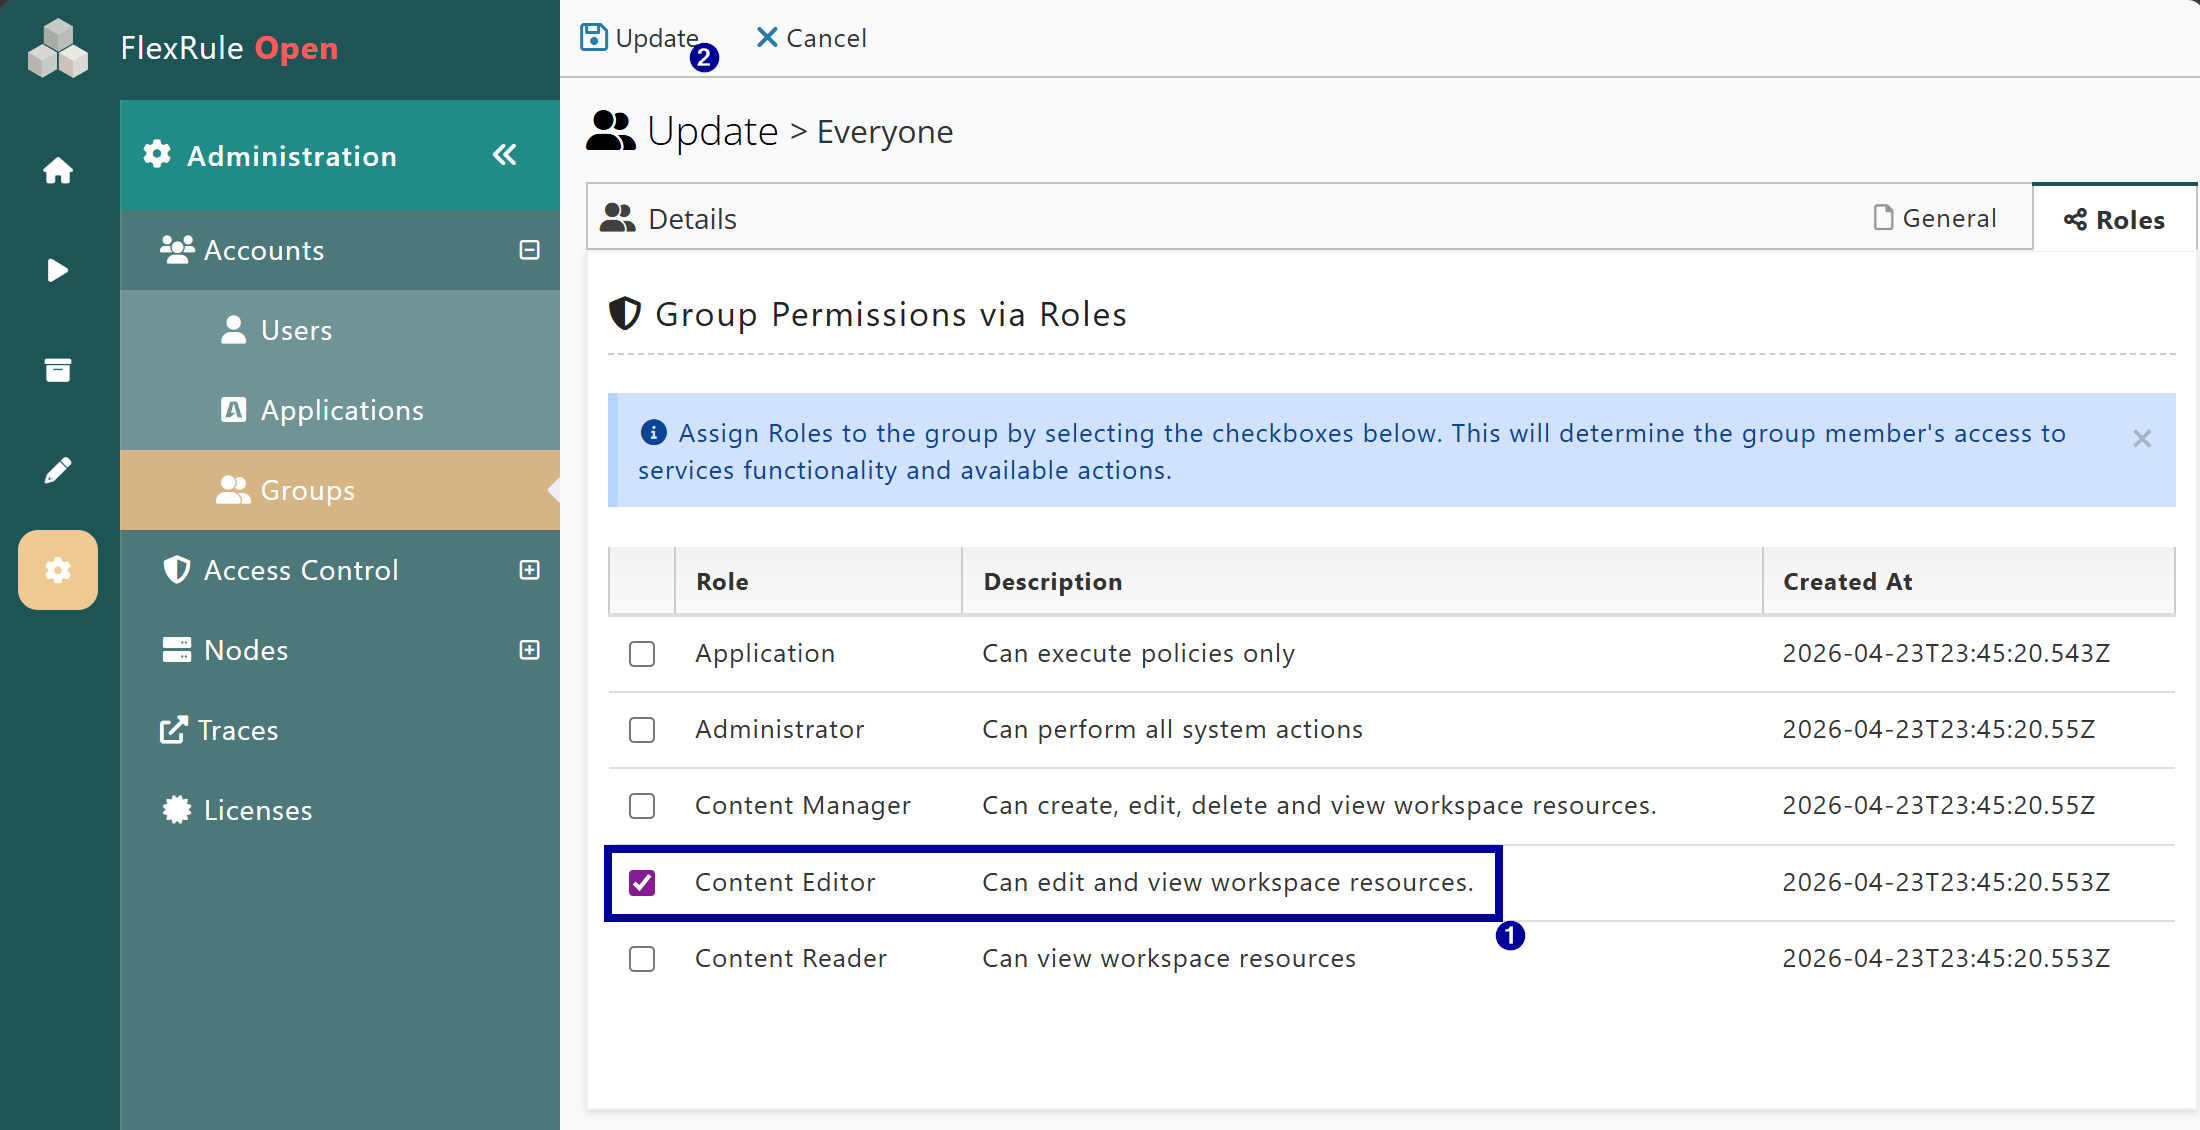
Now, all users will have the Actions to view and edit Workspace resources once they have the Privileges.
Step 2: Create New Role
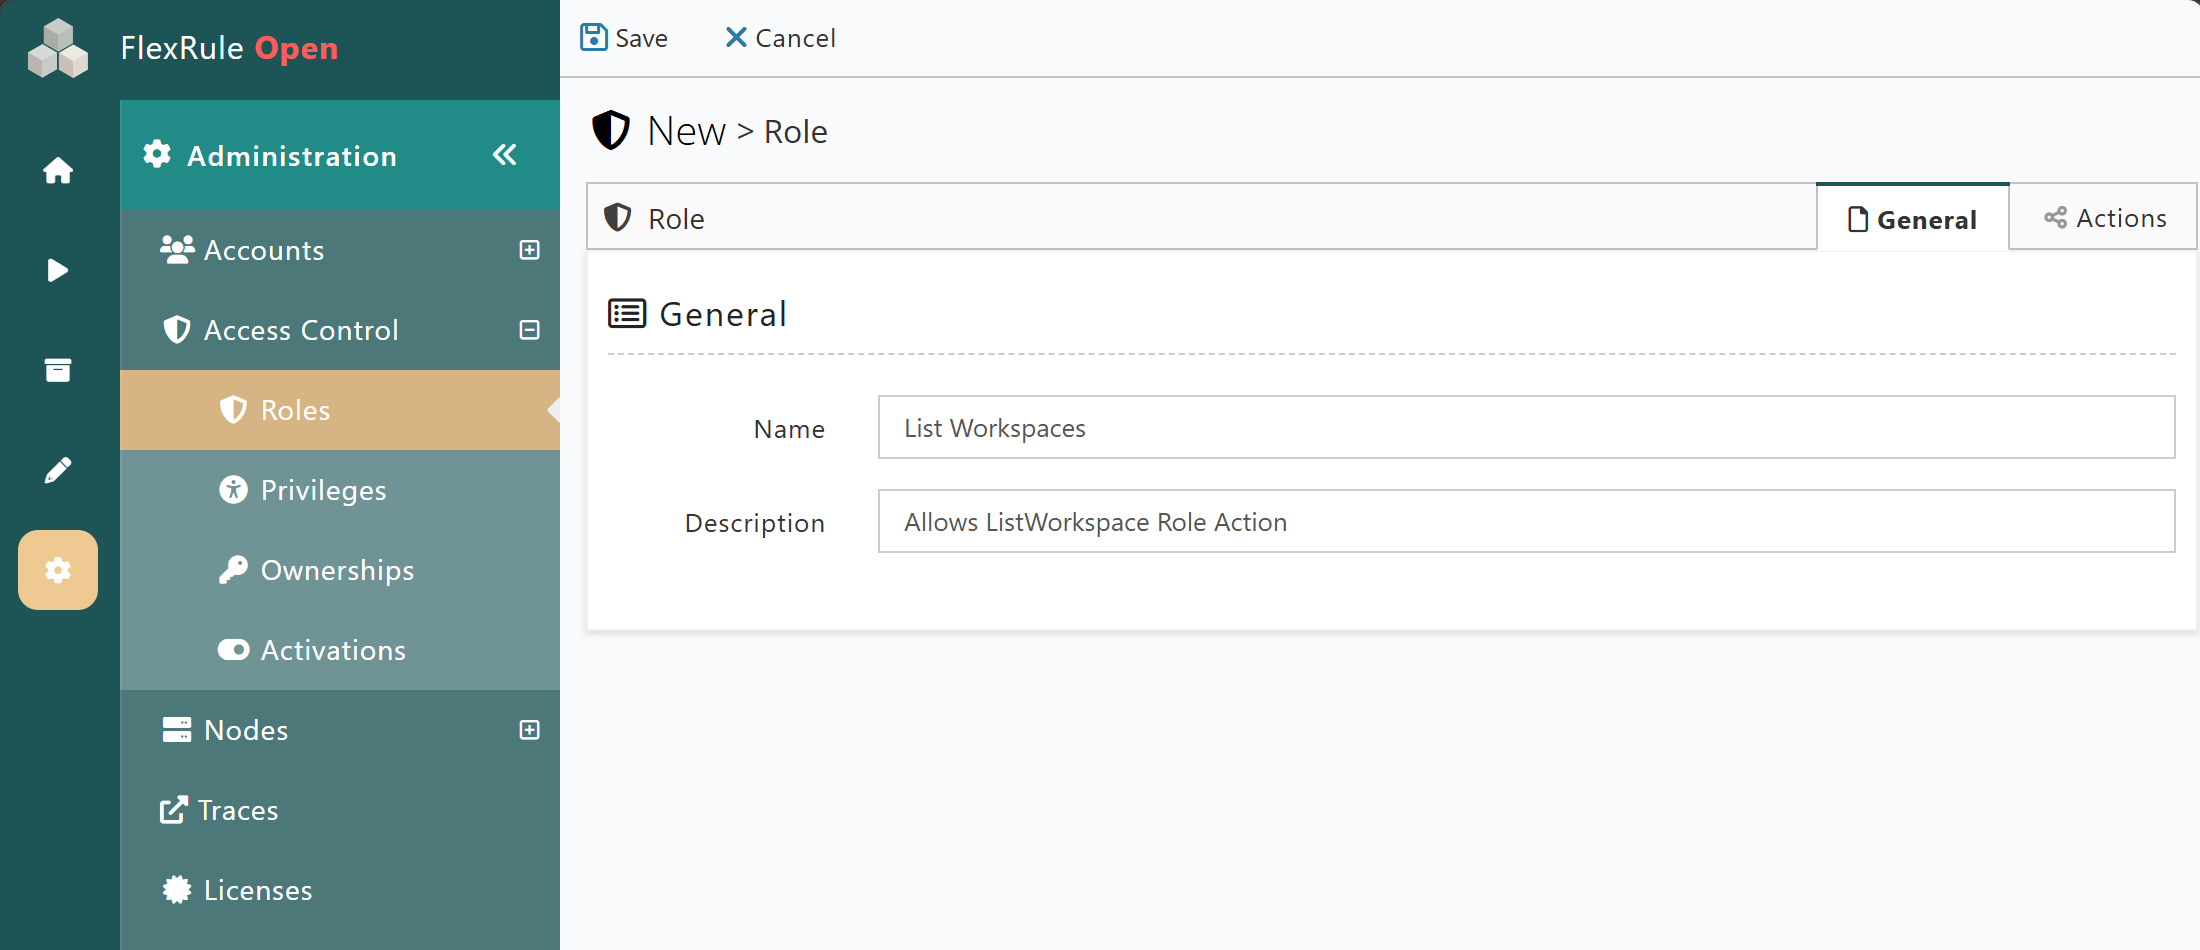
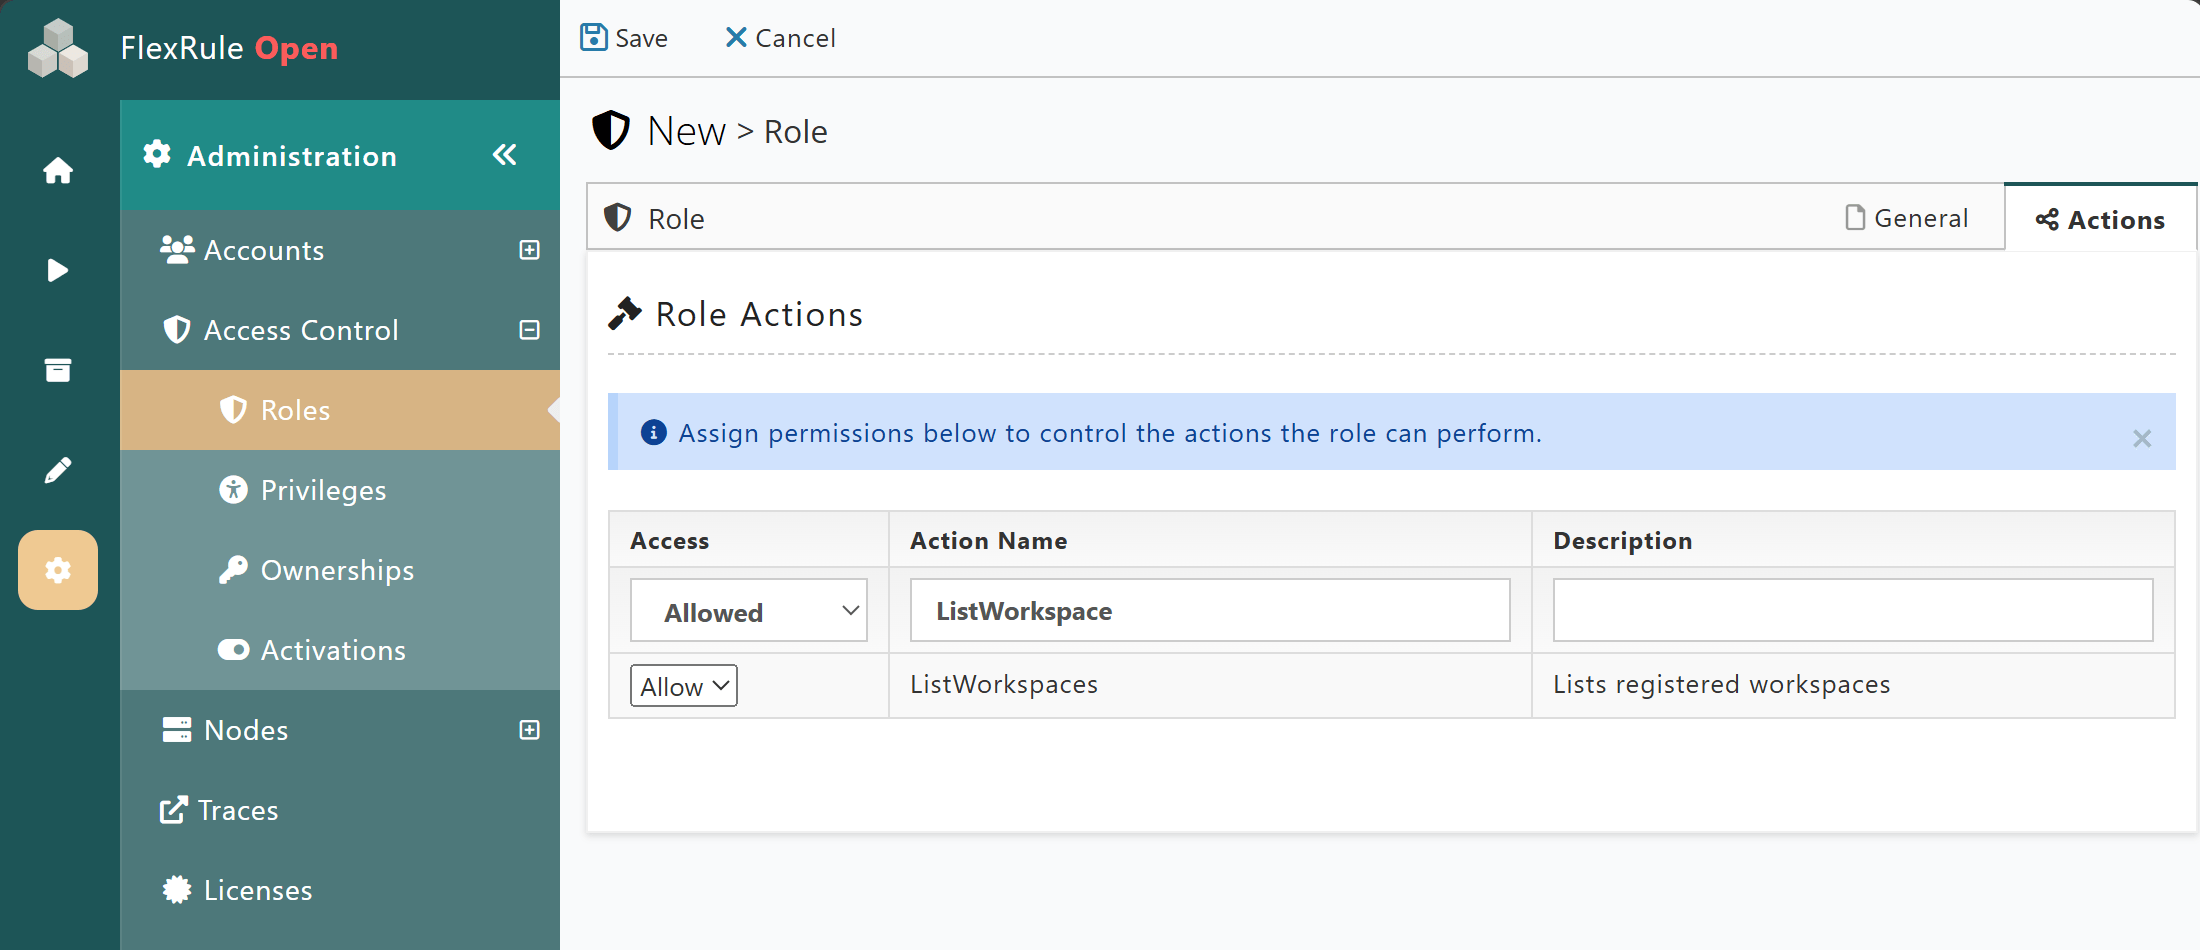
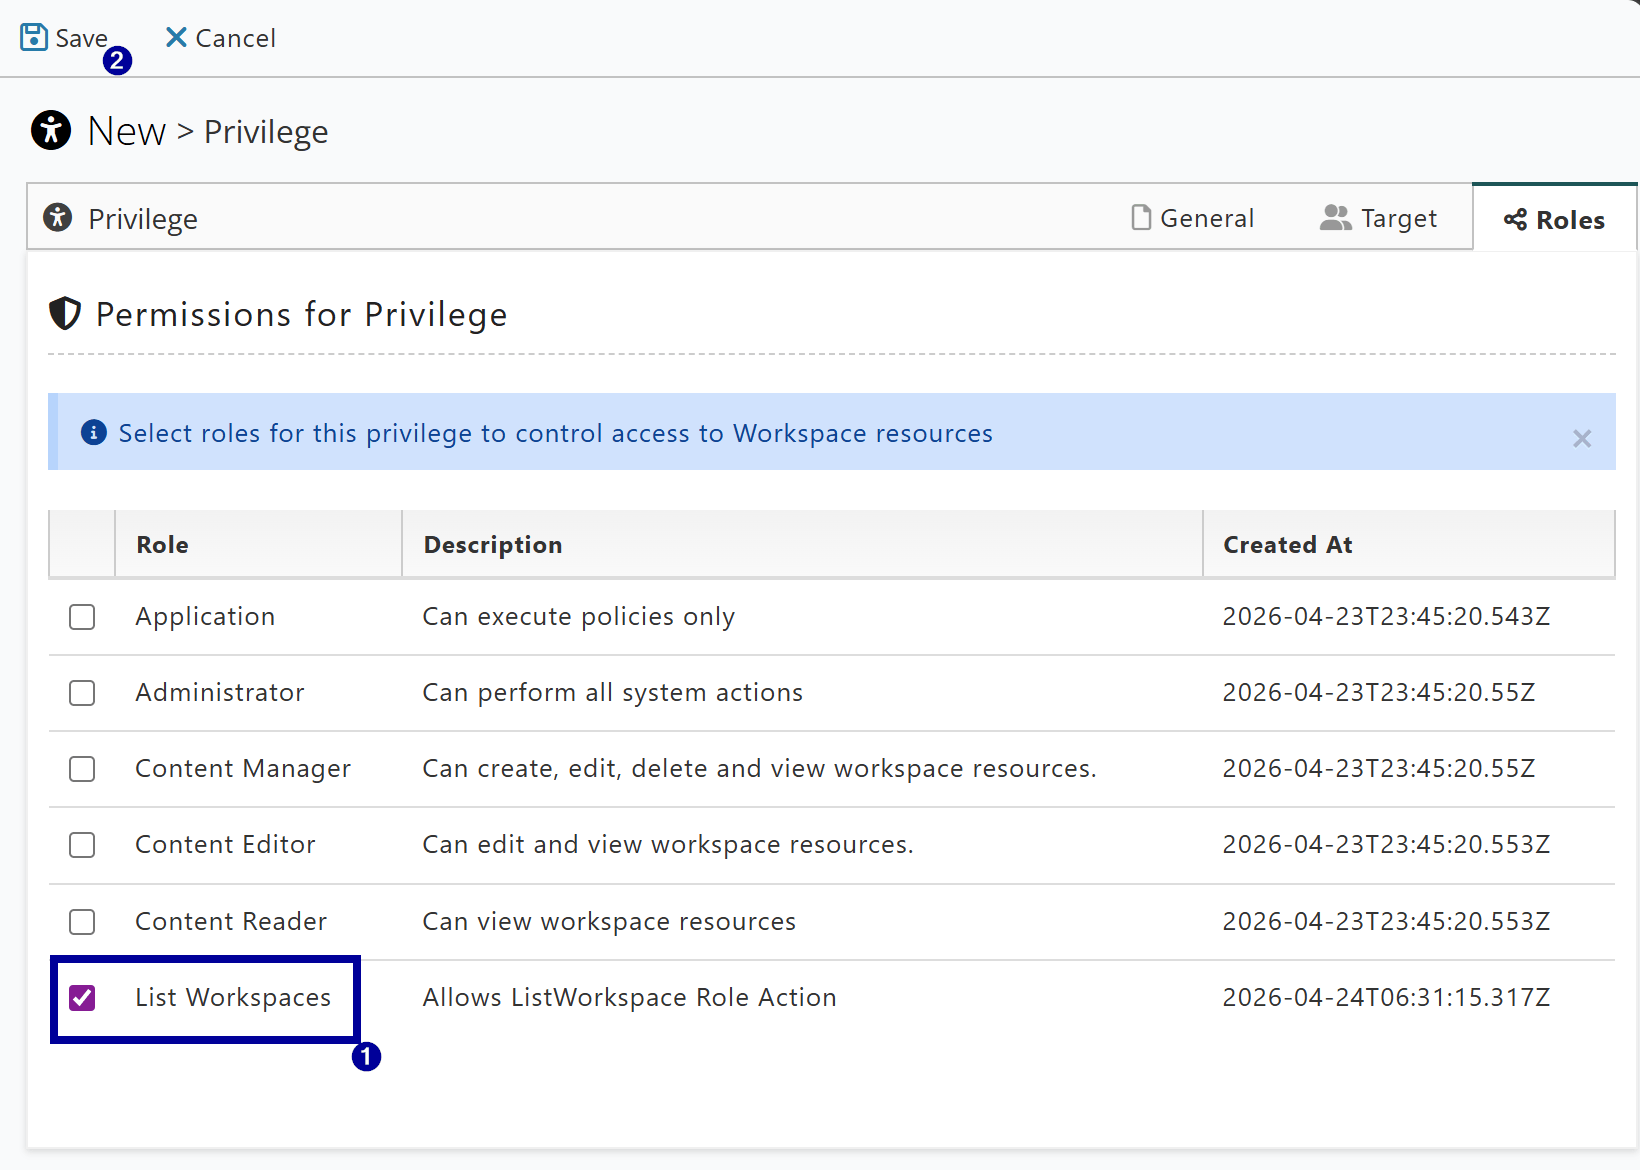
The new Role should have only the ListWorkspaces Action allowed, and nothing else.
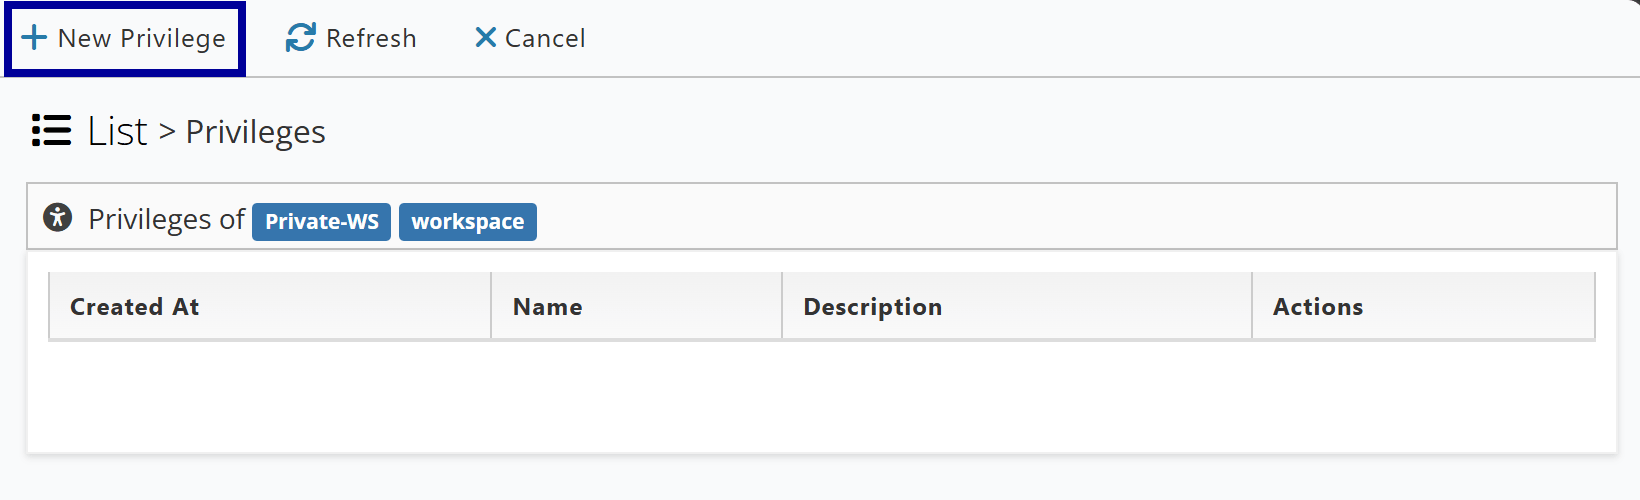
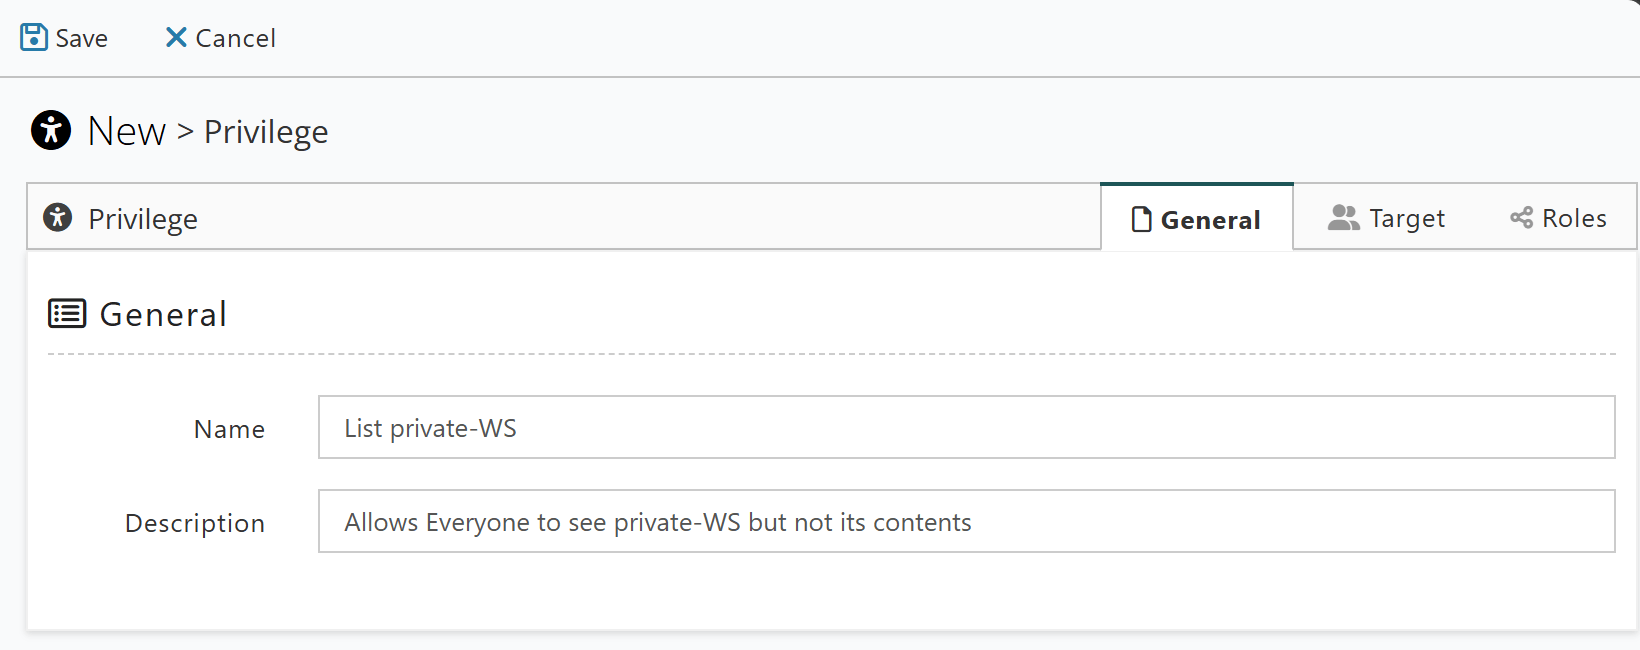
Step 3: Create New Privilege (No. 1)
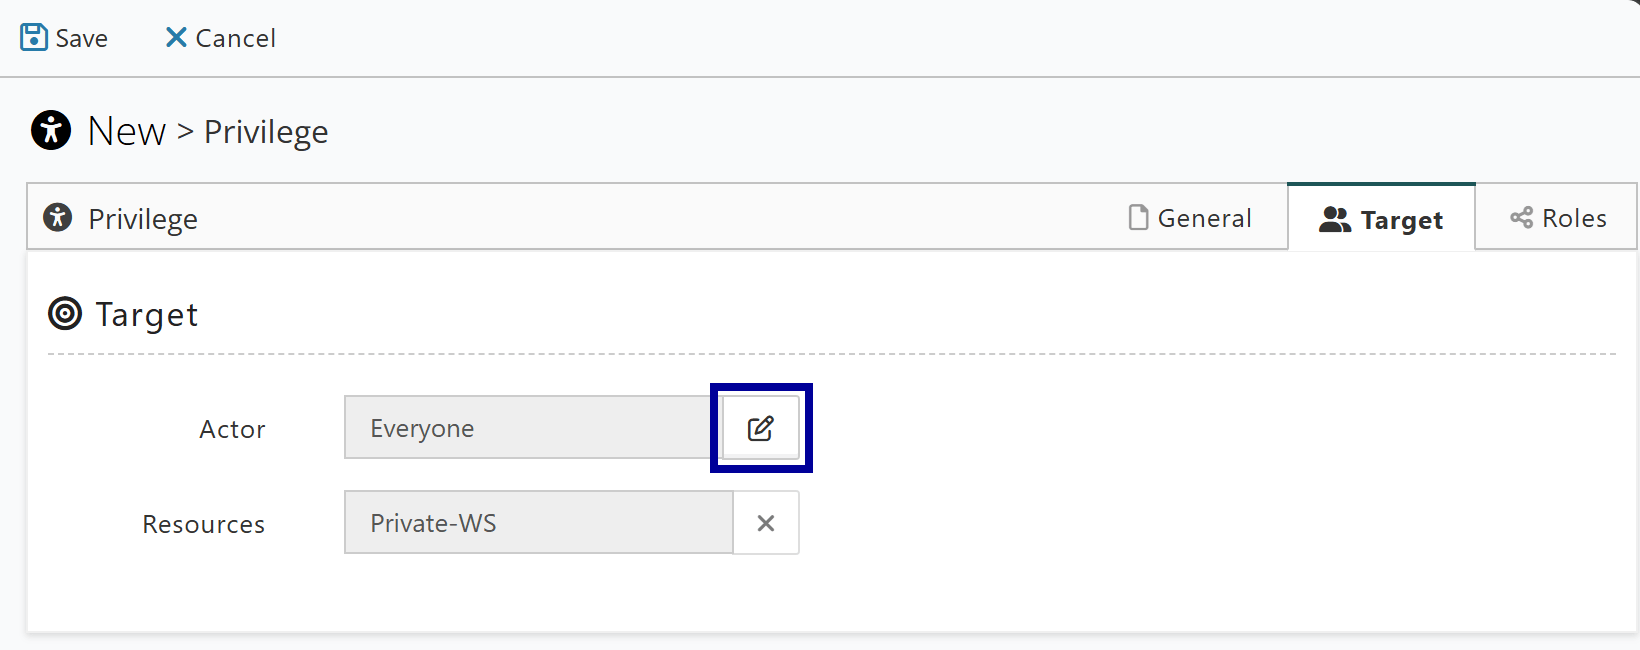
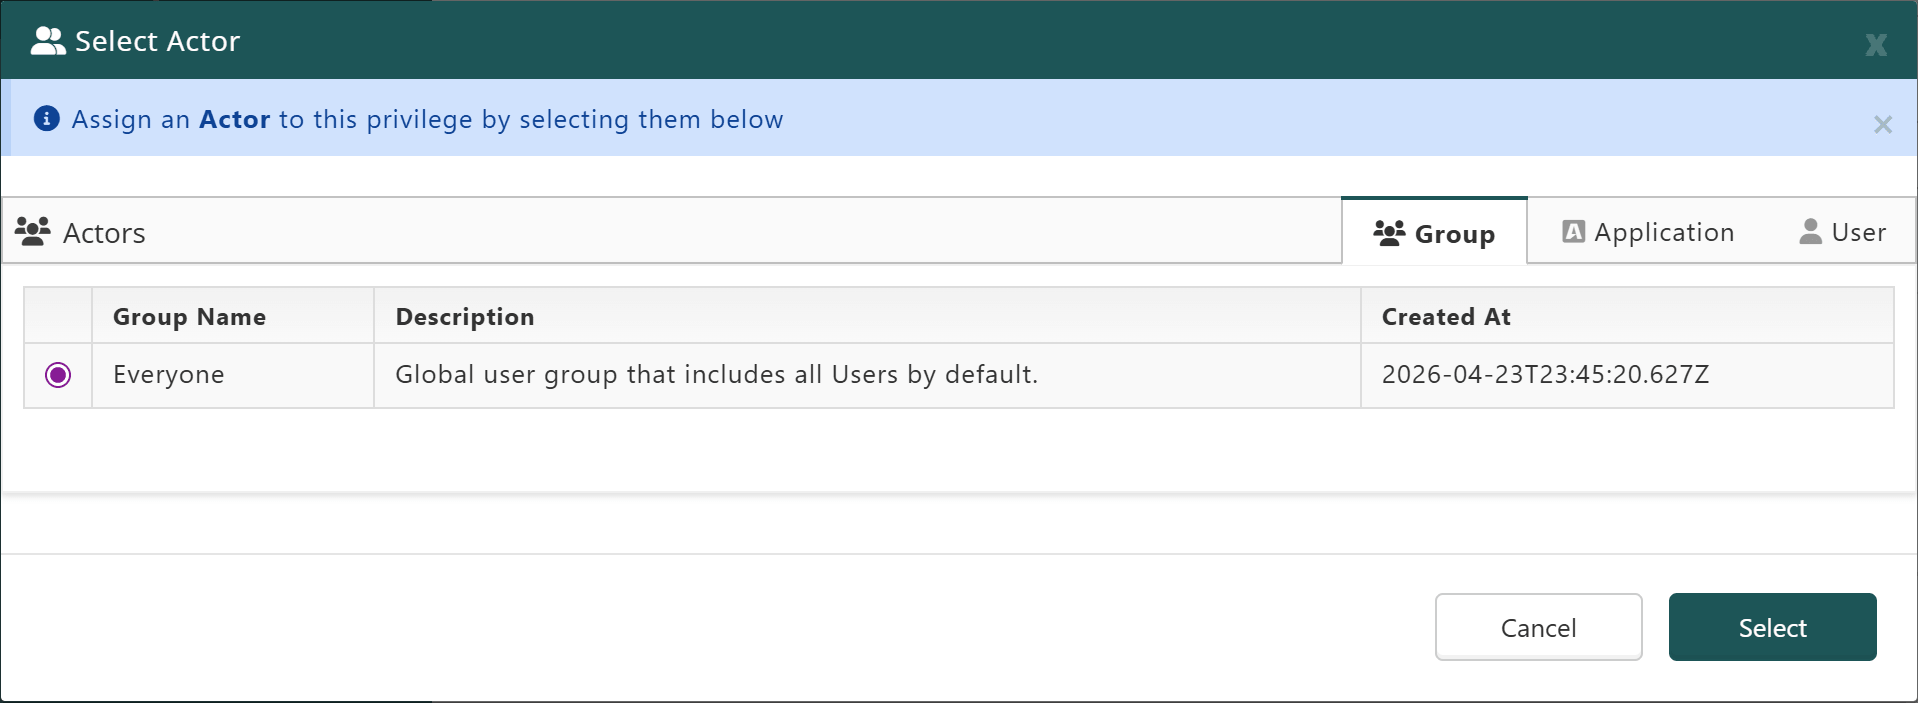
This first Privilege being created will assign the new Role created in Step 2 and target the Everyone Group. Giving all users the Privilege to list the private Workspace, but not any of its contents.
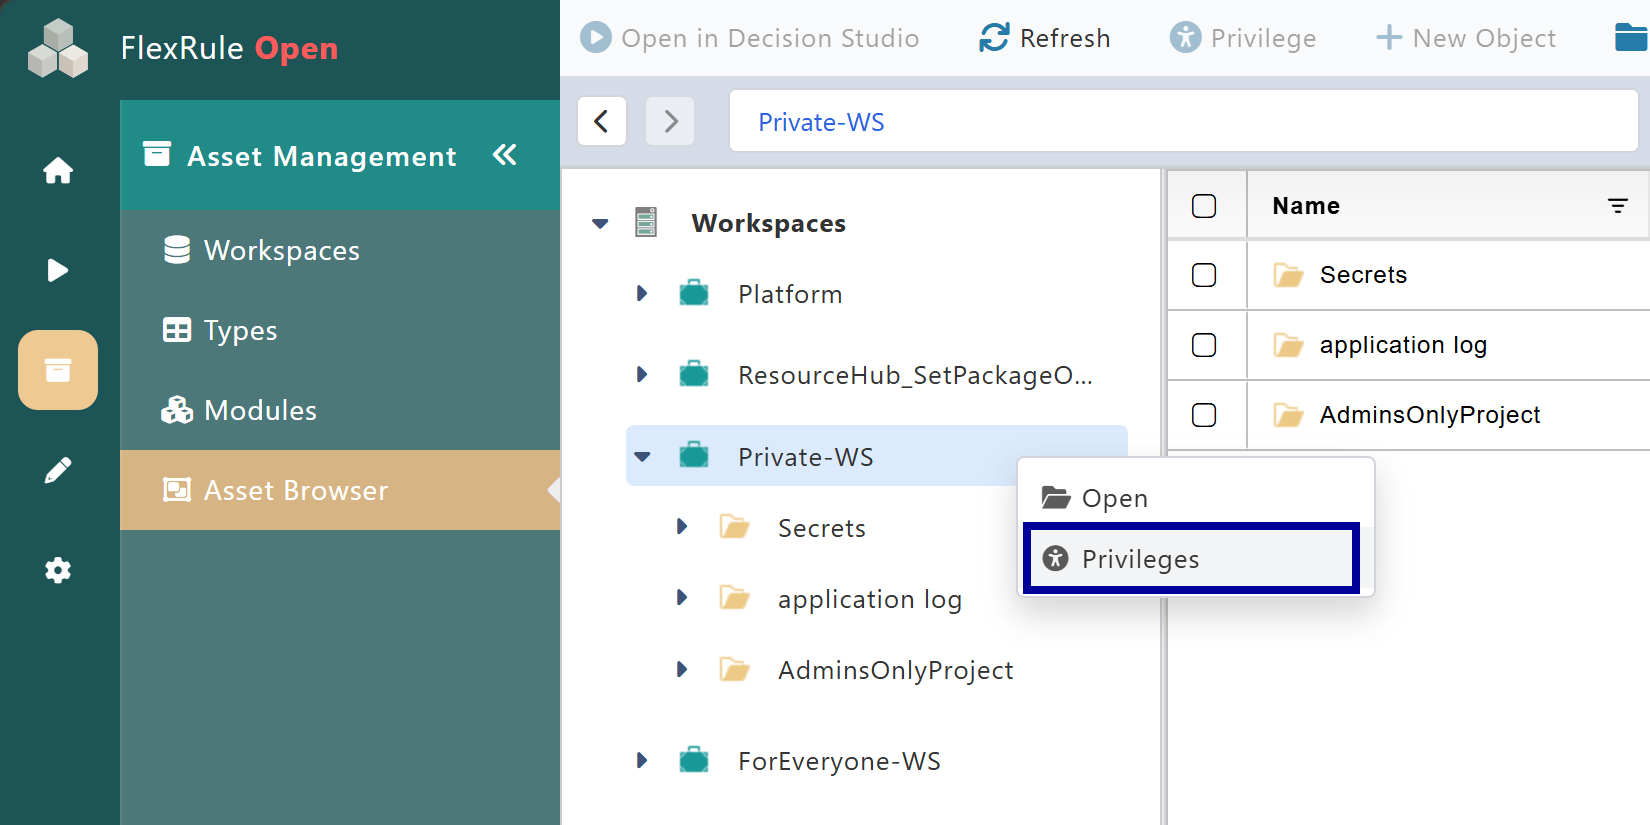
Theo’s View after Step 3
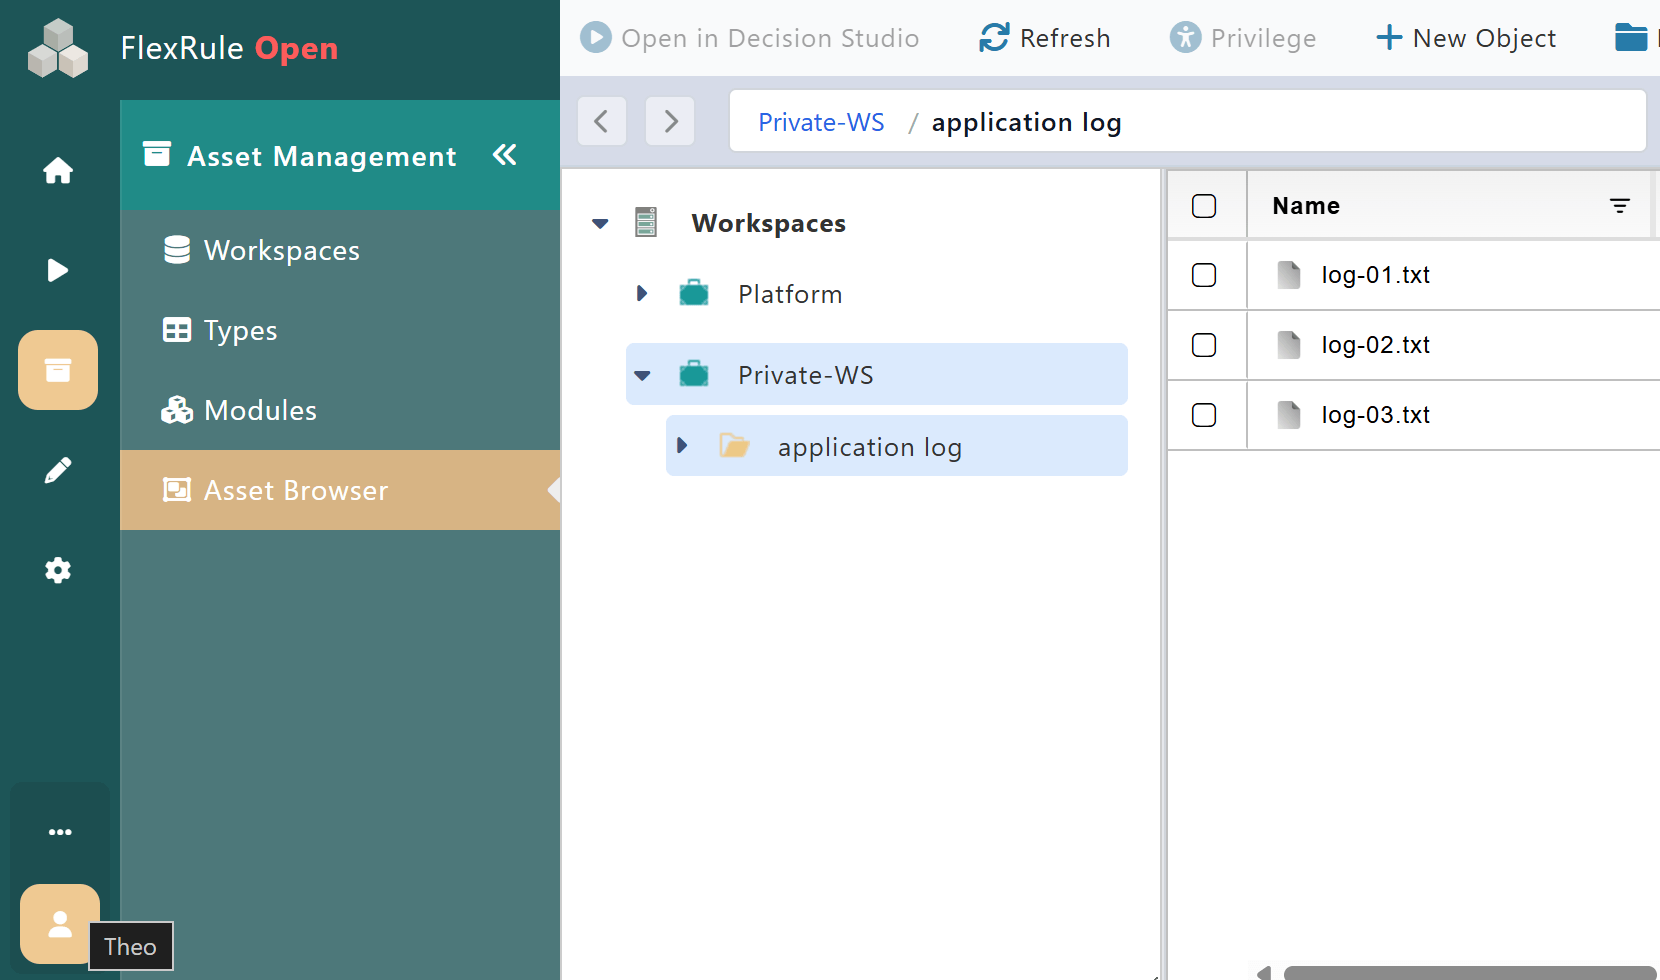
This is what Theo can see after Admin has completed Step 3 to allow all users the Action to list the private Workspace.
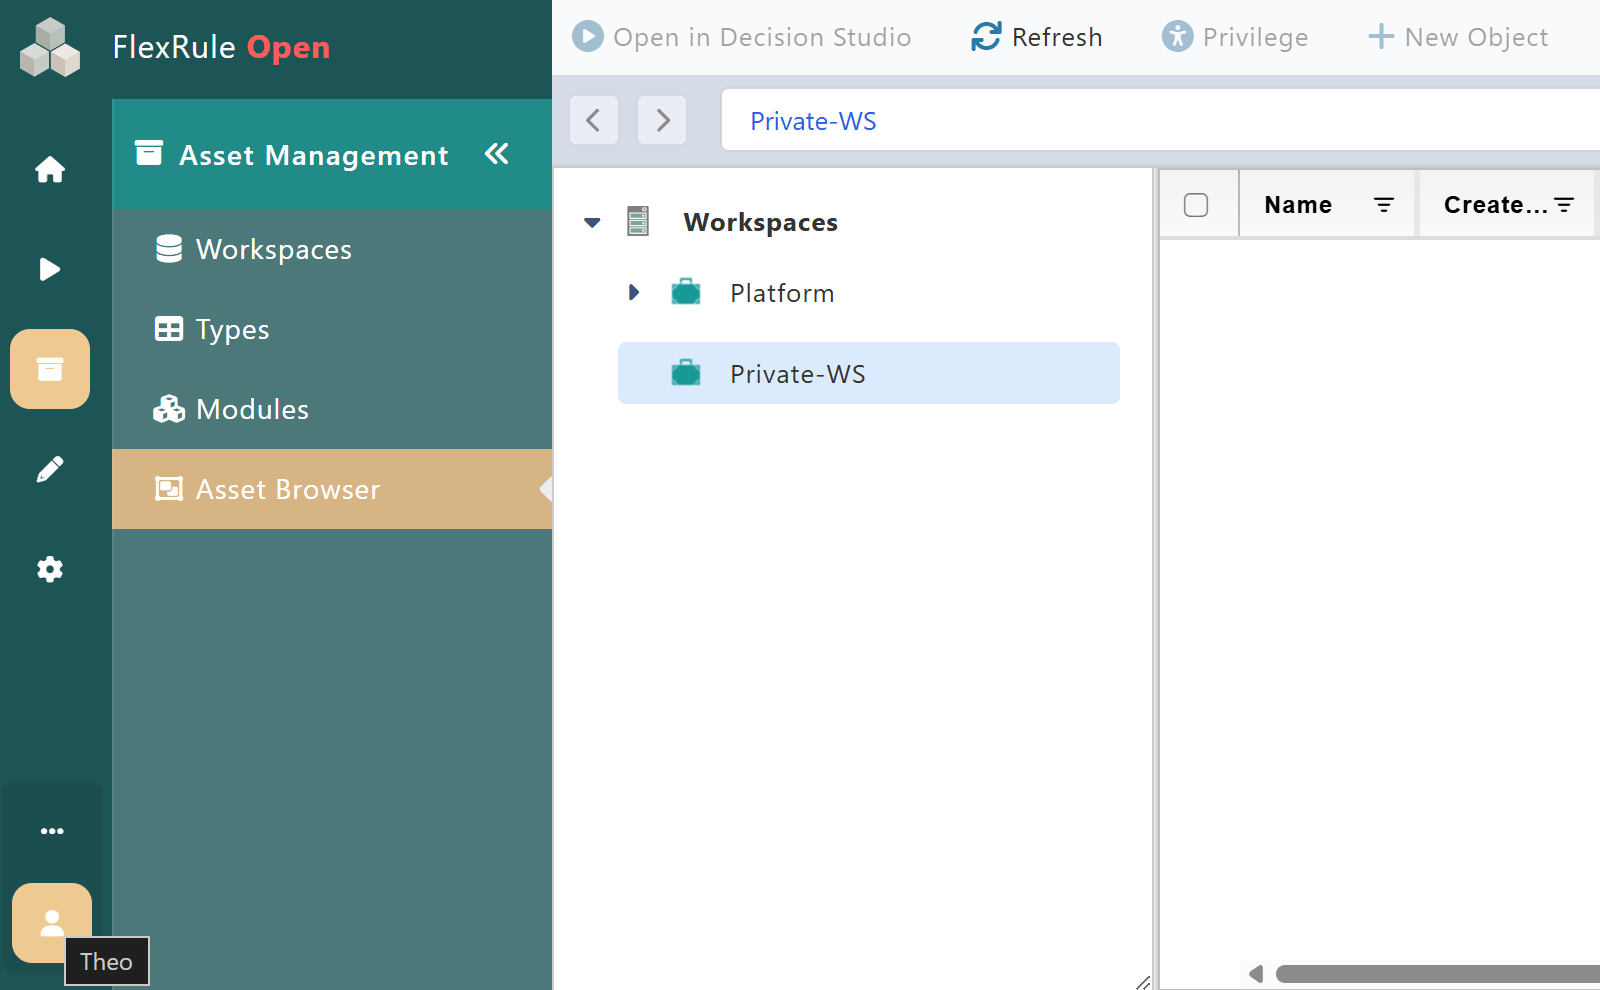
User Theo can now see the private Workspace, but they cannot see any of the files, folders or any content within that Workspace. After Admin completes this next step, all users including Theo will have the Privilege to allow viewing and editing of the contents within application log.
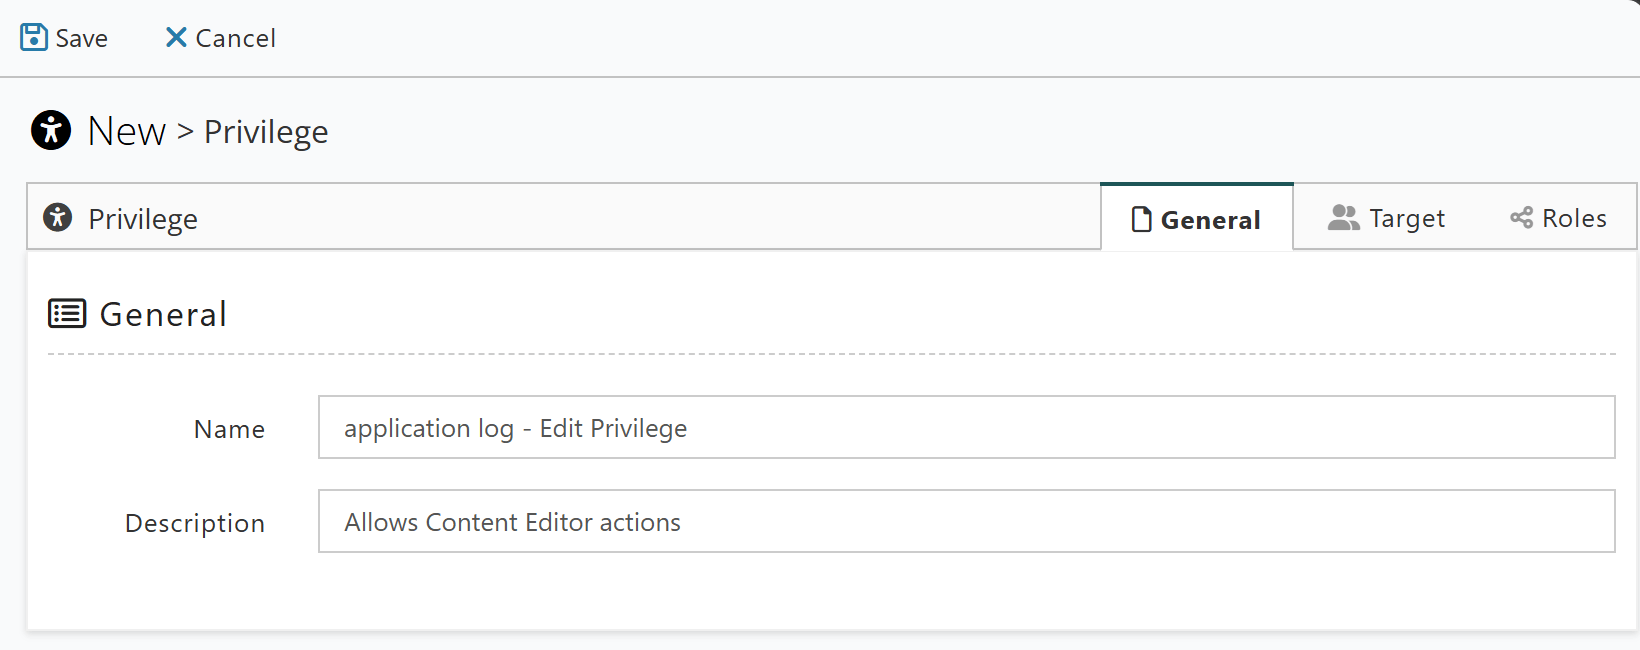
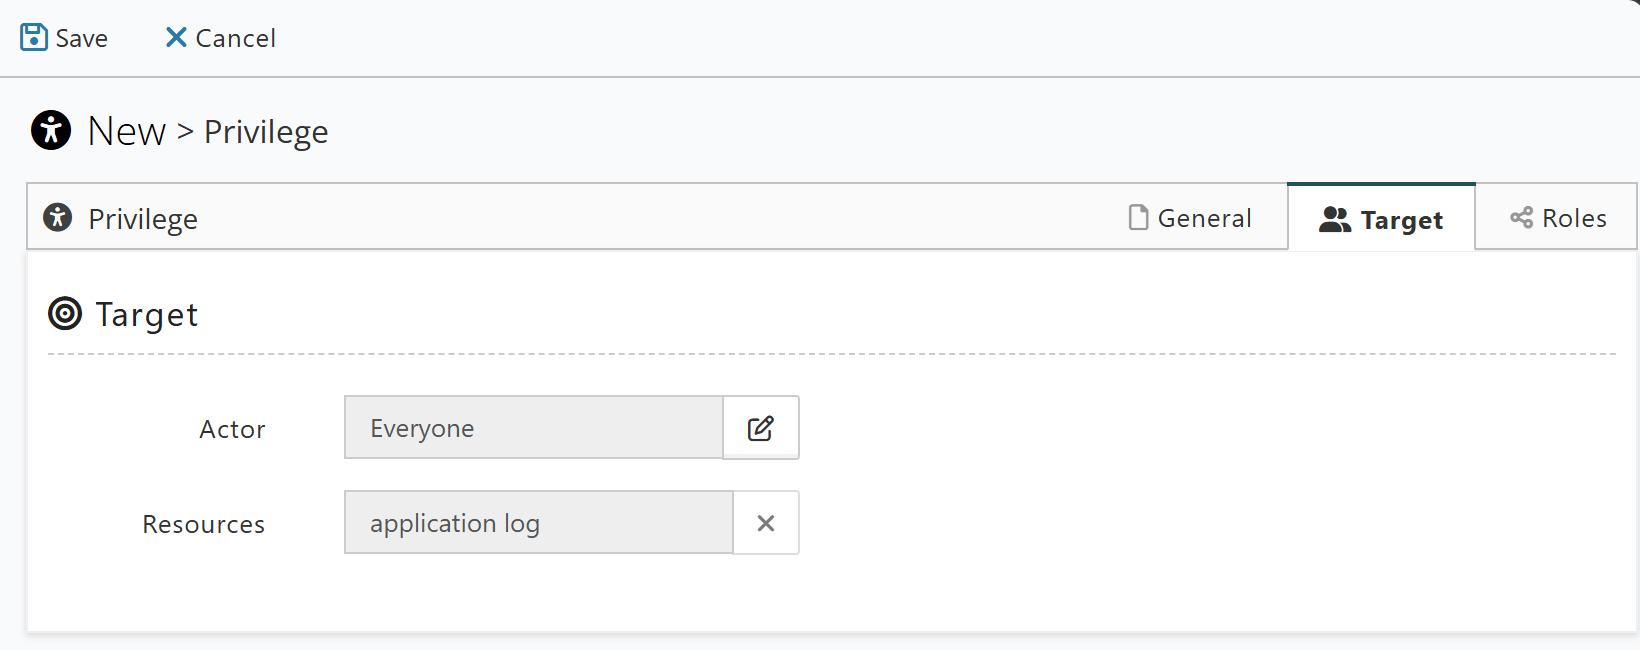
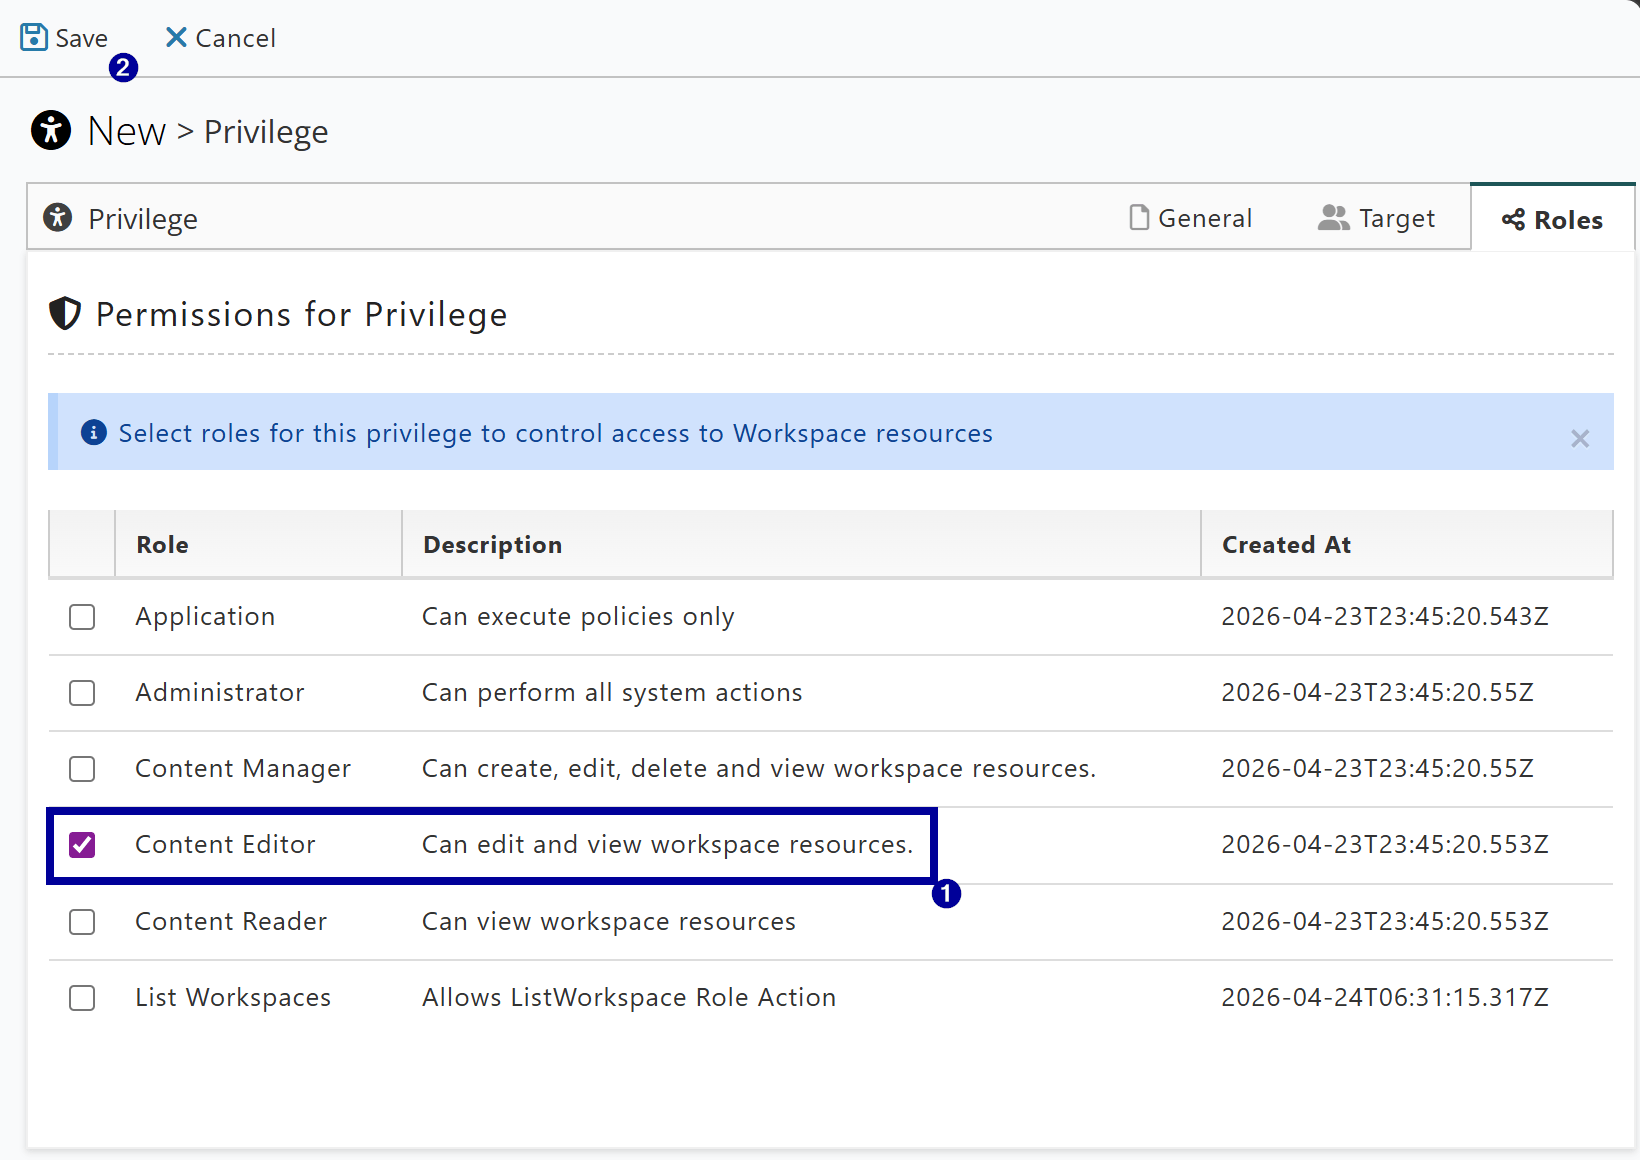
Step 4: Create new Privilege (No. 2)
This second Privilege will assign the same default Role given to the Everyone Group from Step 1. This will allow users to utilize the Actions assigned via the Group Roles, but for only the target resource, in this case application log.
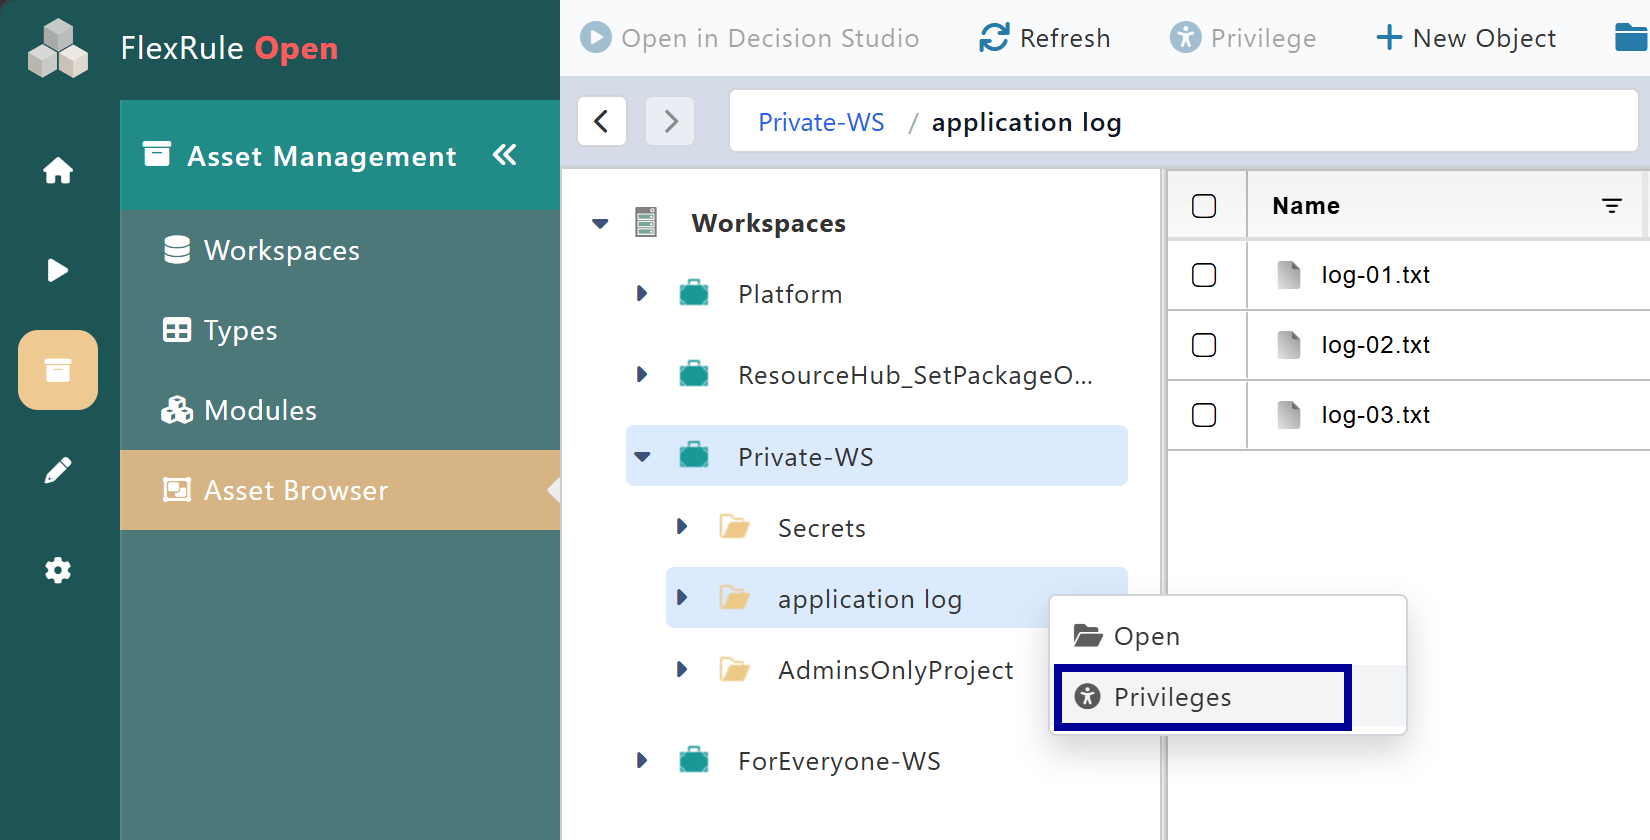
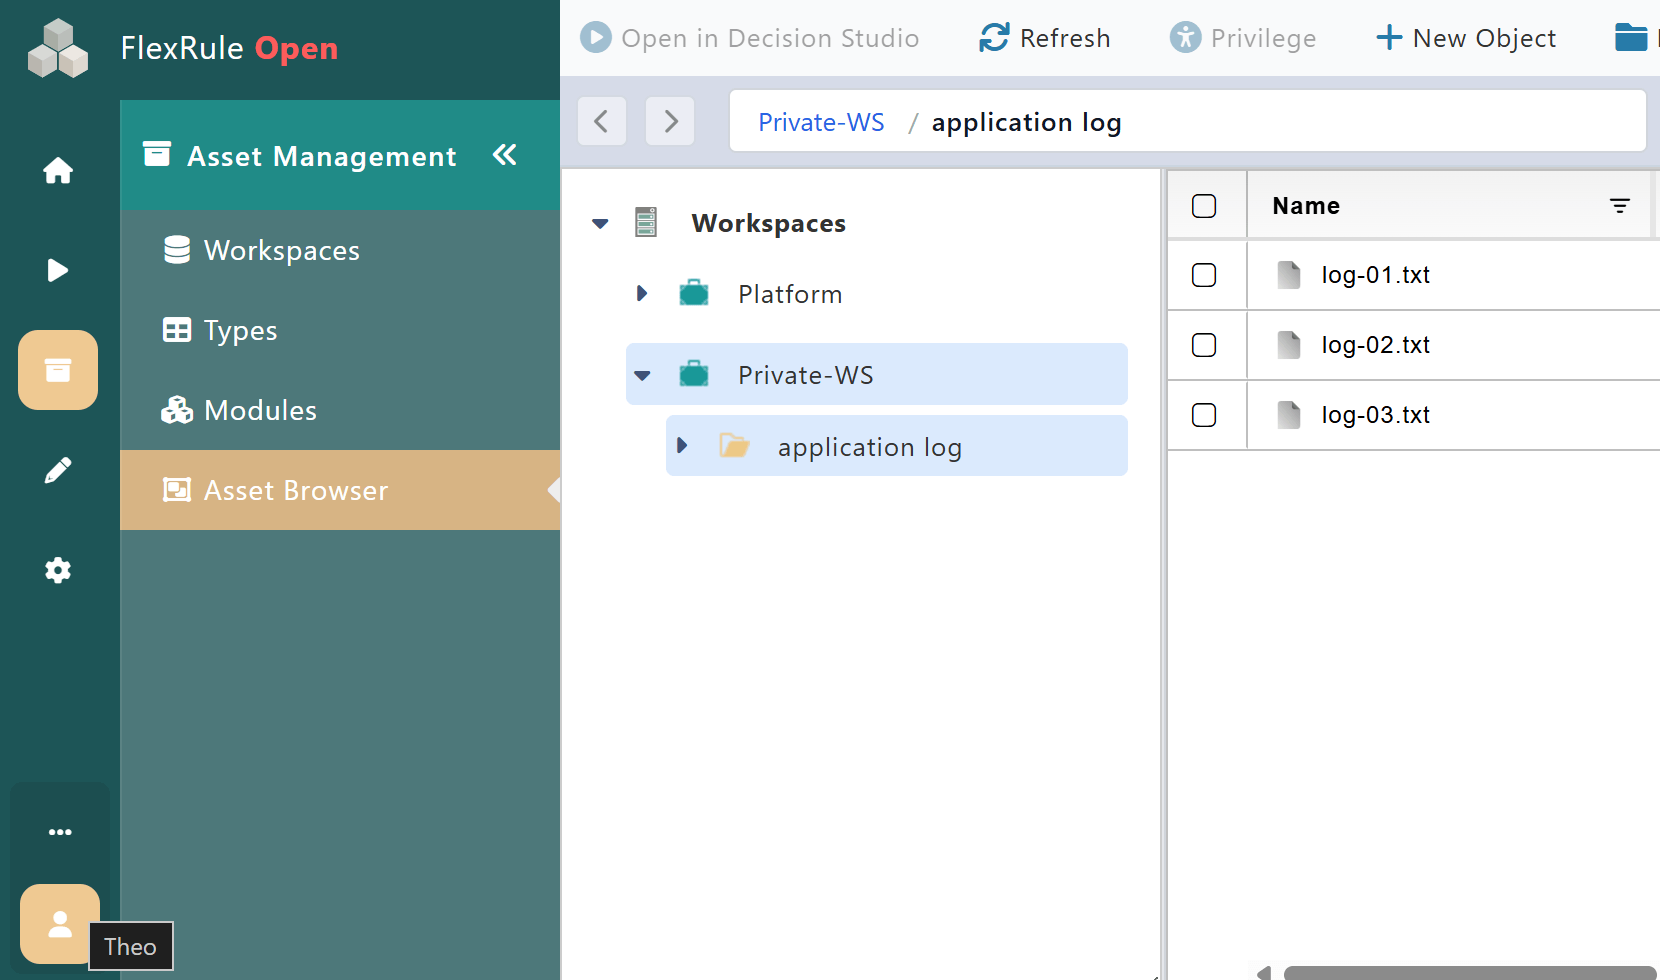
Theo’s View After Step 4
After Admin completed Step 4, all users, including Theo, will now be able to see the shared folder in the private Workspace. Now, everything within this folder can be edited by everyone; this includes any users added in the future with no additional steps required.