
◷ Reading Time: 8 minutes
This page will explain how Lifecycles Activations work and how they can be managed.
Prerequisites to Assigning Lifecycle Activations
Uploading a Workflow
Before Activations can be assigned, a Workflow package with at least one task and one outcome must be deployed. Please follow the instructions on this page: Test a Workflow in Workbench to become more familiar with Starting and Resuming Workflows before continuing with Lifecycle Activations.
The Workflow project deployed and used in the following examples is from this page: Workflow.
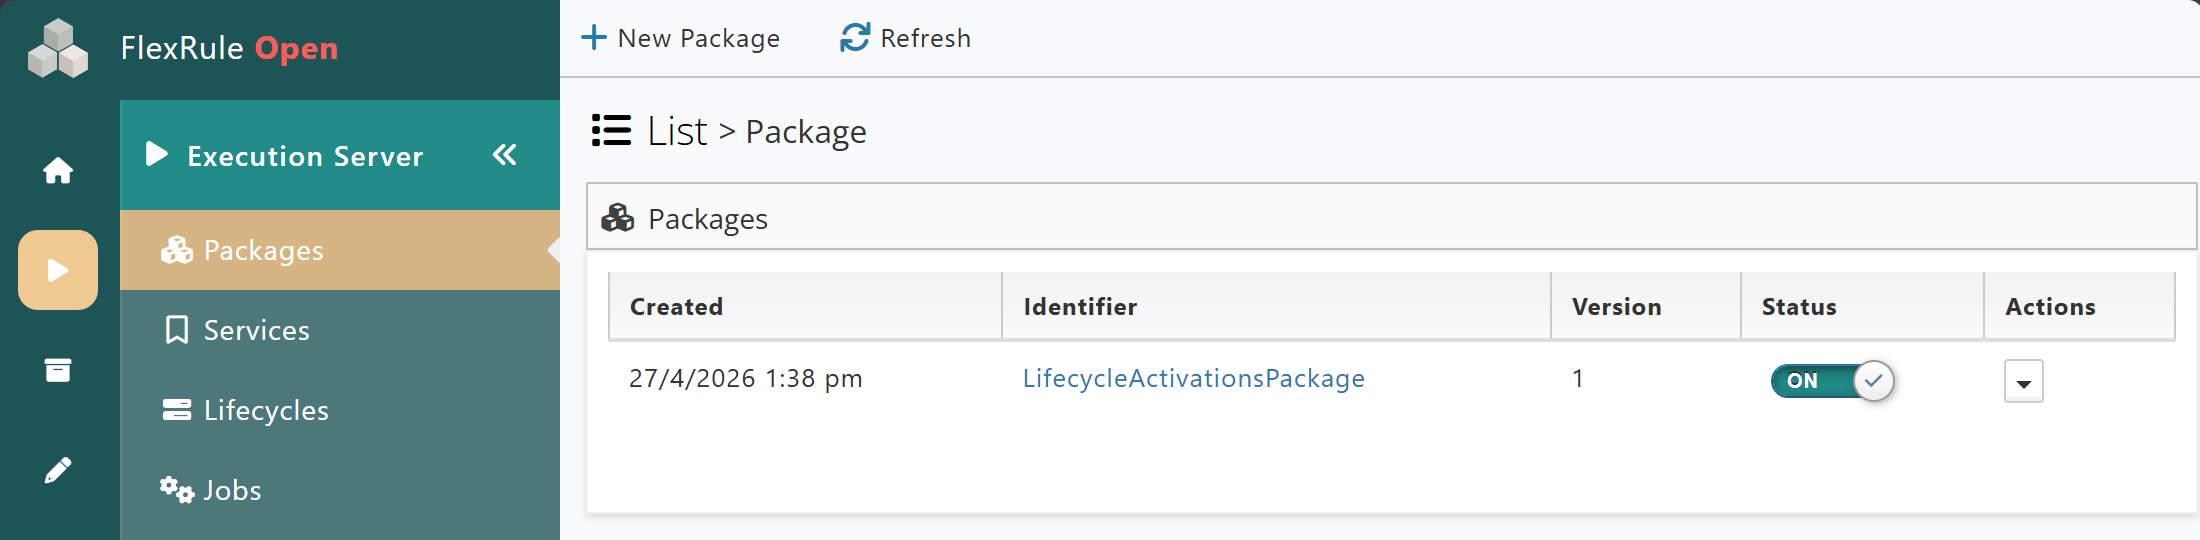
Assigning Workflow Package
For the following examples, the Workflow package has been assigned to User: Admin with the Administrator role, and App1 with the Application role.
Assigning Lifecycle Activations
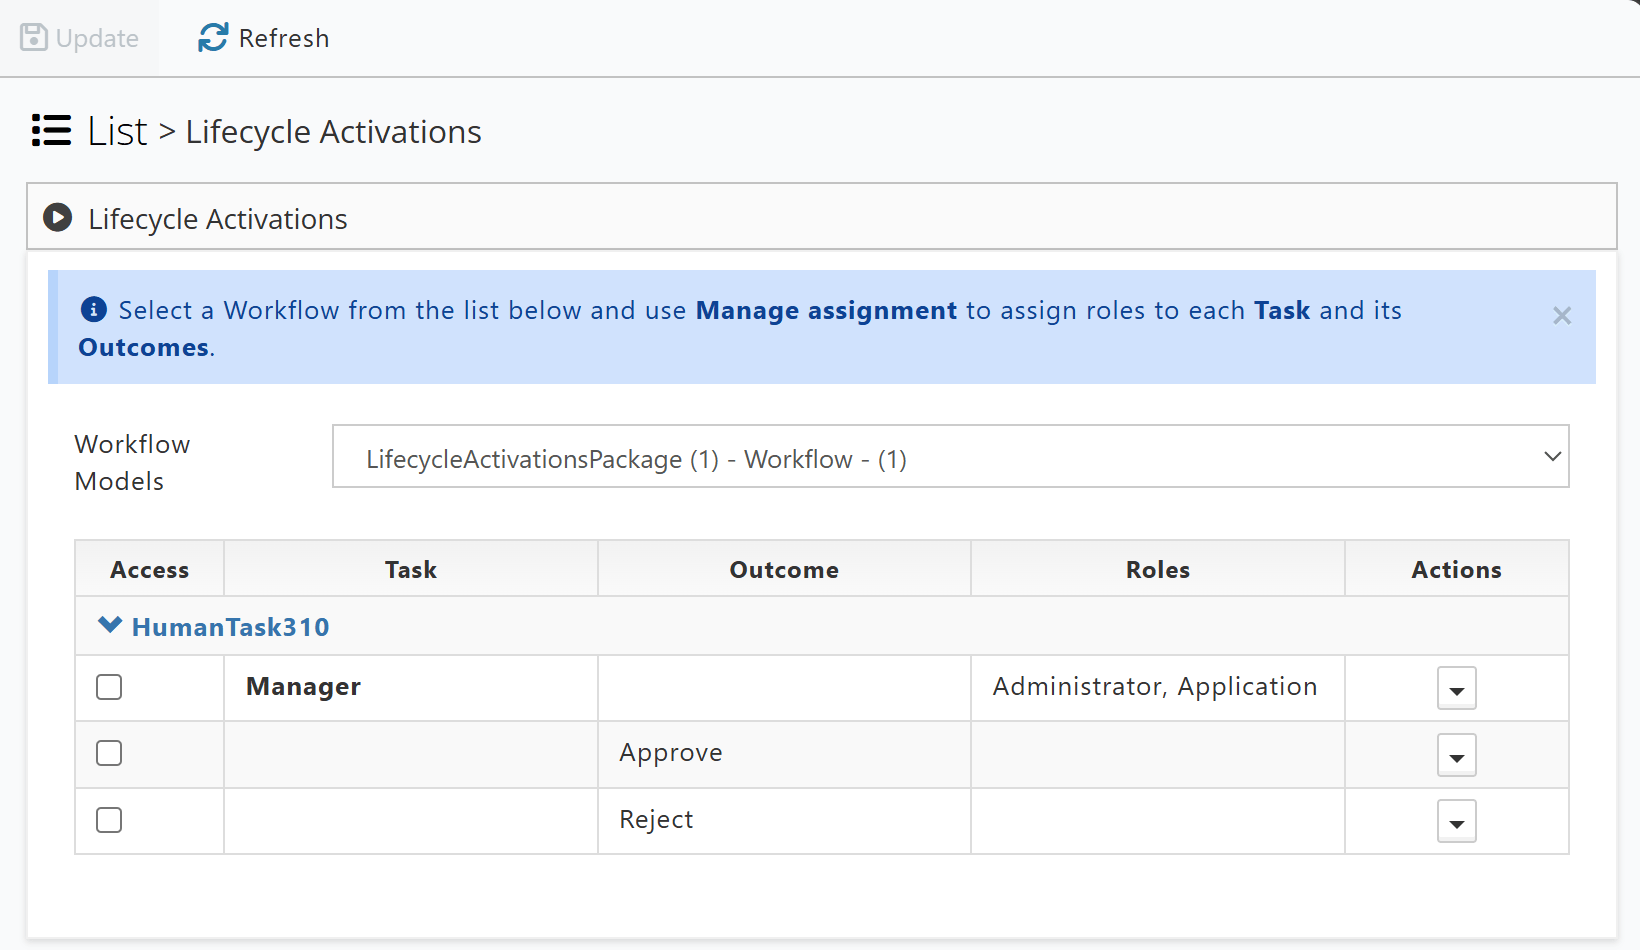
The Lifecycle Activations page will list any Workflow models deployed to FlexRule Server, and the Roles assigned to each of the Workflow’s tasks and their outcomes when selected.
By assigning Roles to the outcomes or tasks, starting or resuming a Workflow will be restricted to a select number of Users, Applications, or Groups.
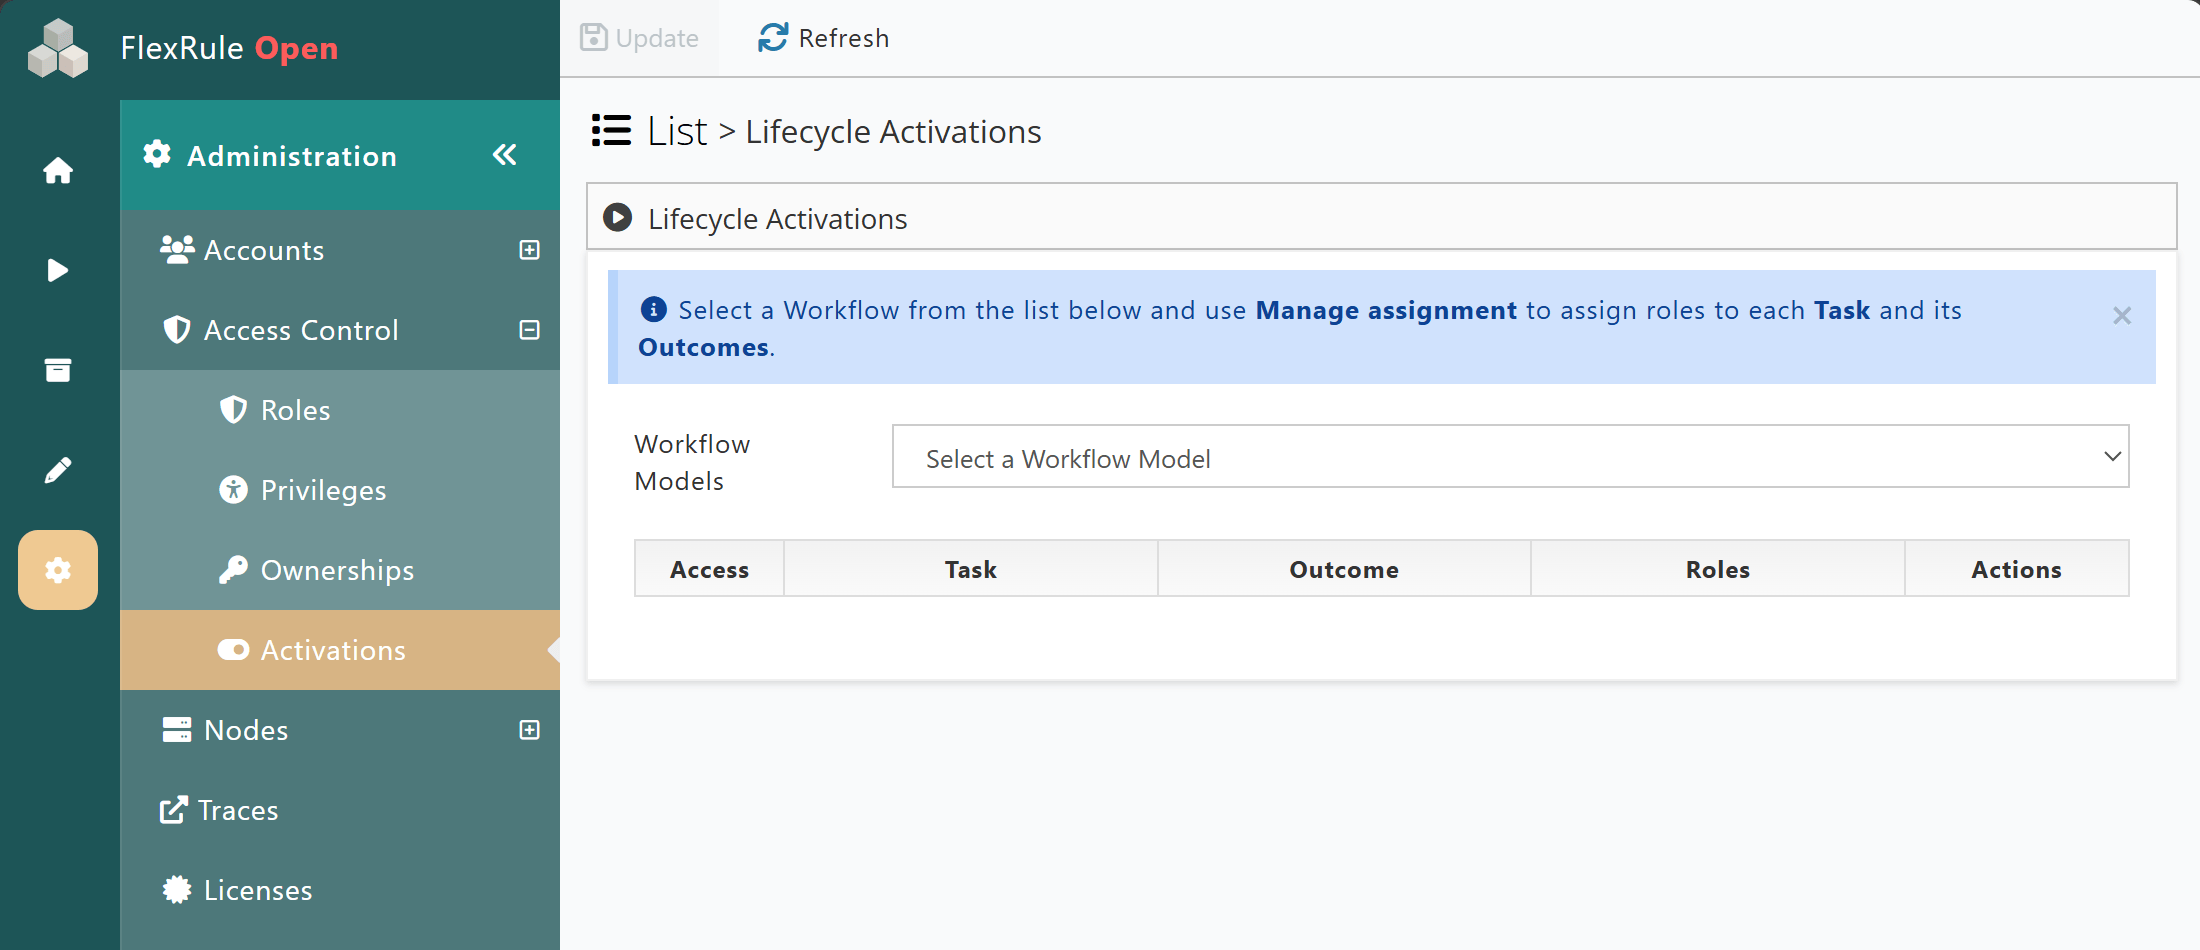
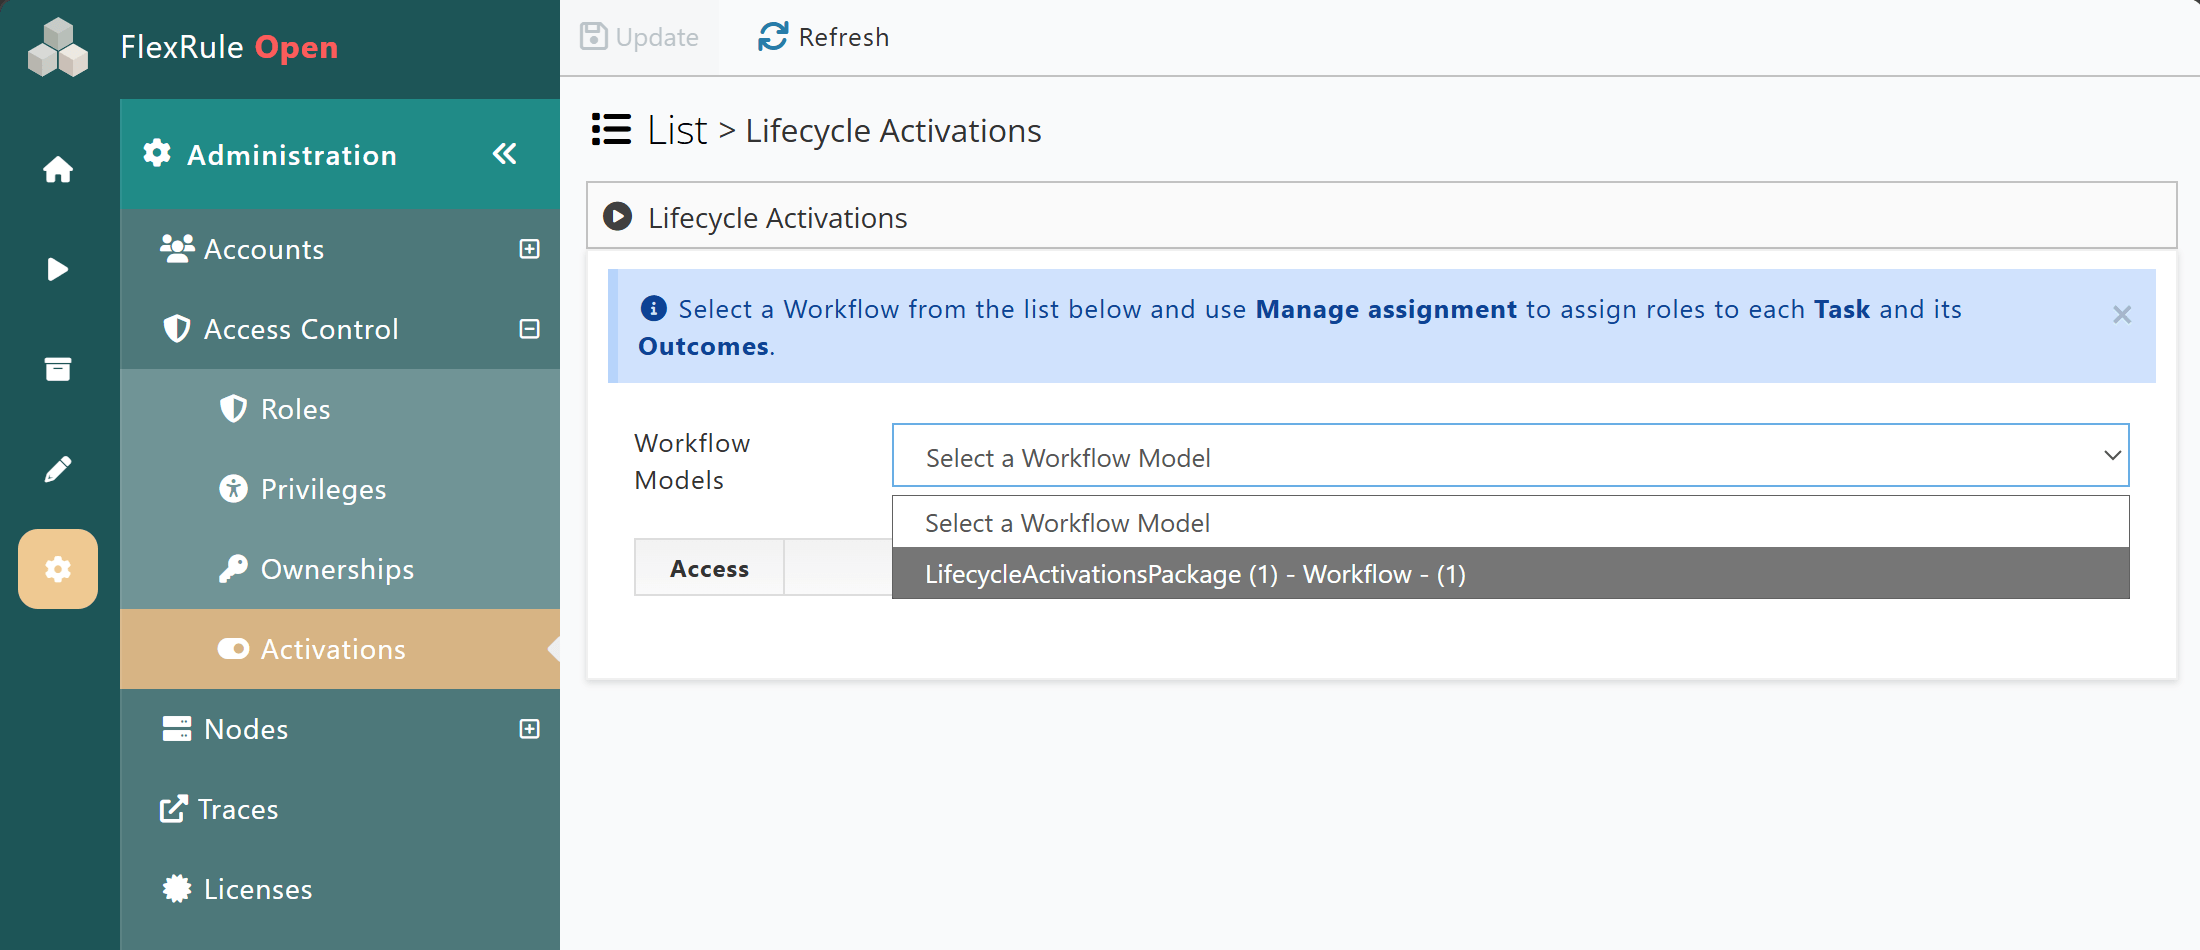
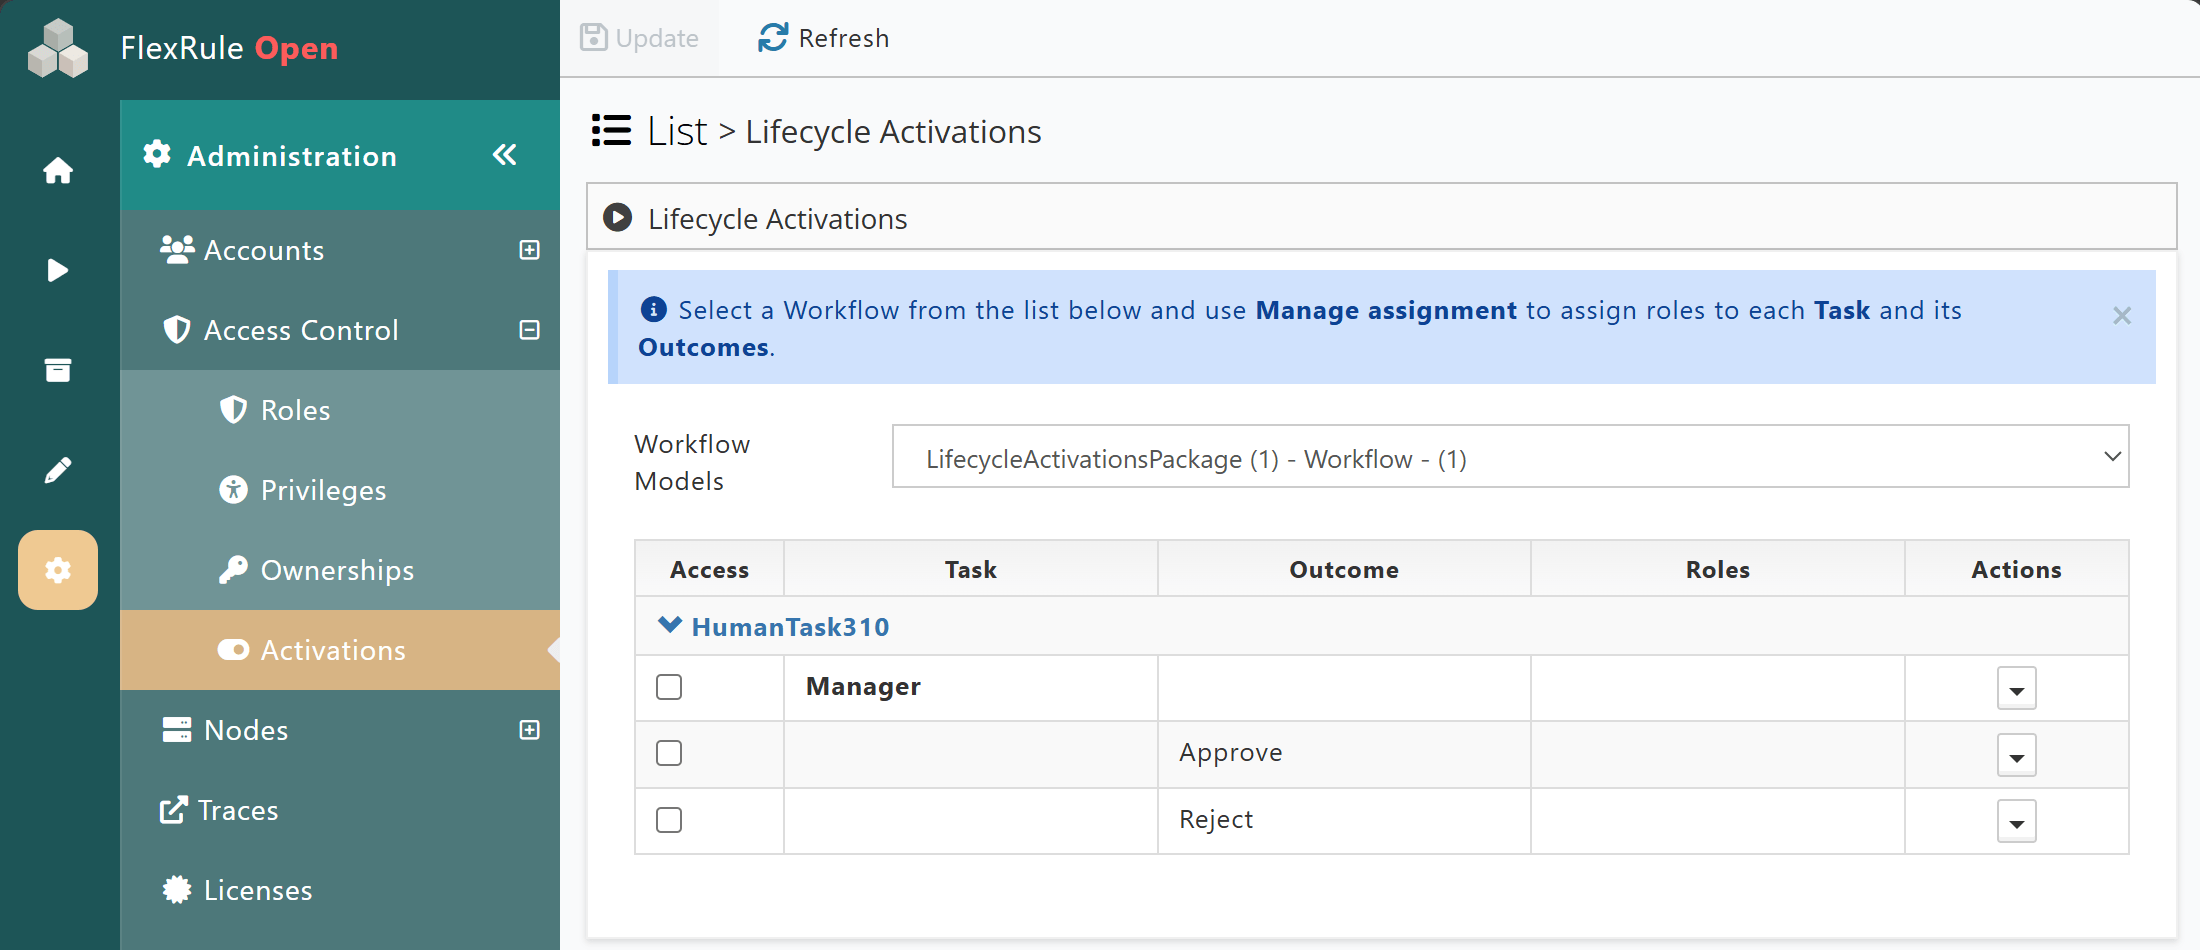
Assign Roles to Activations
Multiple roles may be assigned to one Task or Outcome.
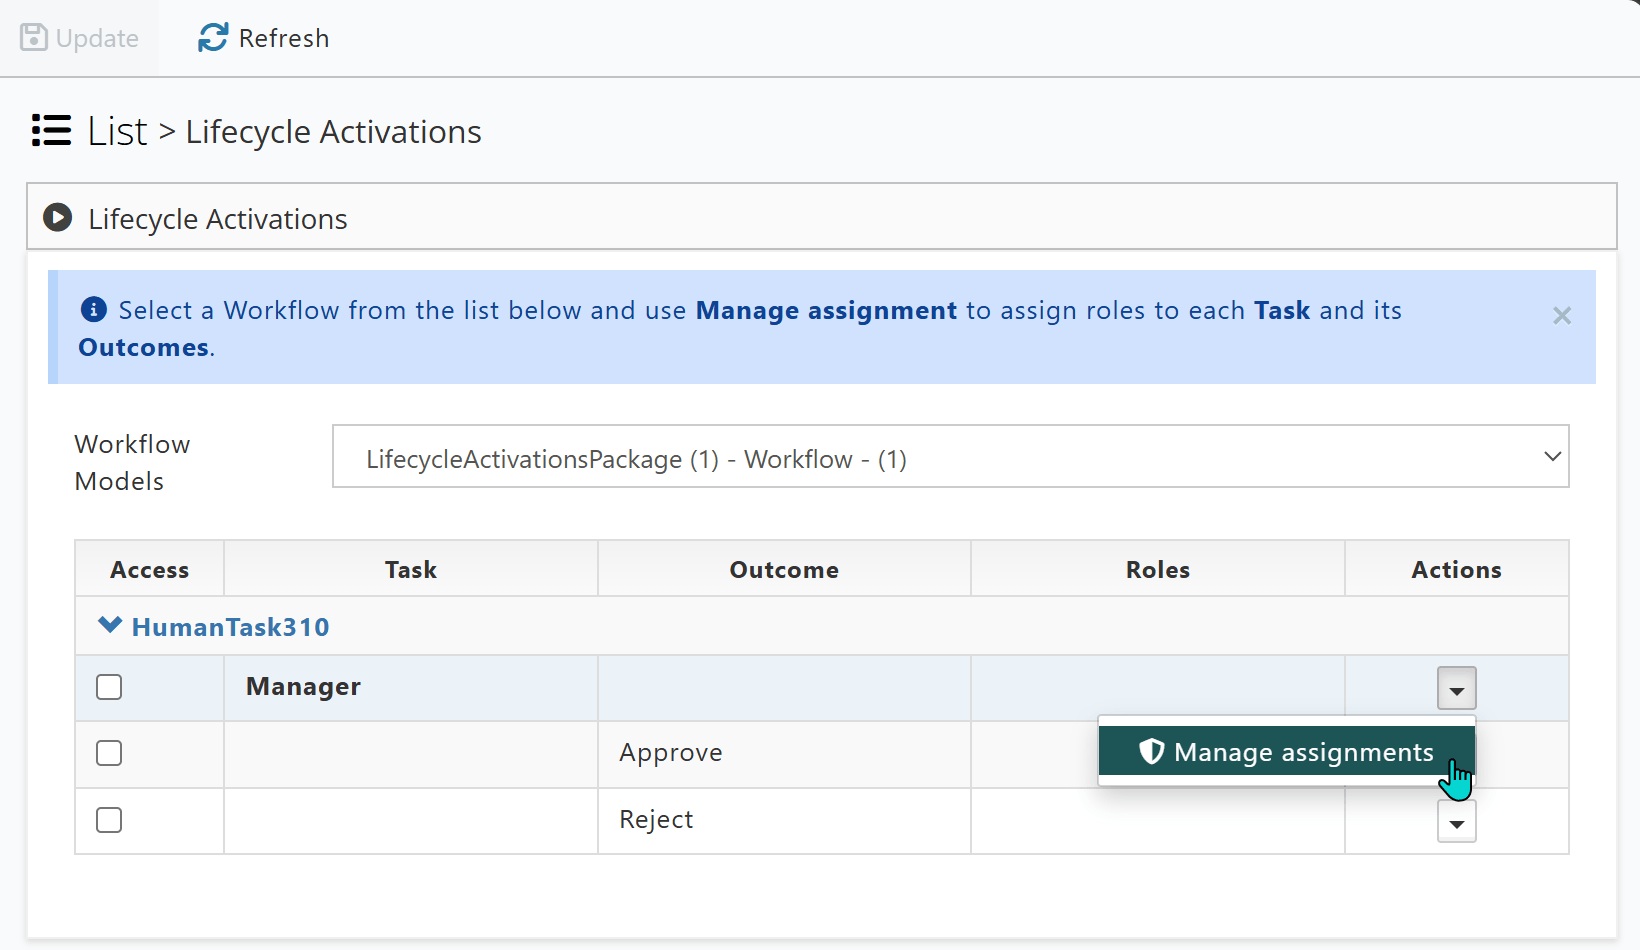
Open the actions of the Task or Outcomes to manage the Role assignments for the selected Task or Outcome.
Manage Task Assignments
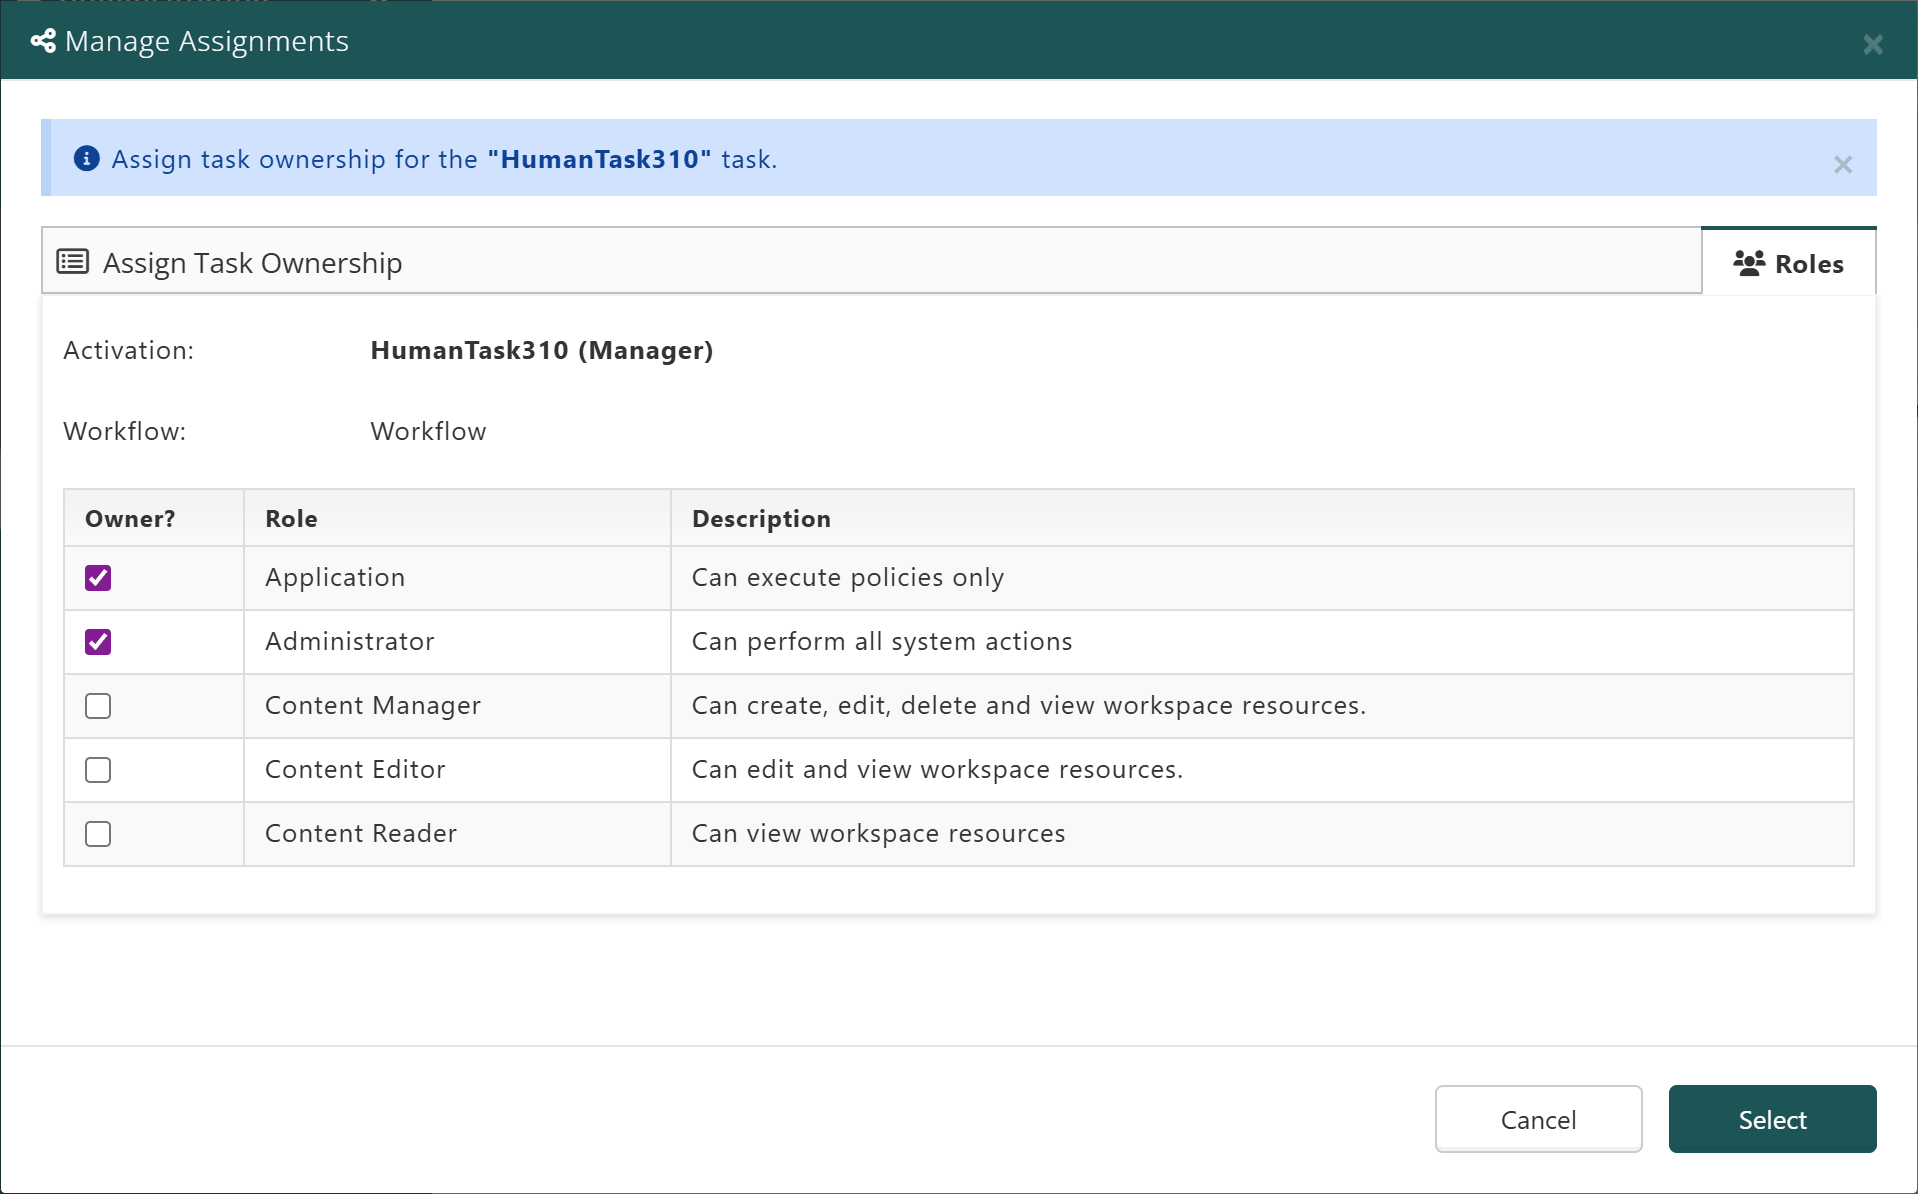
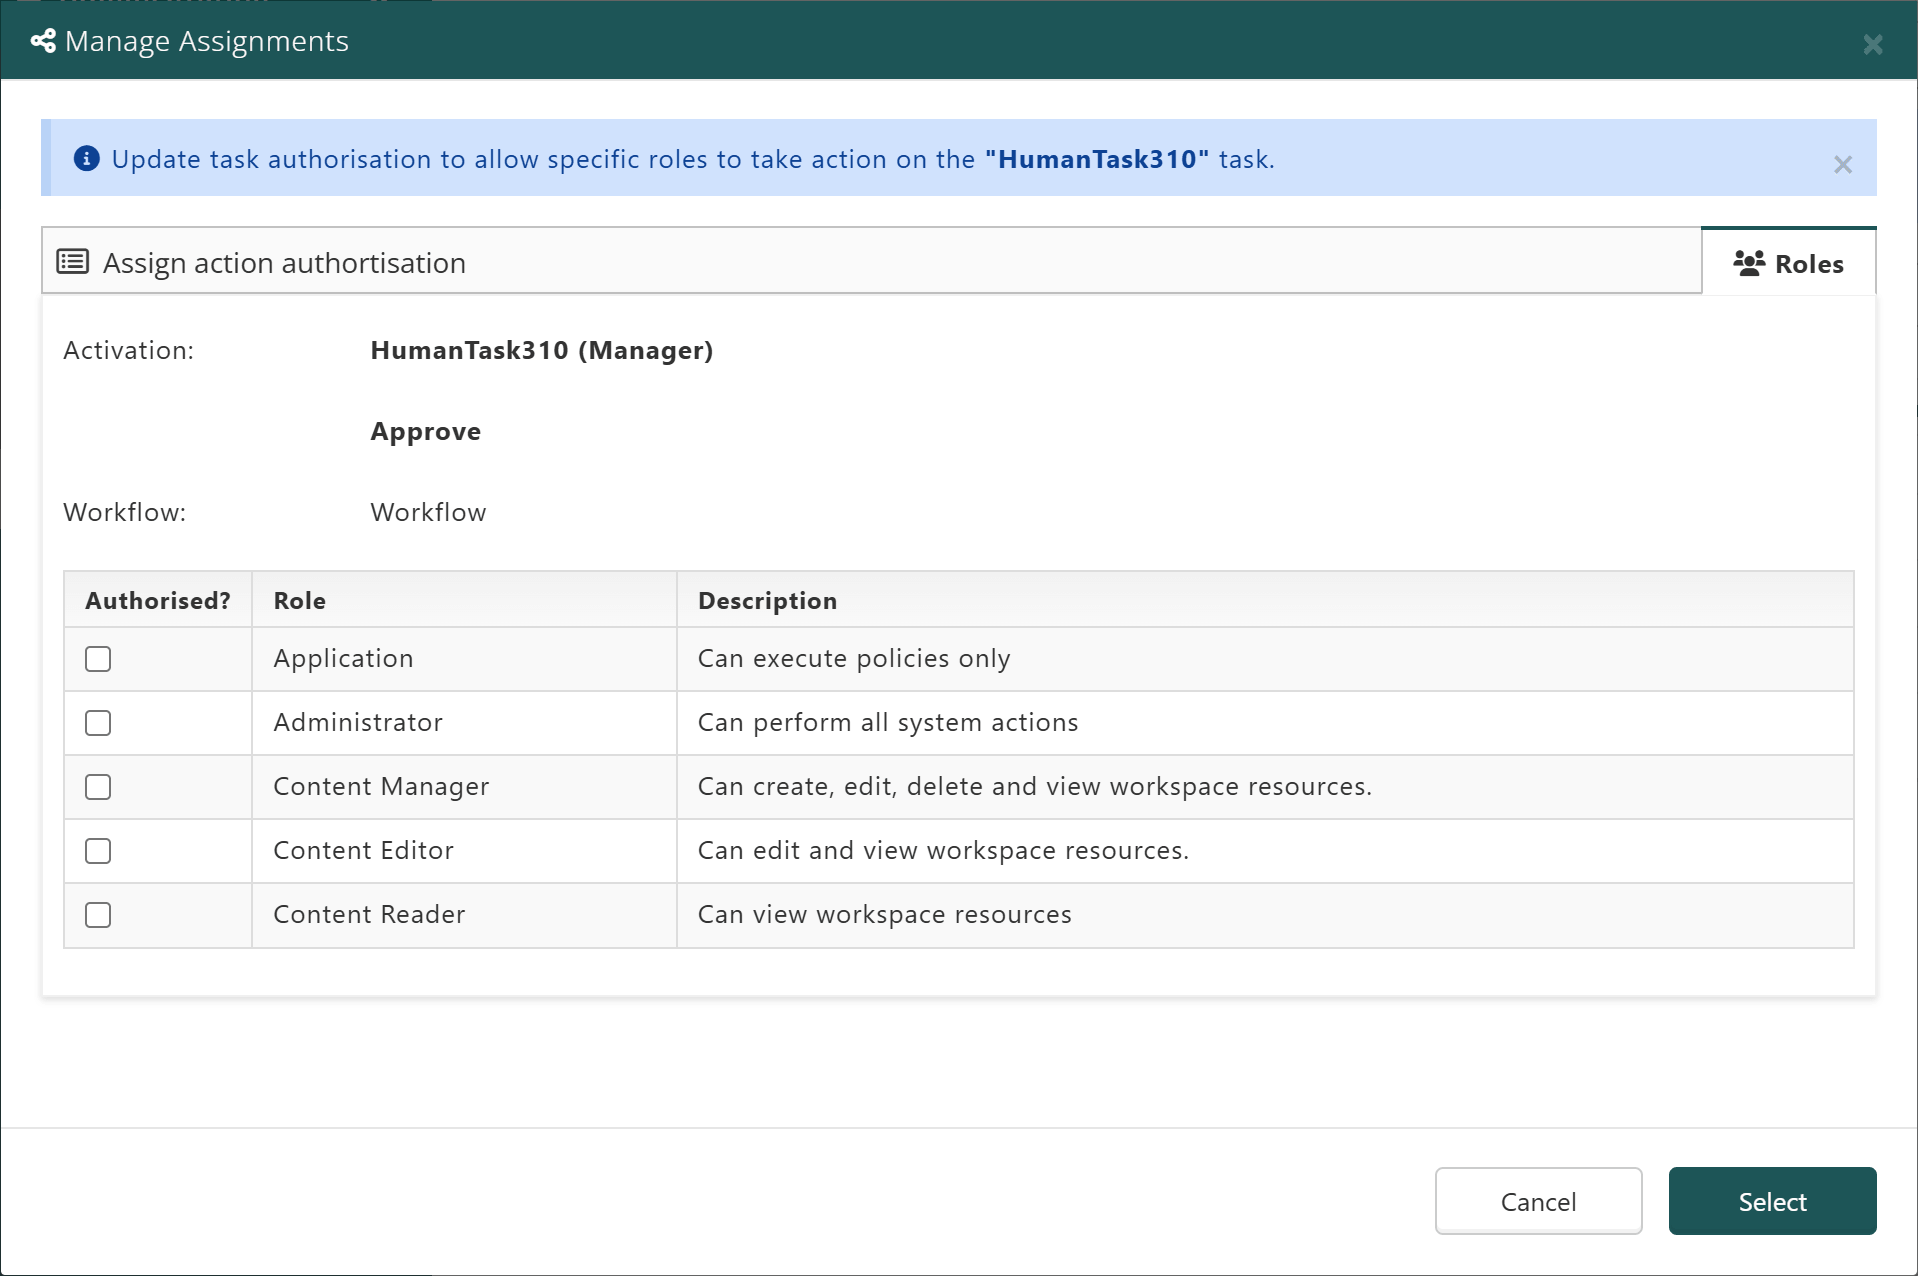
A window with the Task/Outcome details will appear;
- Activations: Will give the name of the Node from the decision model. In parentheses, will be the title of the Task.
- Outcomes will also display the name of the selected Outcome.
- Workflow: Displays the name of the Service.
In this window, users will be able to check the Roles intended to be assigned to the Task or Outcome.
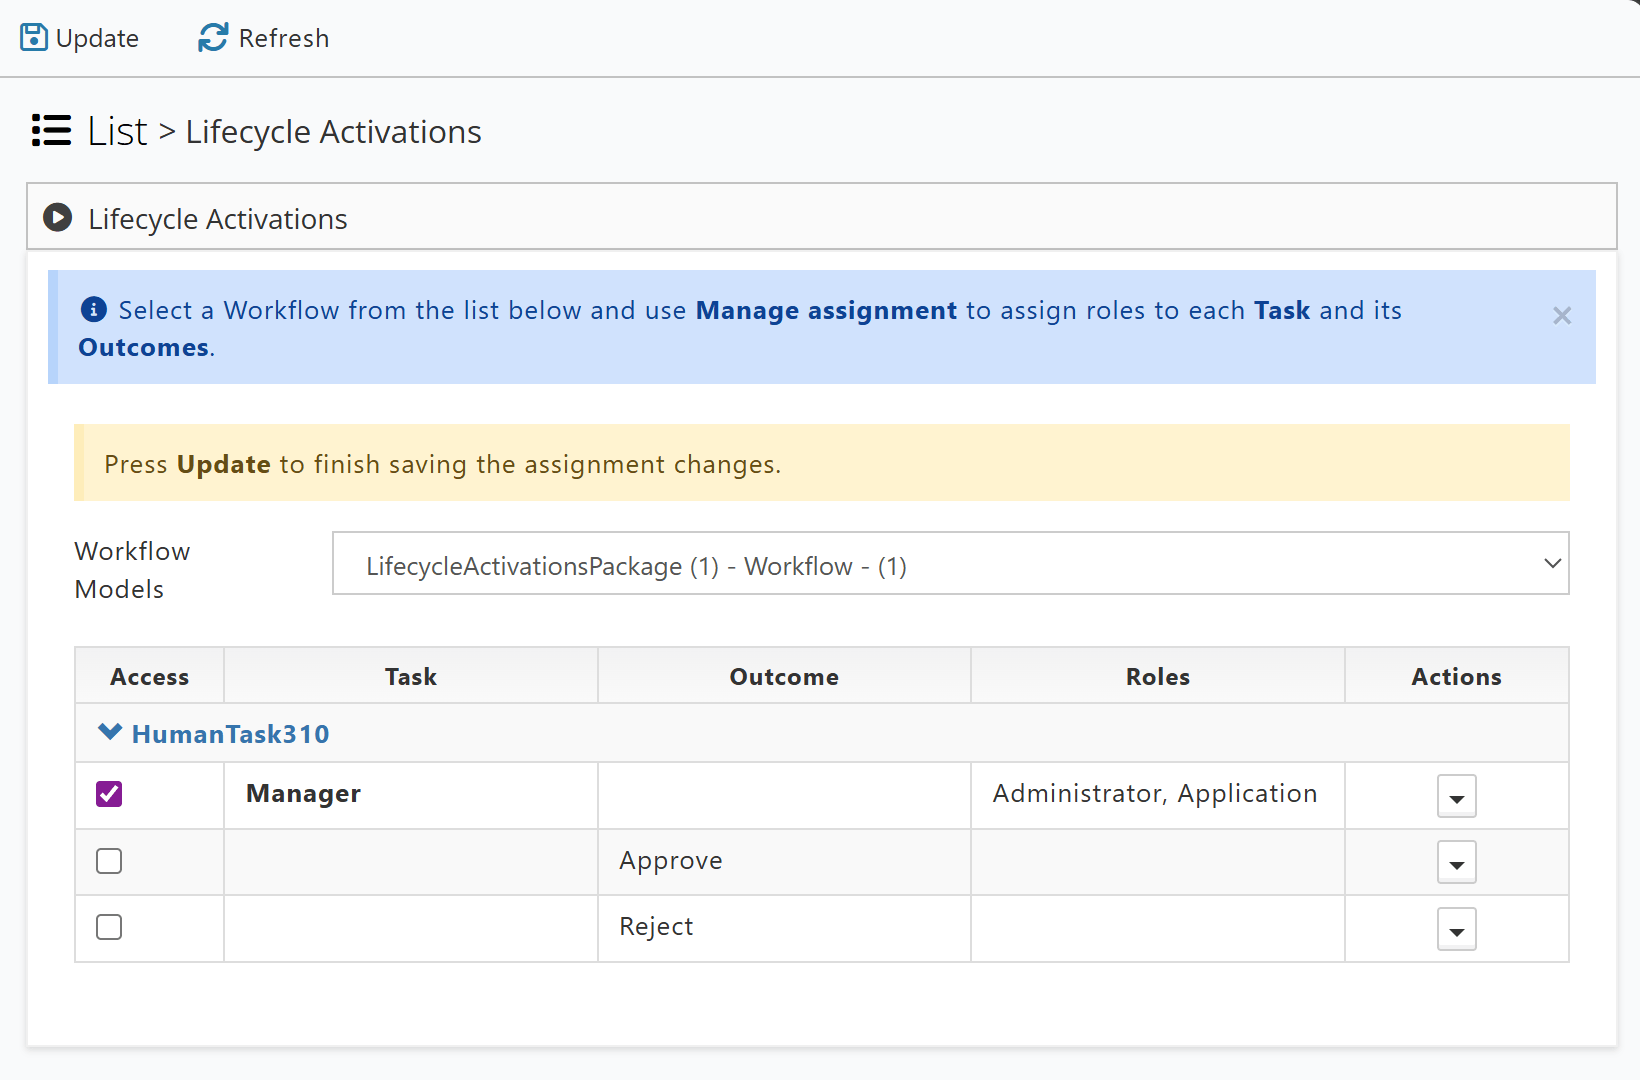
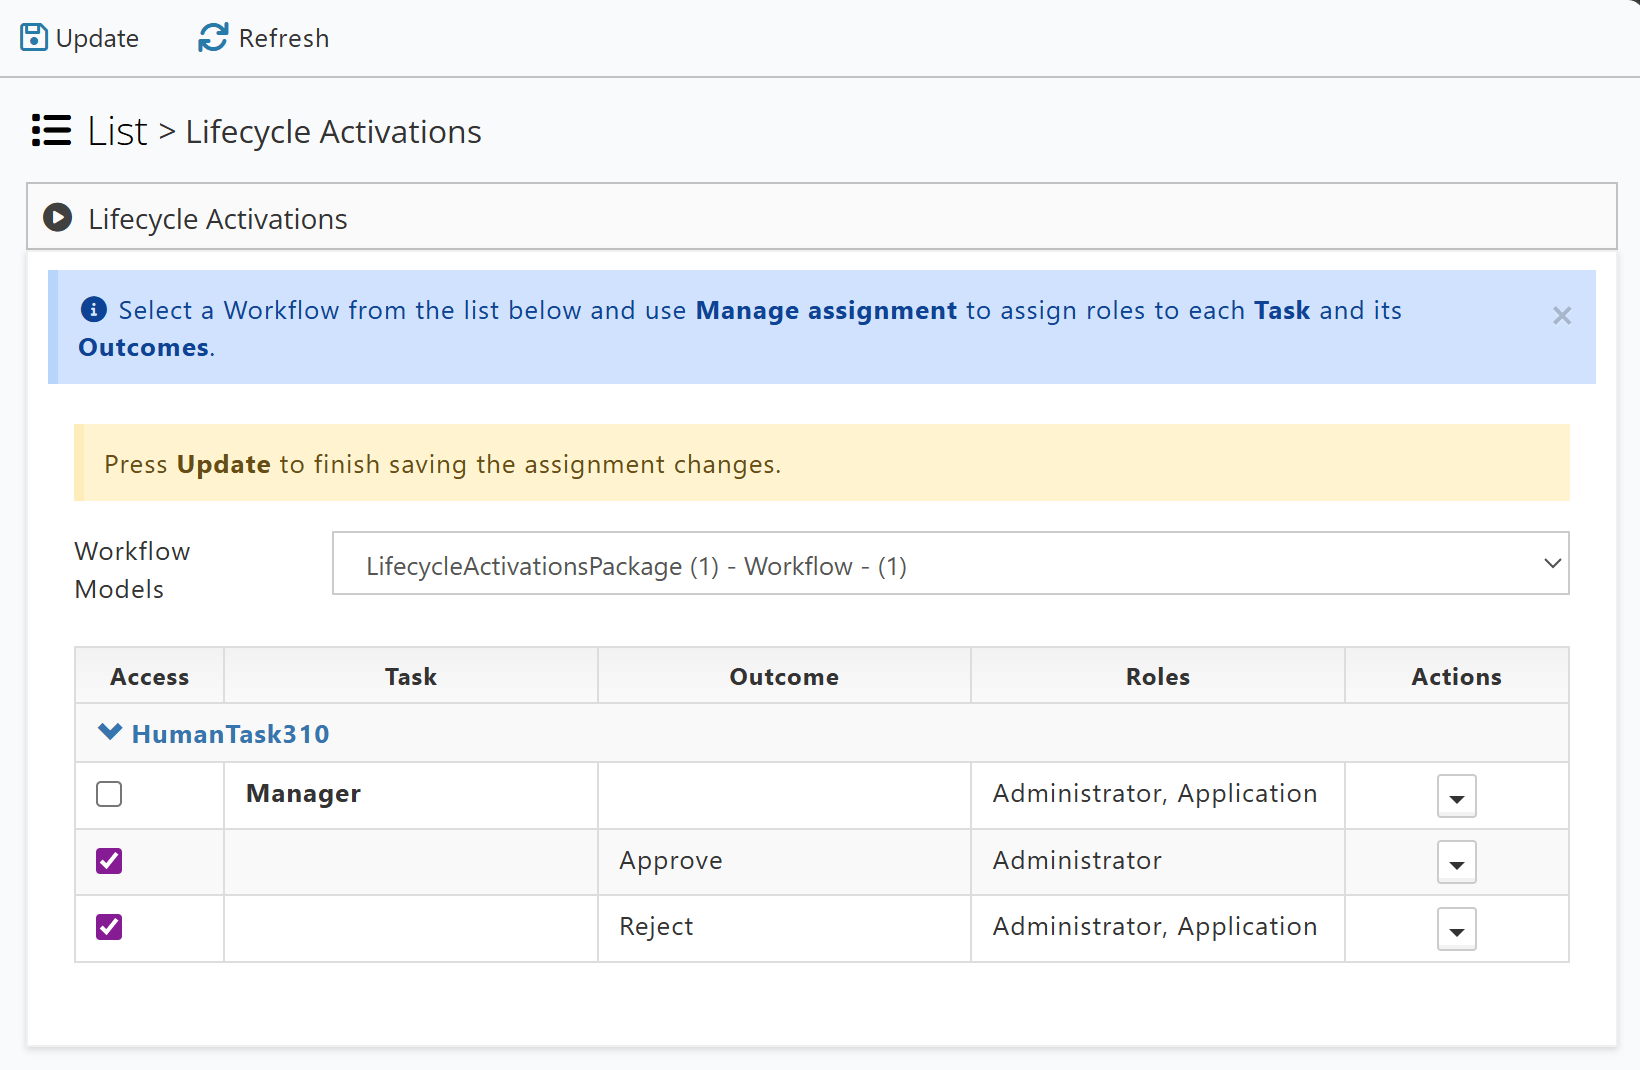
Note: clicking the Select button will not update the Lifecycle Activations right away.
After clicking the Select button on the previous window, the user will need to check the row(s) they wish to update the assignments for, then the Update button in the top-left will be enabled and will need to be used to update the Activations for this Workflow model.
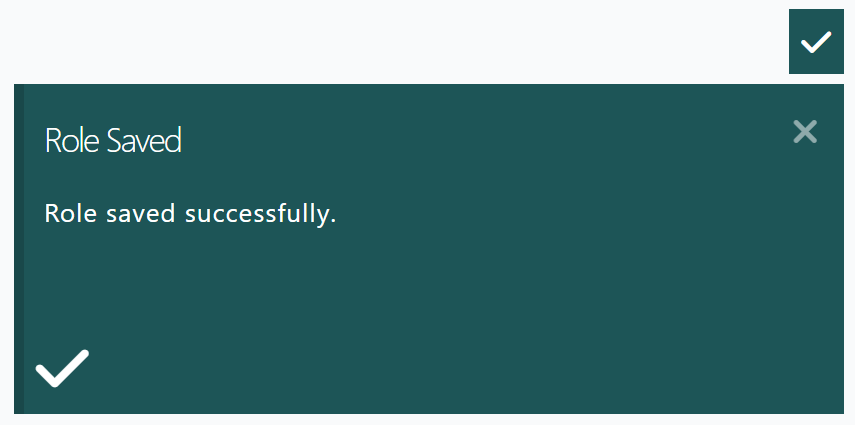
If done correctly, a successful notification will appear in the bottom-right when completed.
Manage Outcome Assignments
The process to assign Roles to an Outcome follows the same process as assigning Roles to a Task with a few differences in behavior:
- Assignments to Outcomes only apply if there are assignments to the related Task.
- If there are no assignments to Outcomes, any Roles assigned to the Workflow Task may Resume the Workflow with that Outcome.
- Any Role assigned to Outcomes must also be assigned to the related Task to Resume the Workflow.
Lifecycle Activation Rules:
- If no Roles are assigned to a Task, there will be no restriction on Activations of that Workflow.
- If Tasks have been assigned Roles, only those Roles may Start or Resume that task.
- If Outcomes have assigned Roles, only those Roles may give that Outcome when Resuming the task, only if those Roles are also assigned to the Task those Outcomes belong to.
Example
The following example will Start and Resume a couple of Workflows using two accounts with either the Administrator or Application Role with a couple of Lifecycle Activation configurations.
The setup for this example follows the same steps outlined in the Workflow page, then the Assigning Lifecycle Activations section above.
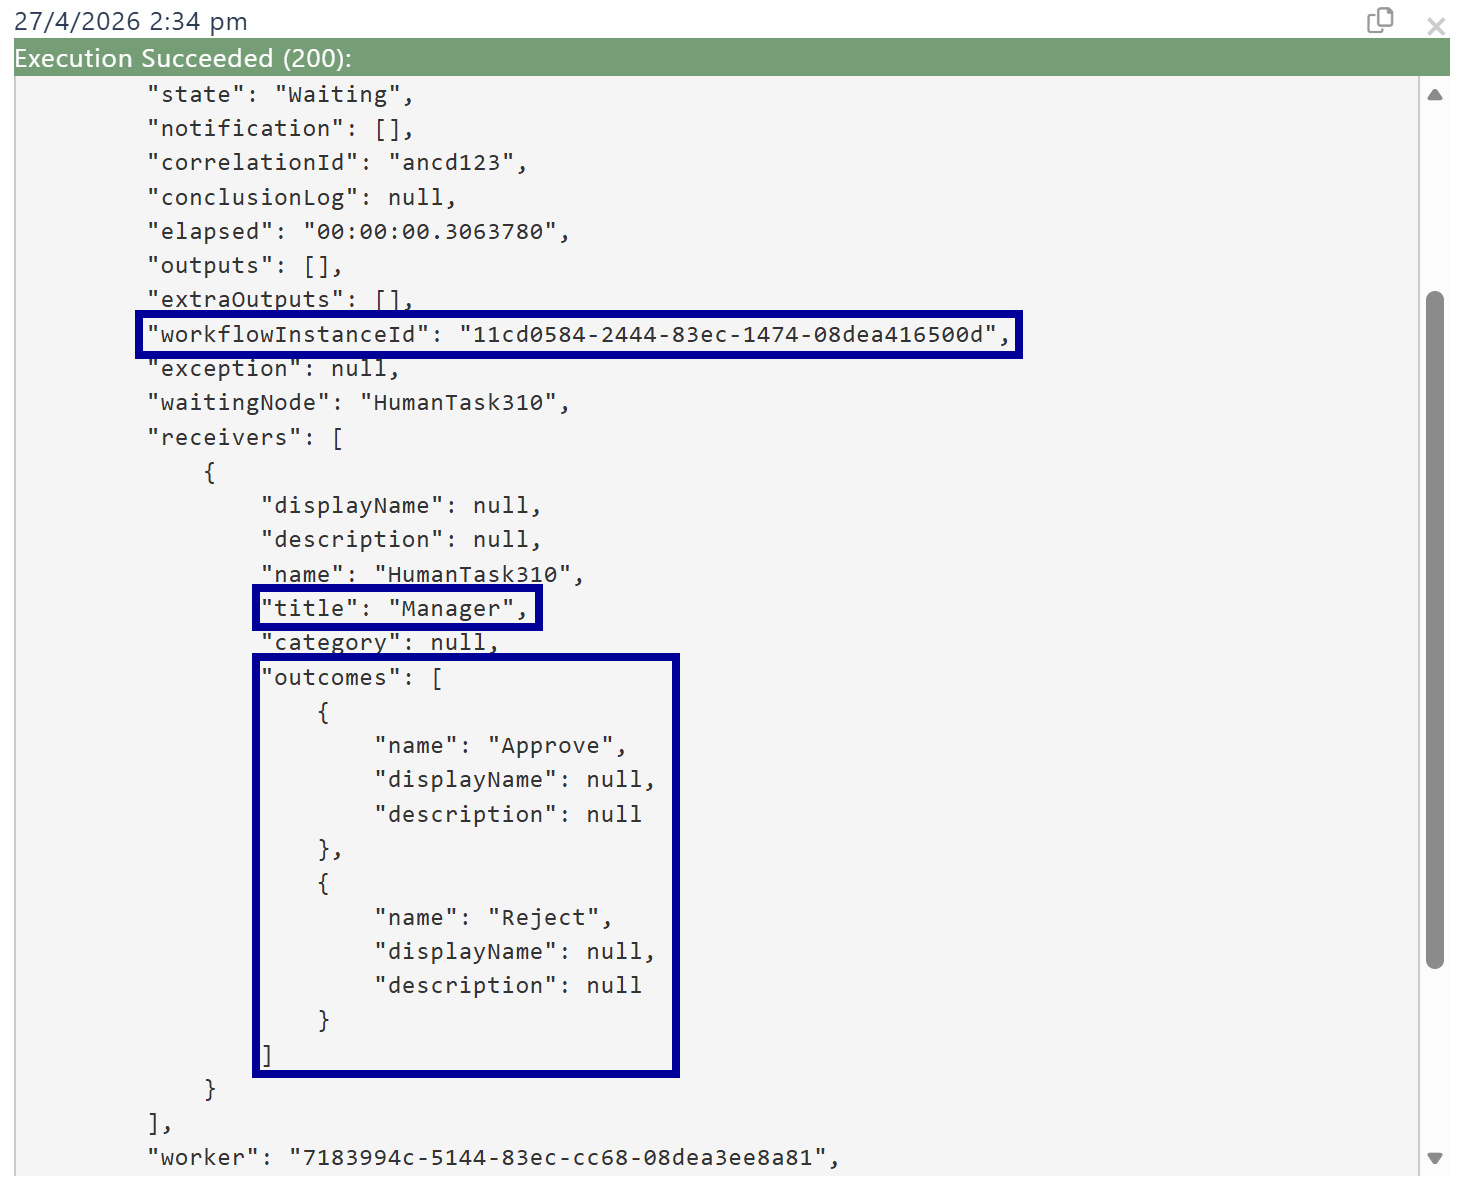
Workflow Started by App1
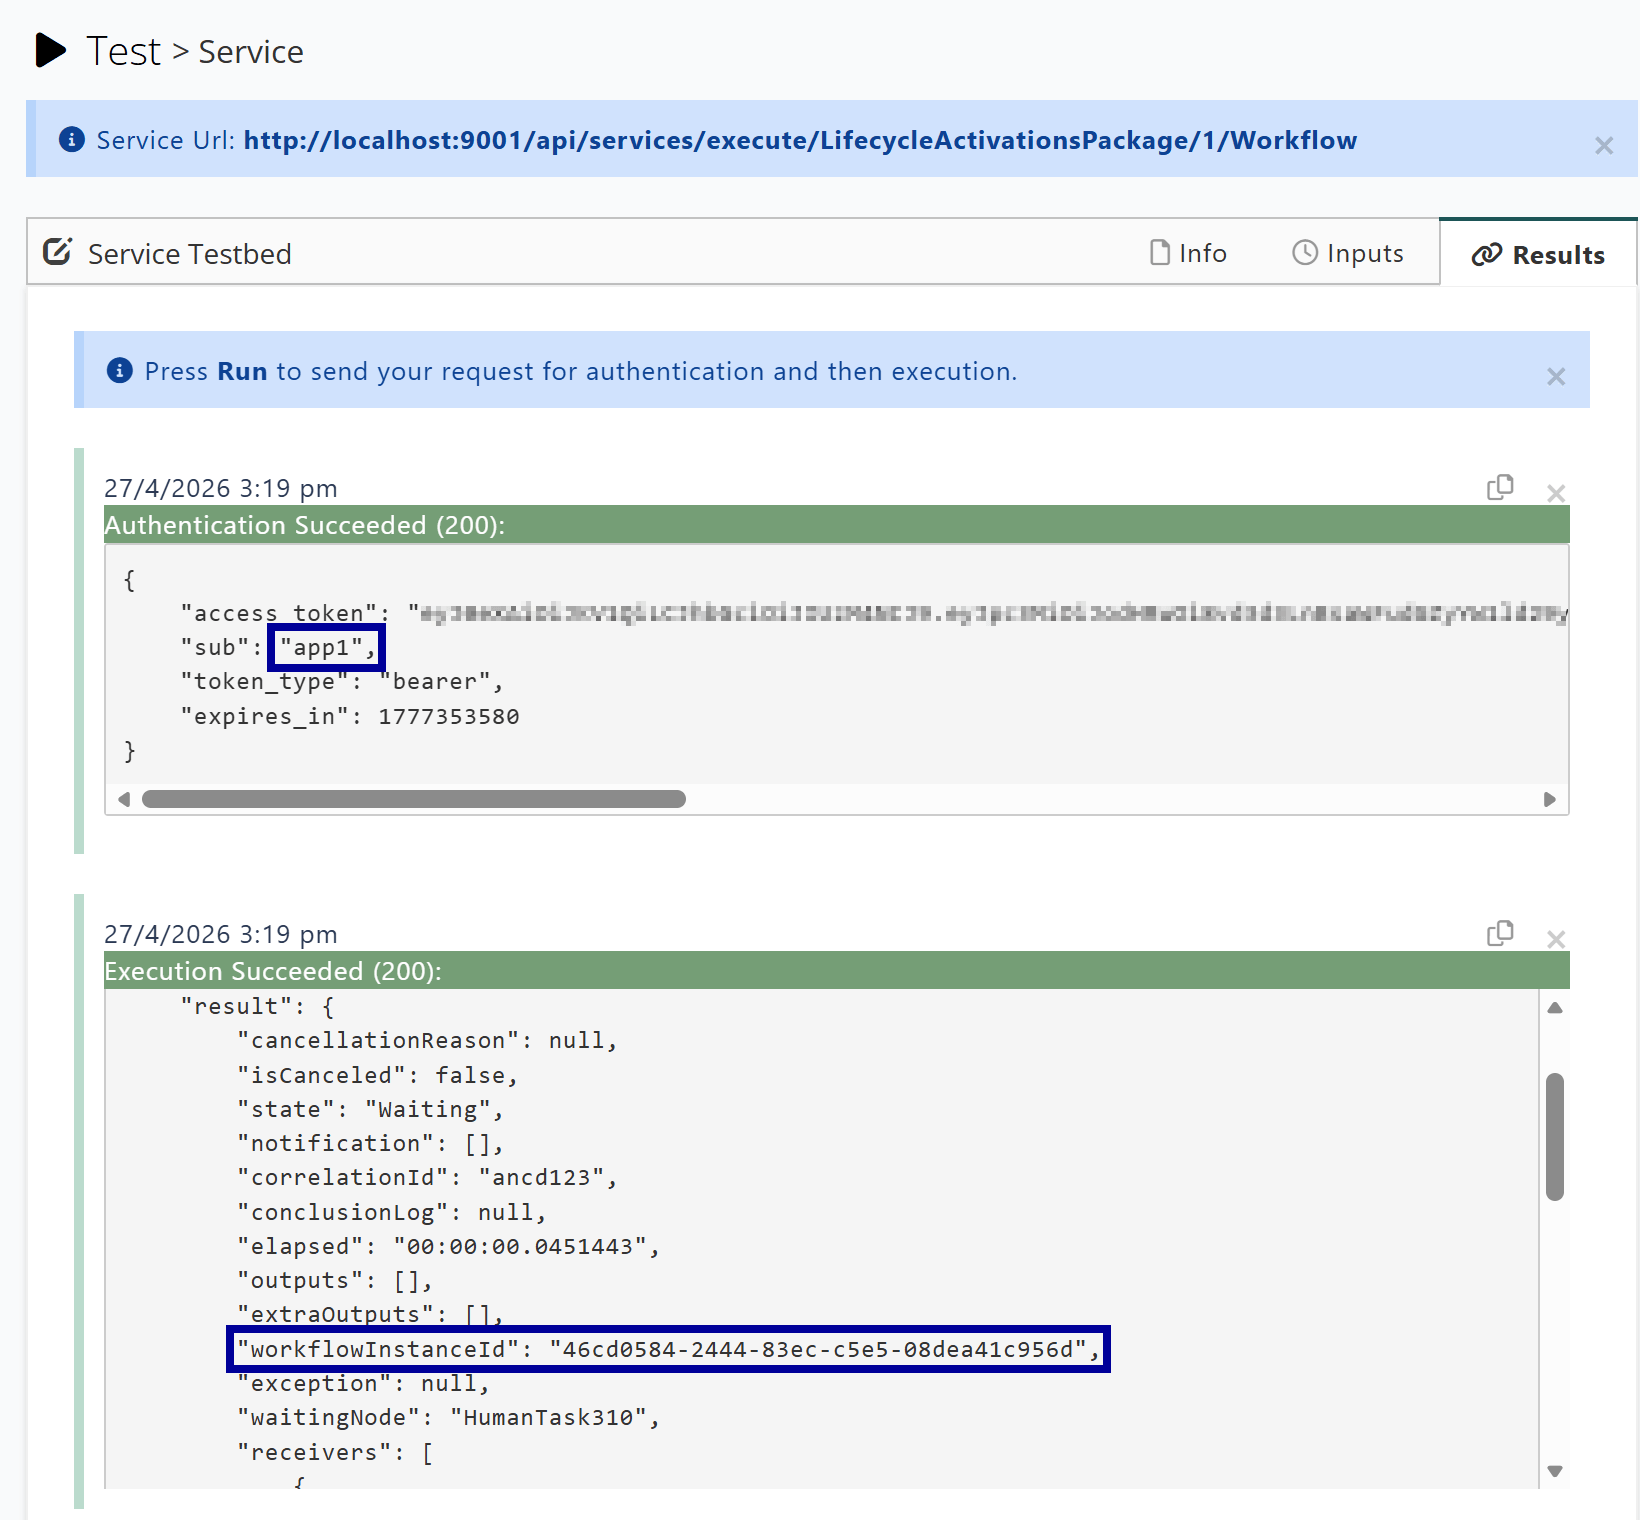
Next, the account, App1, with the Application Role will be able to Start the Workflow as they have been assigned to the Manager Task.
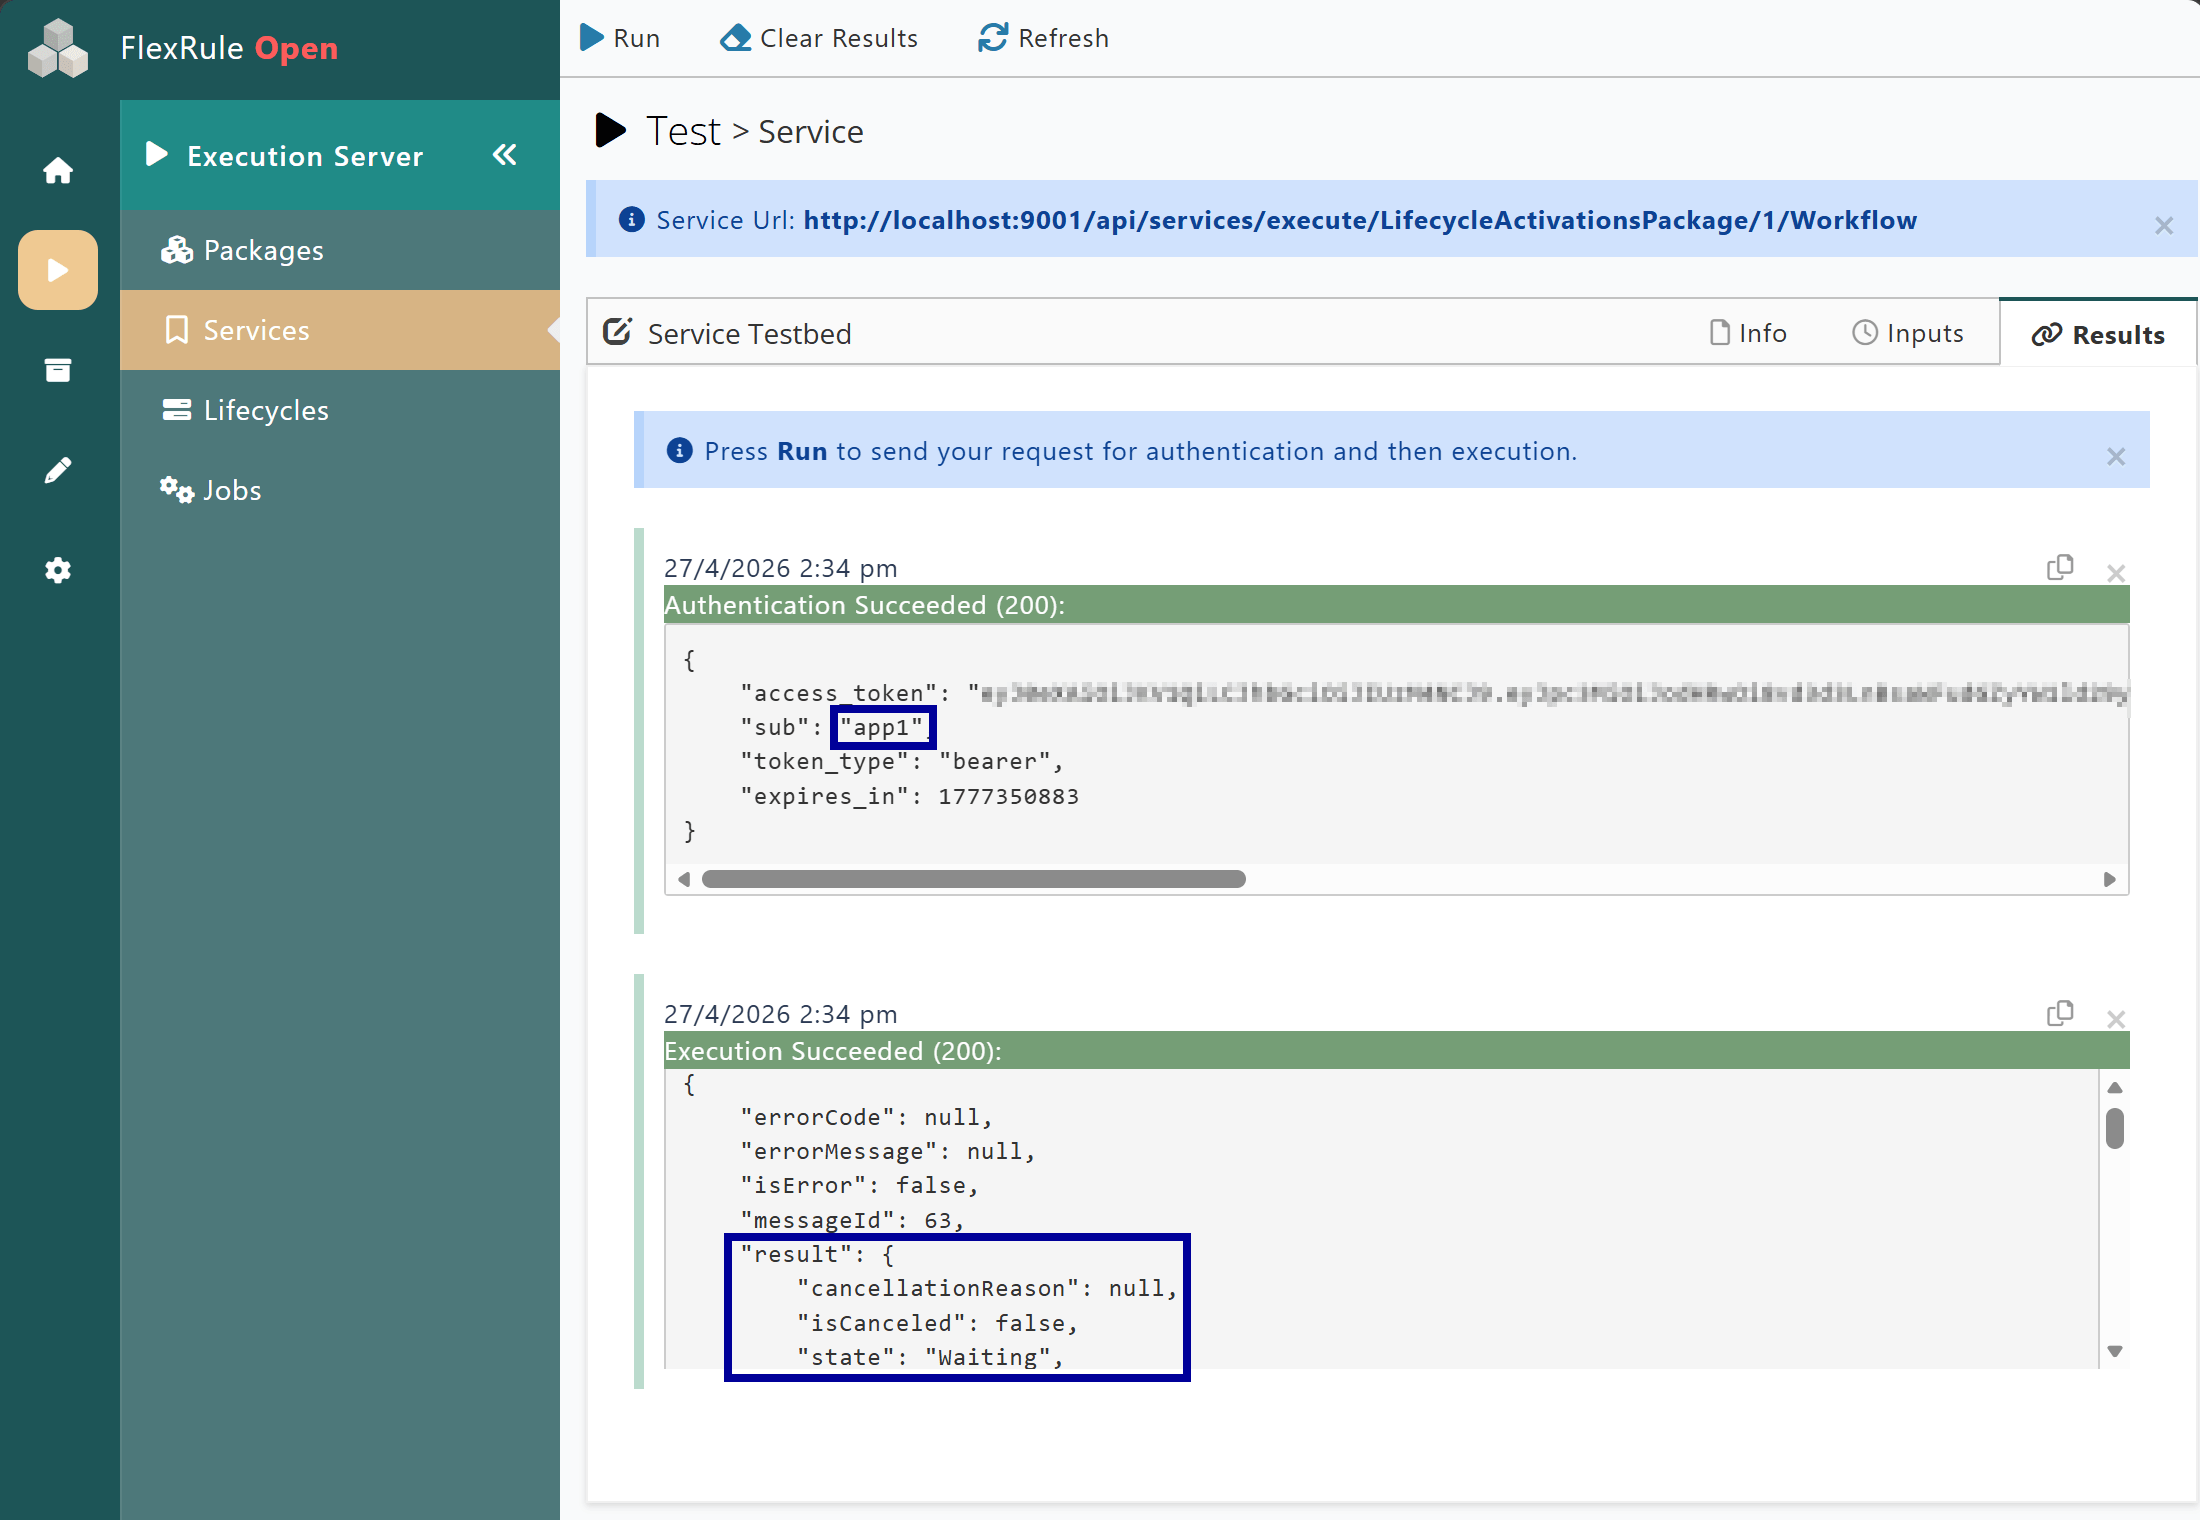
Workflow Resumed by App1 – Approve Outcome
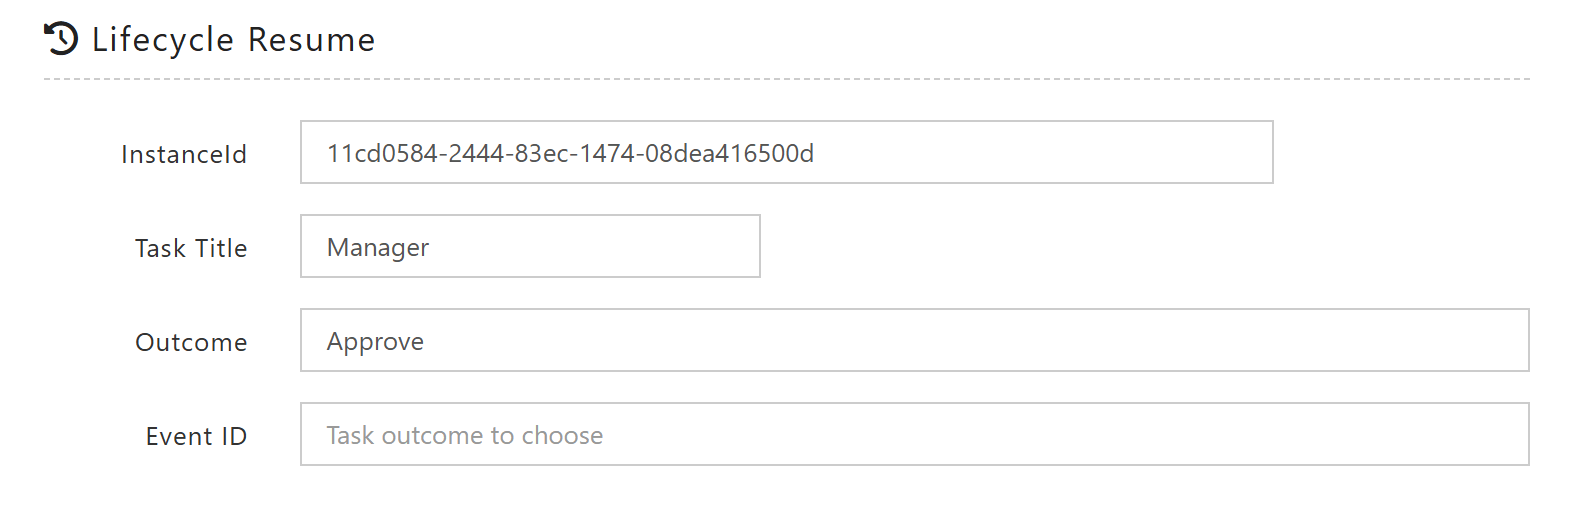
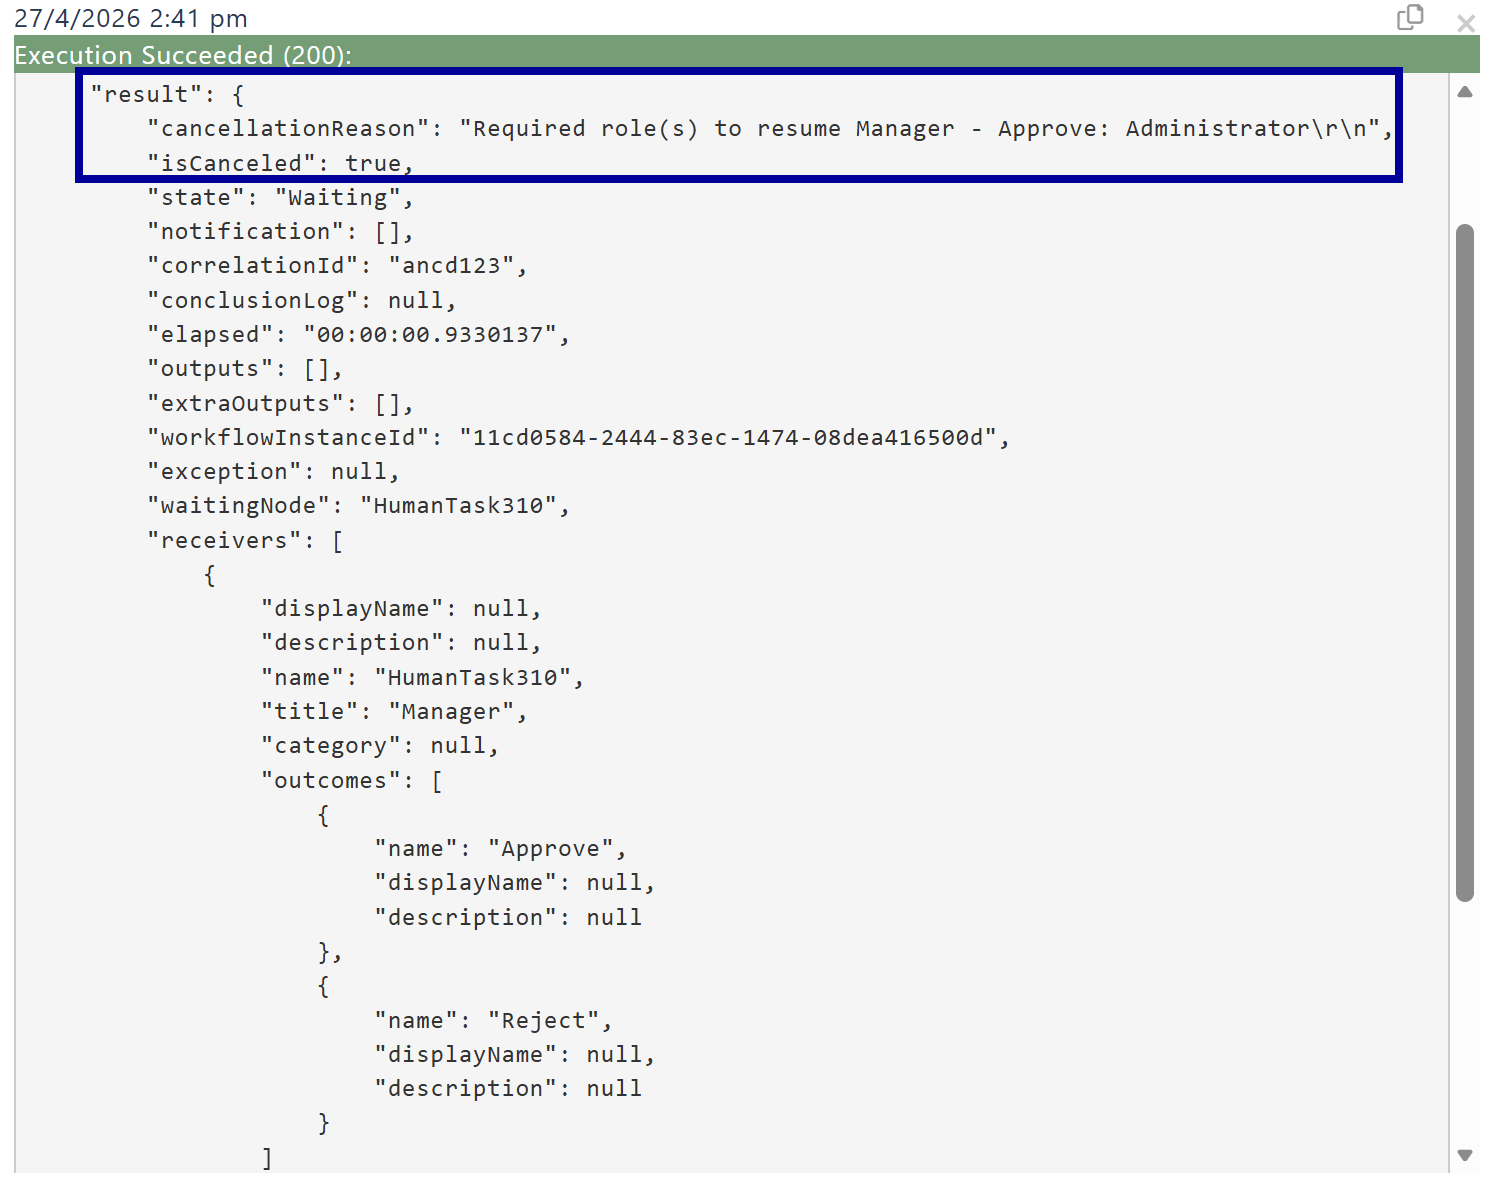
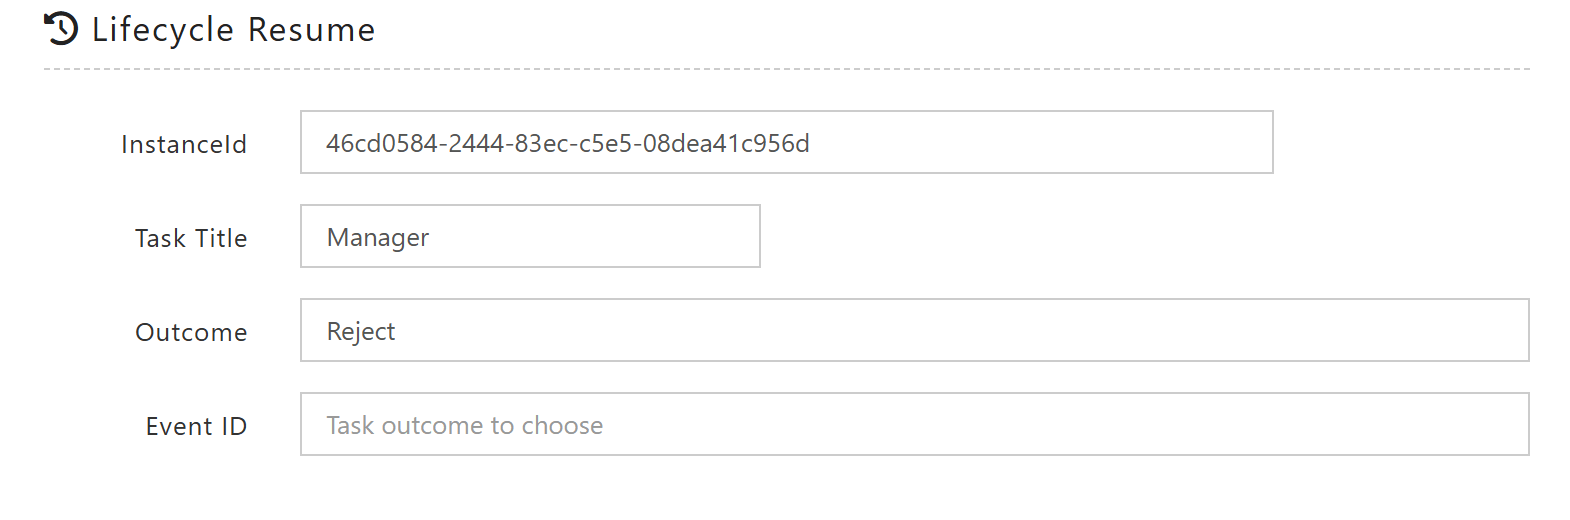
For this step, it is expected that App1 giving the “Approve” outcome will not complete or progress the Workflow because only the Administrator Role has been assigned to this outcome.
Workflow Resumed by Admin – Approve Outcome
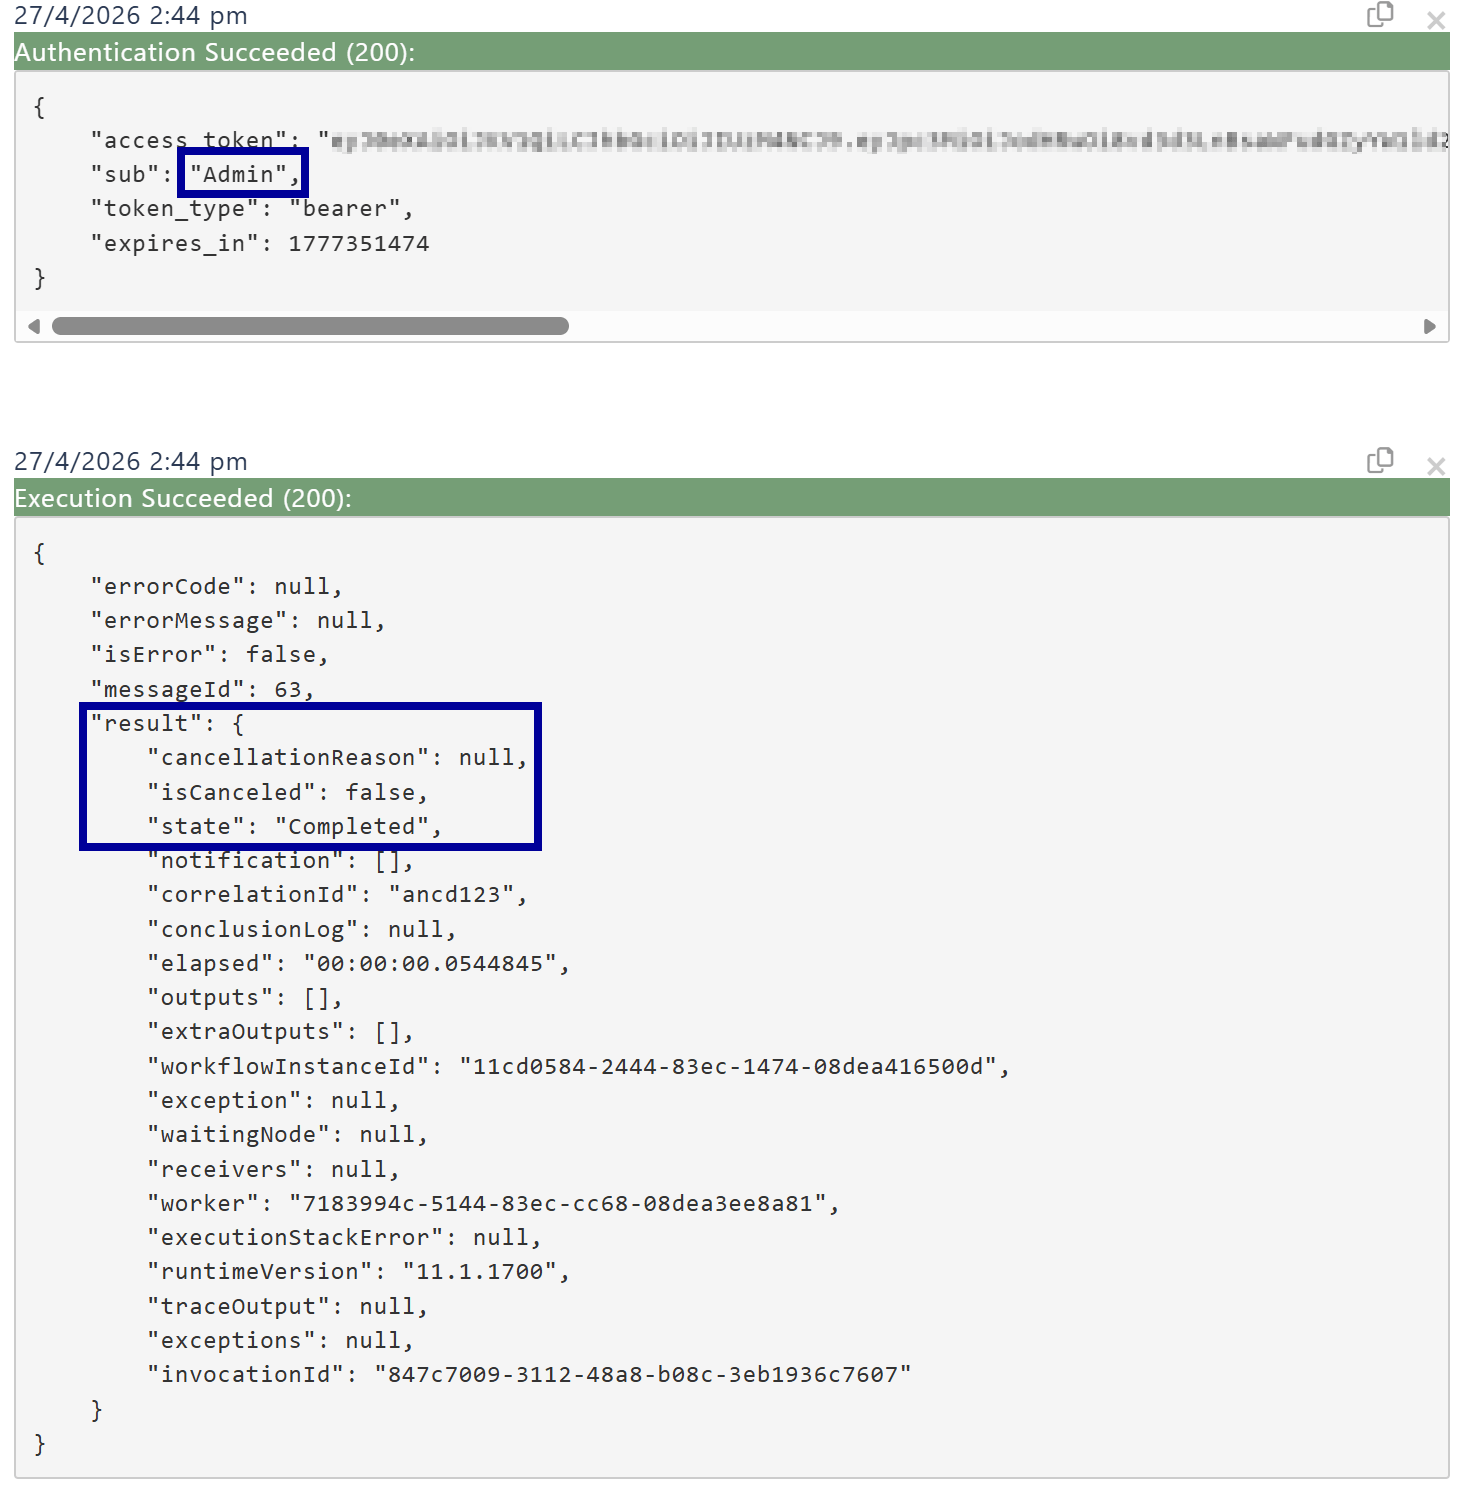
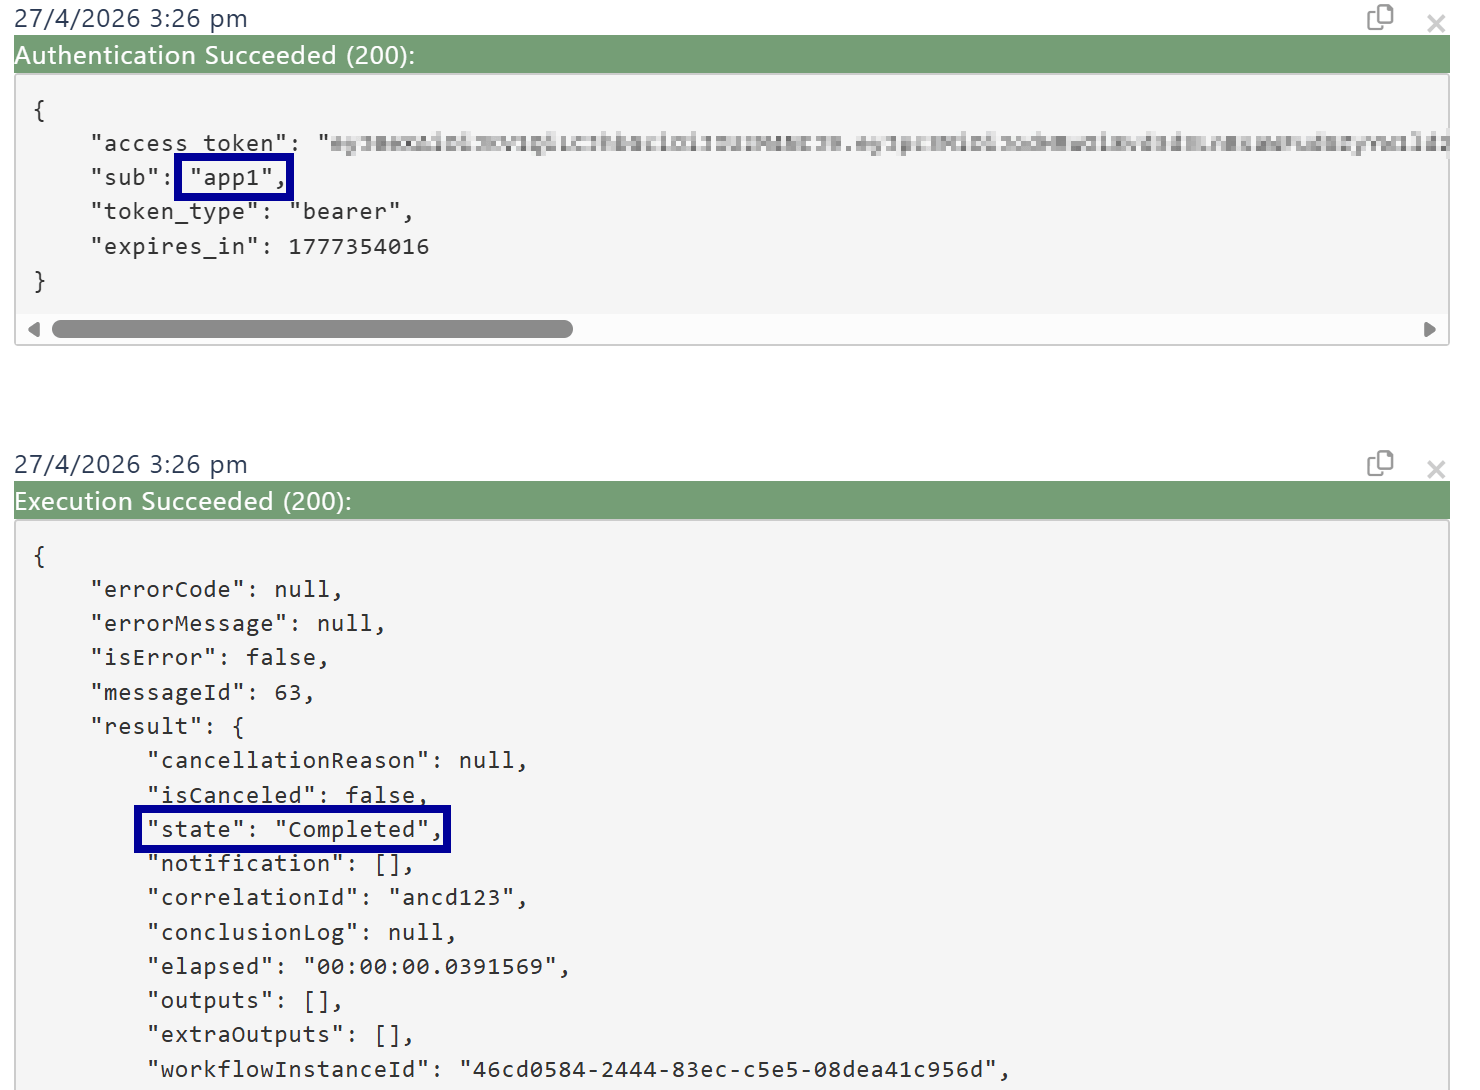
The account Admin has the Administrator Role, will attempt to Resume the same Workflow created in the previous step. This time, the Workflow should progress into the “Completed” state because Admin has the Role assigned to this Outcome.
App1 Start & Resume Workflow – Reject Outcome
Using App1 again to Start a new Workflow, then Resuming it with the “Reject” Outcome. This time, App1 will successfully complete the Workflow.
Remove Application Role from Task Assignment
Before Starting another new Workflow using the App1 account, remove the Application Role from the Activations of the Manager Task.
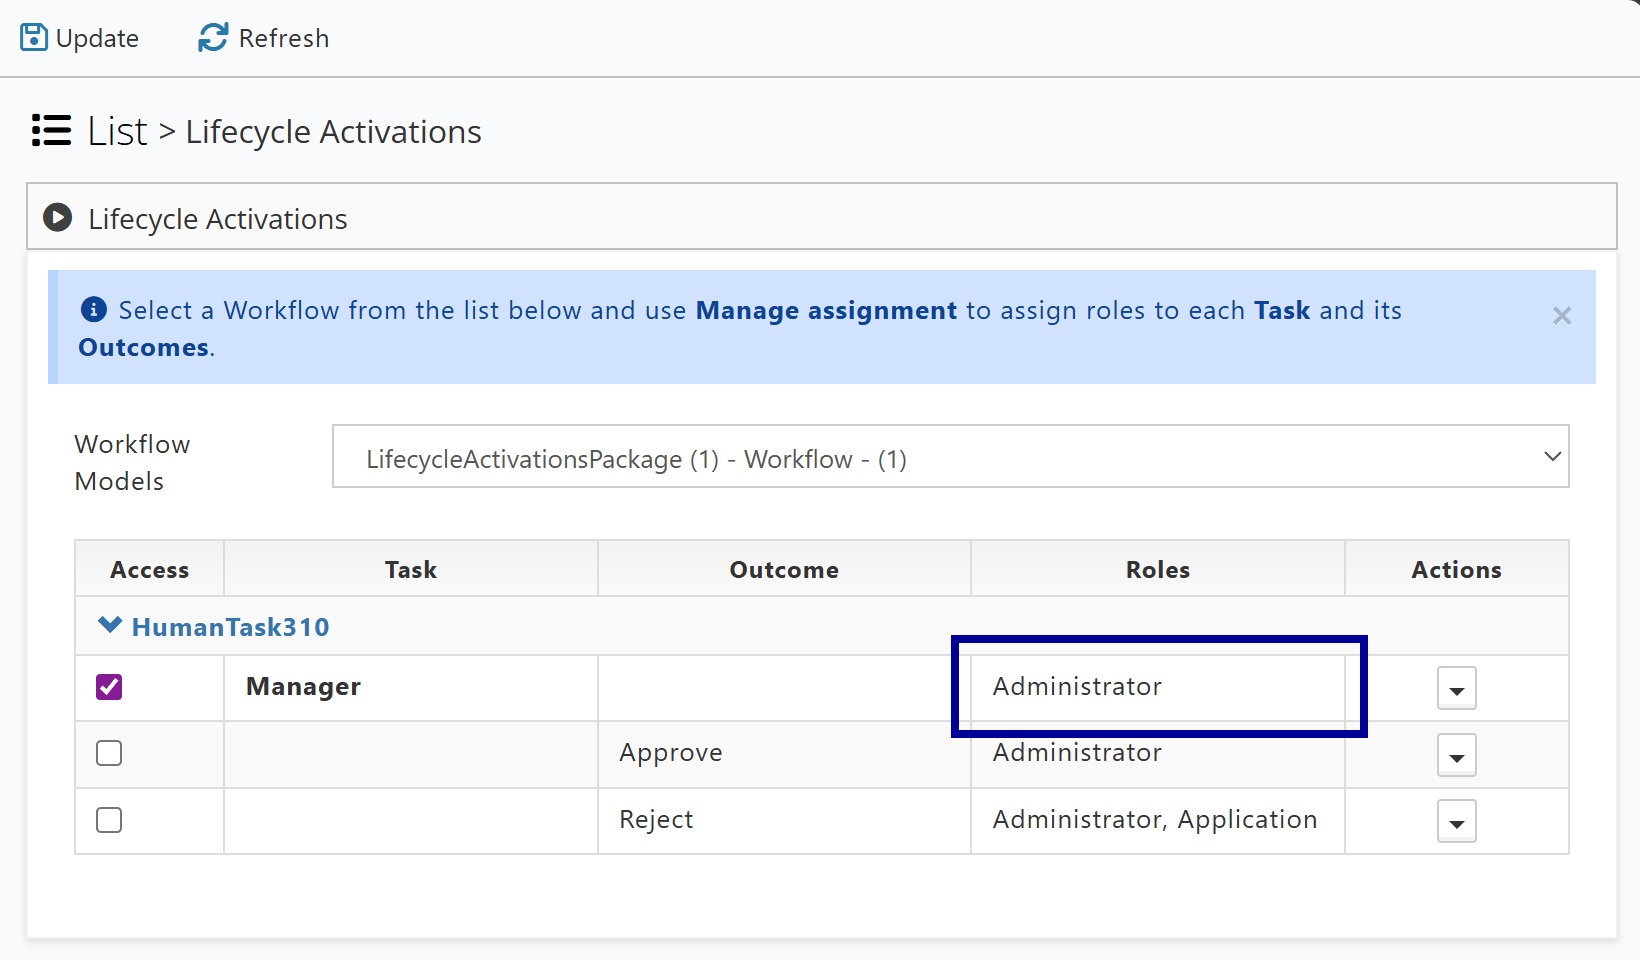
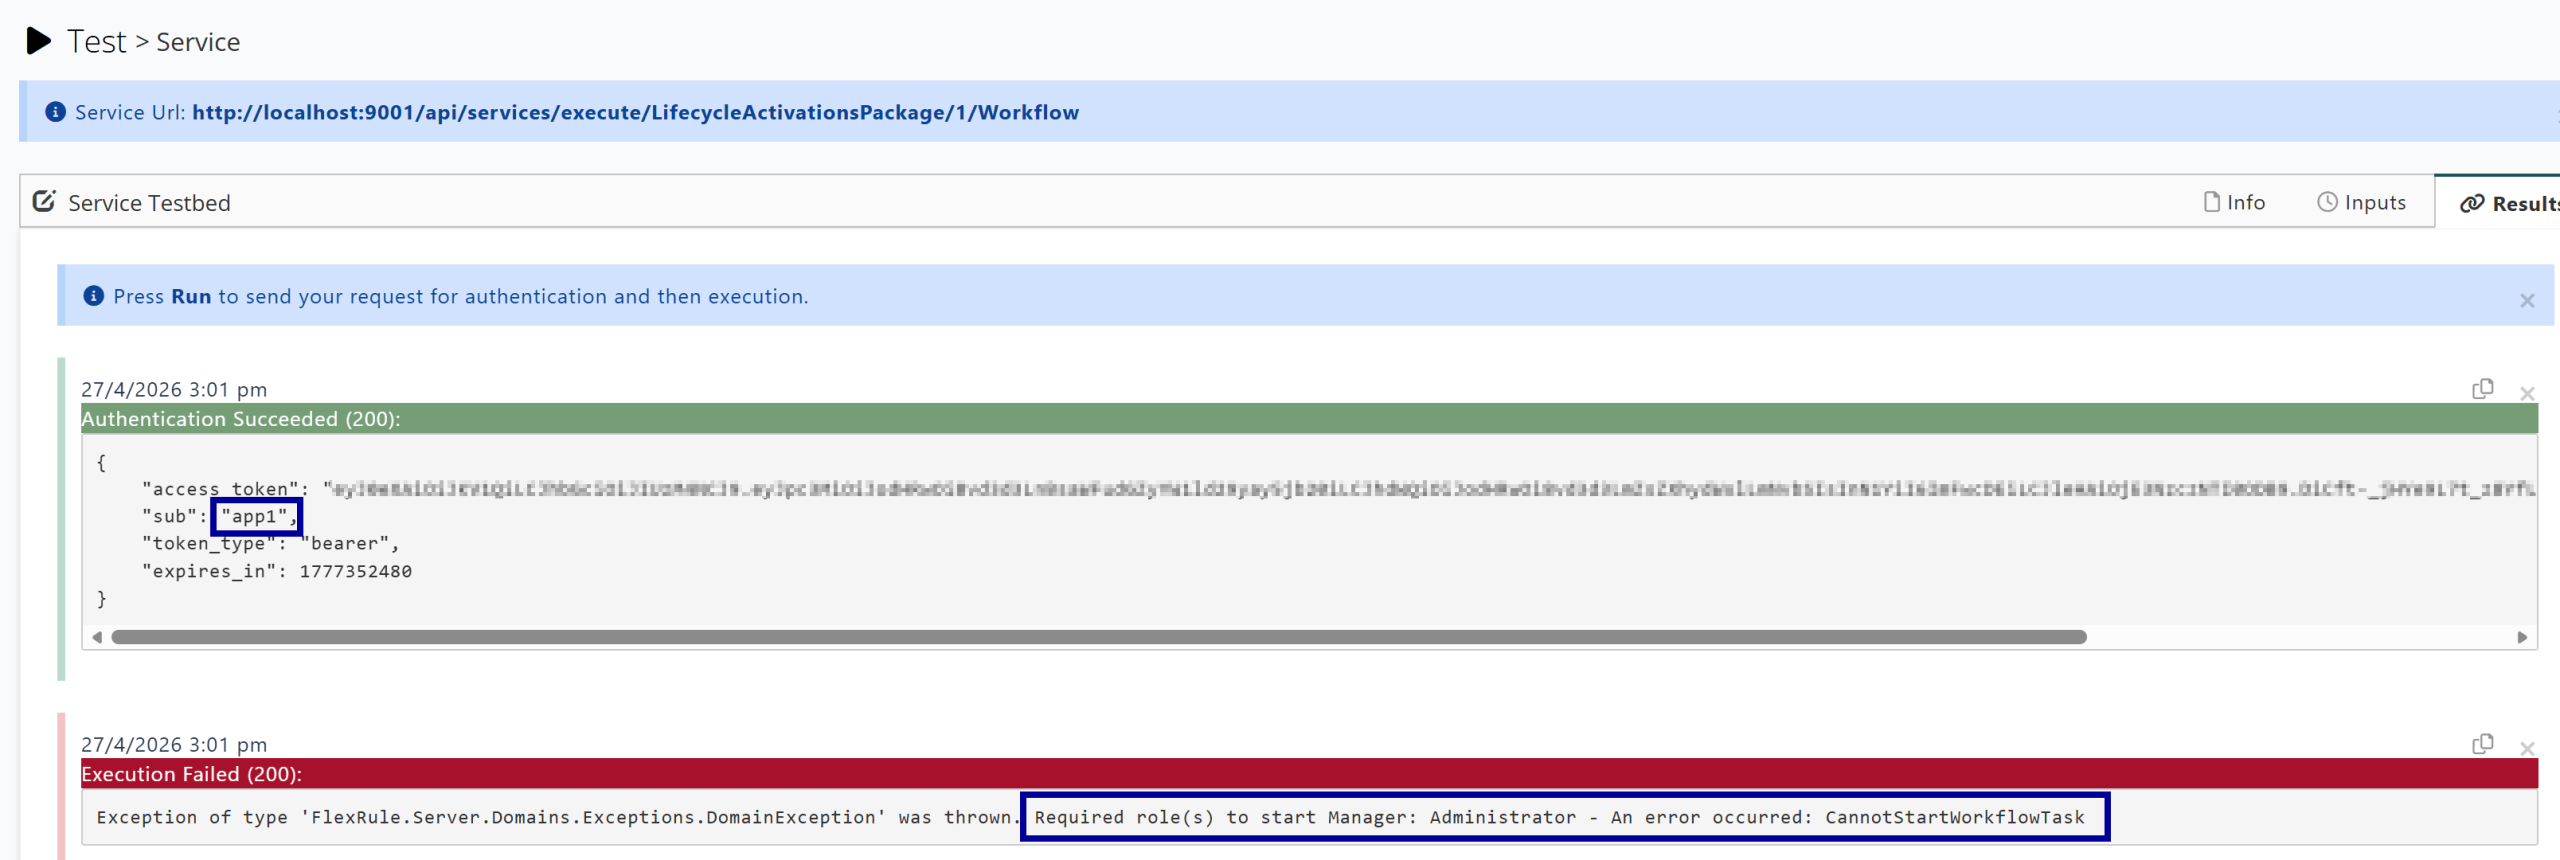
As seen in the highlighted section of the last image, Accounts with a Role not assigned to the Task, are unable to Start the Workflow.
A similar message would also be returned when attempting to Resume a Workflow with an unassigned Role.
If you wish to follow this example, you can follow the steps and use the Project from the Workflow page.