
◷ Reading Time: 5 minutes
A Privilege bridges the gap between accounts (i.e. Applications and Users) and assets. This structure allows you to give very specific access to a specific resource, regardless of the account’s Role(s).
In short, it is possible to make read-only assets whilst other assets are writeable, without granting more/less Roles to accounts of your choosing. It is also possible to have some assets completely hidden or visible to limited accounts within the same shared Workspace.
Create a Privilege
There are four sections that need to be completed to create a Privilege:
- General information about the Privilege (i.e. name and description).
- Target Asset/Resource.
- Target Actor.
- Role Selection.
Next navigate to the asset/resource you wish to create a Privilege for:
Asset Management -> Asset Browser -> Chosen Asset -> Right Click -> Privileges
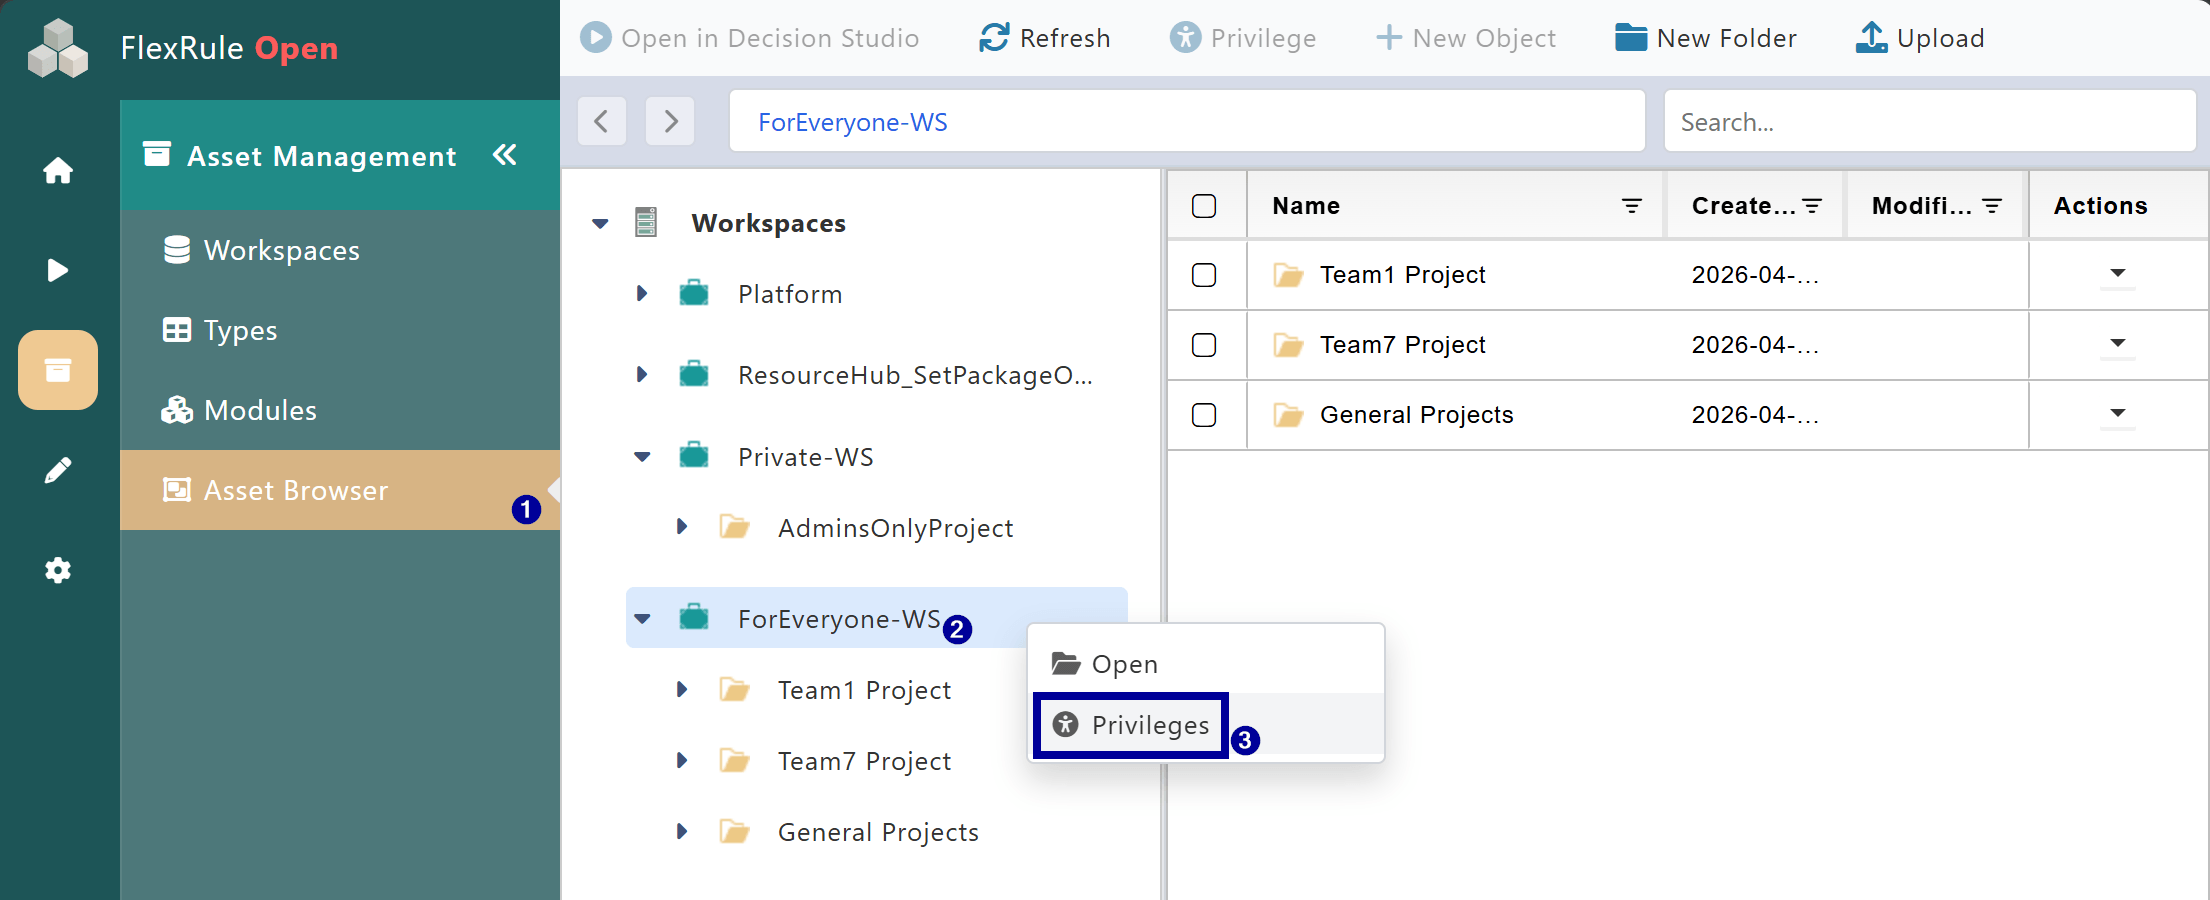
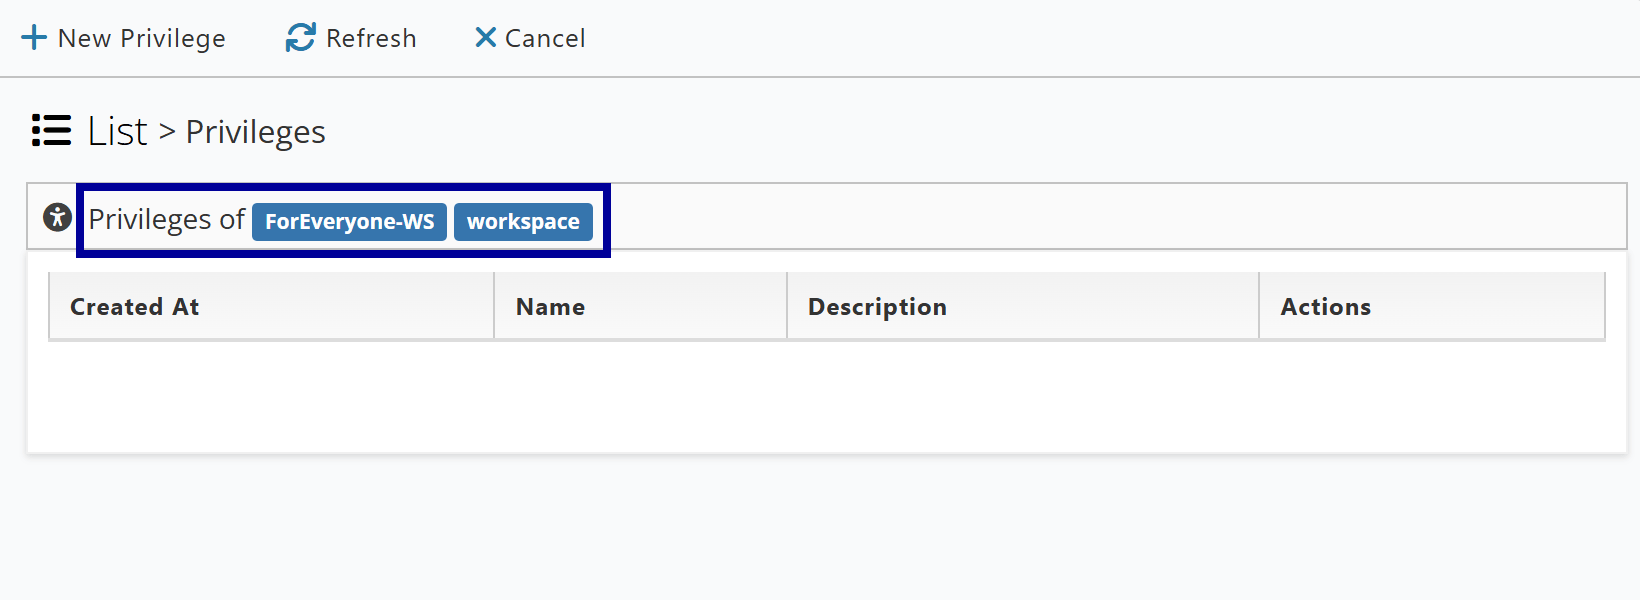
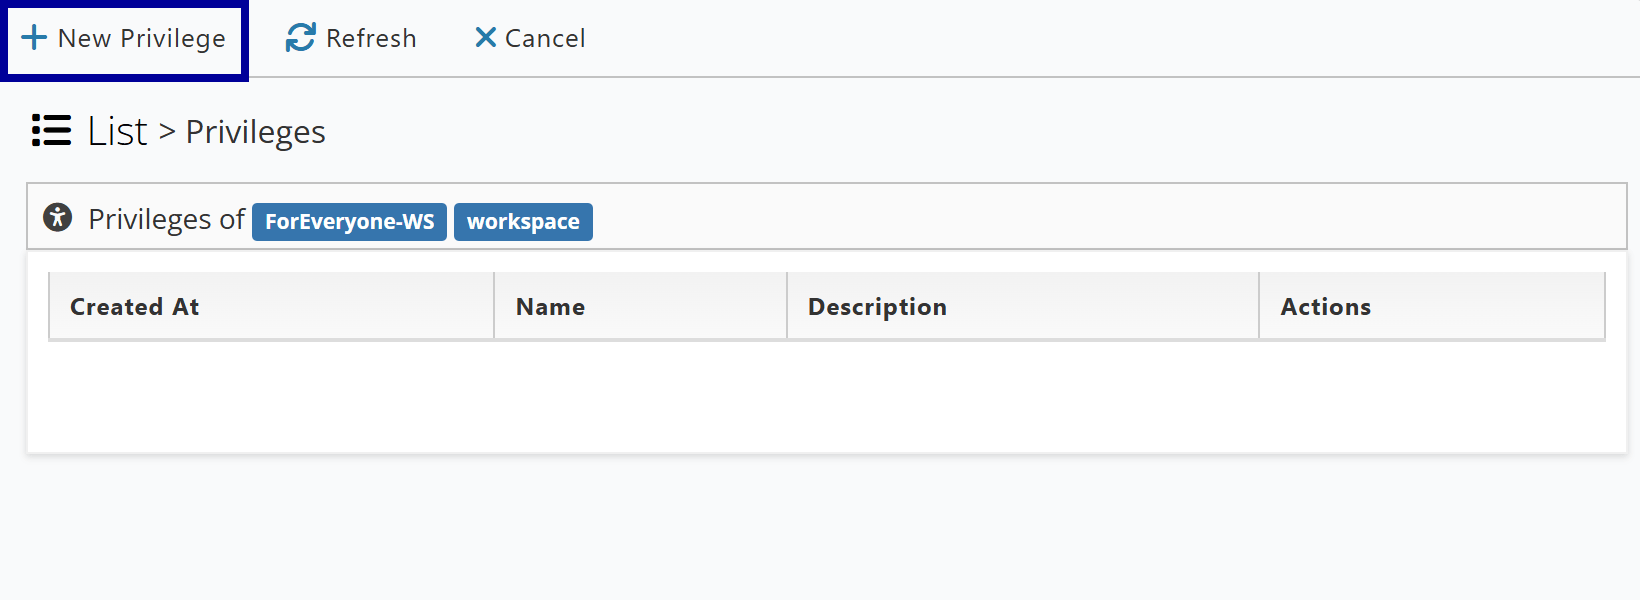
Then click on New Privilege.
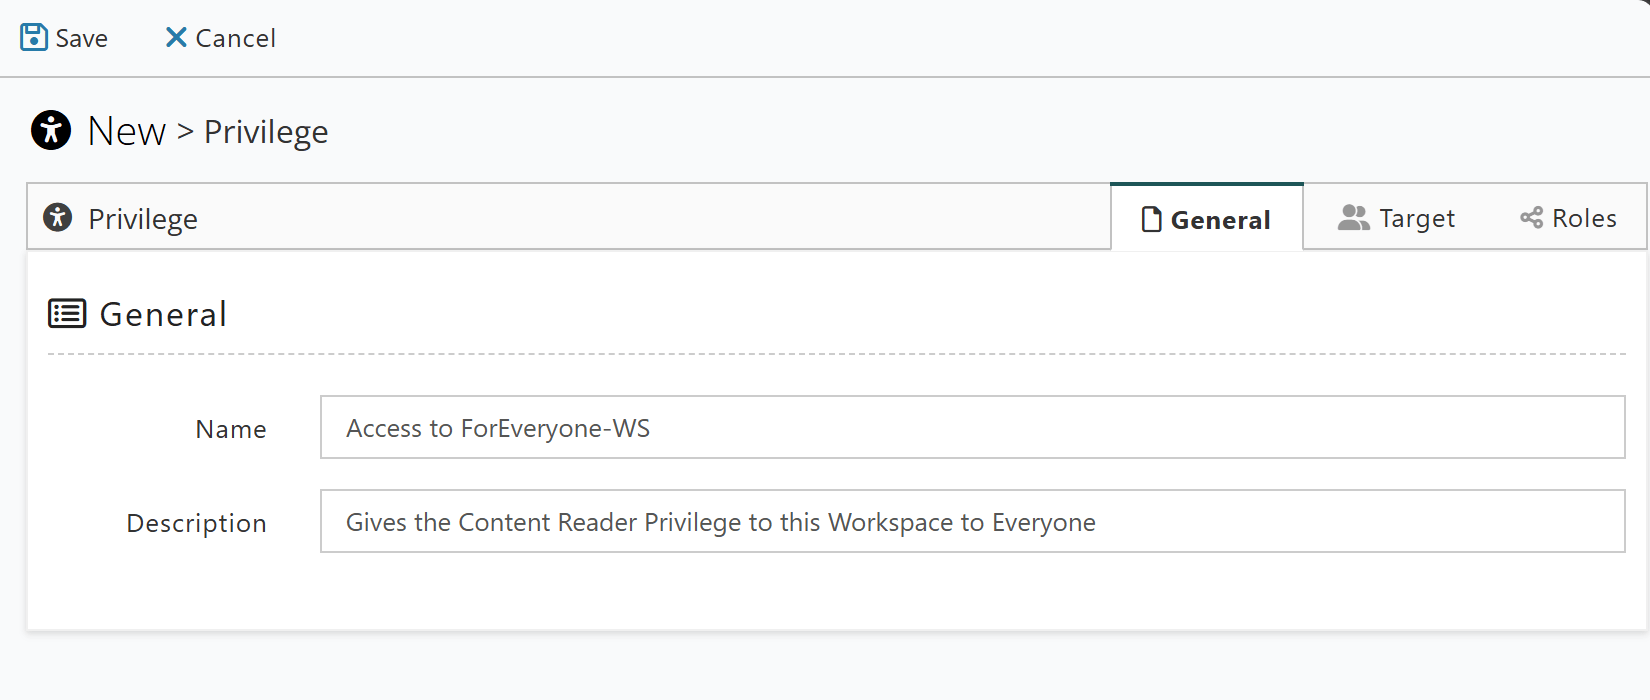
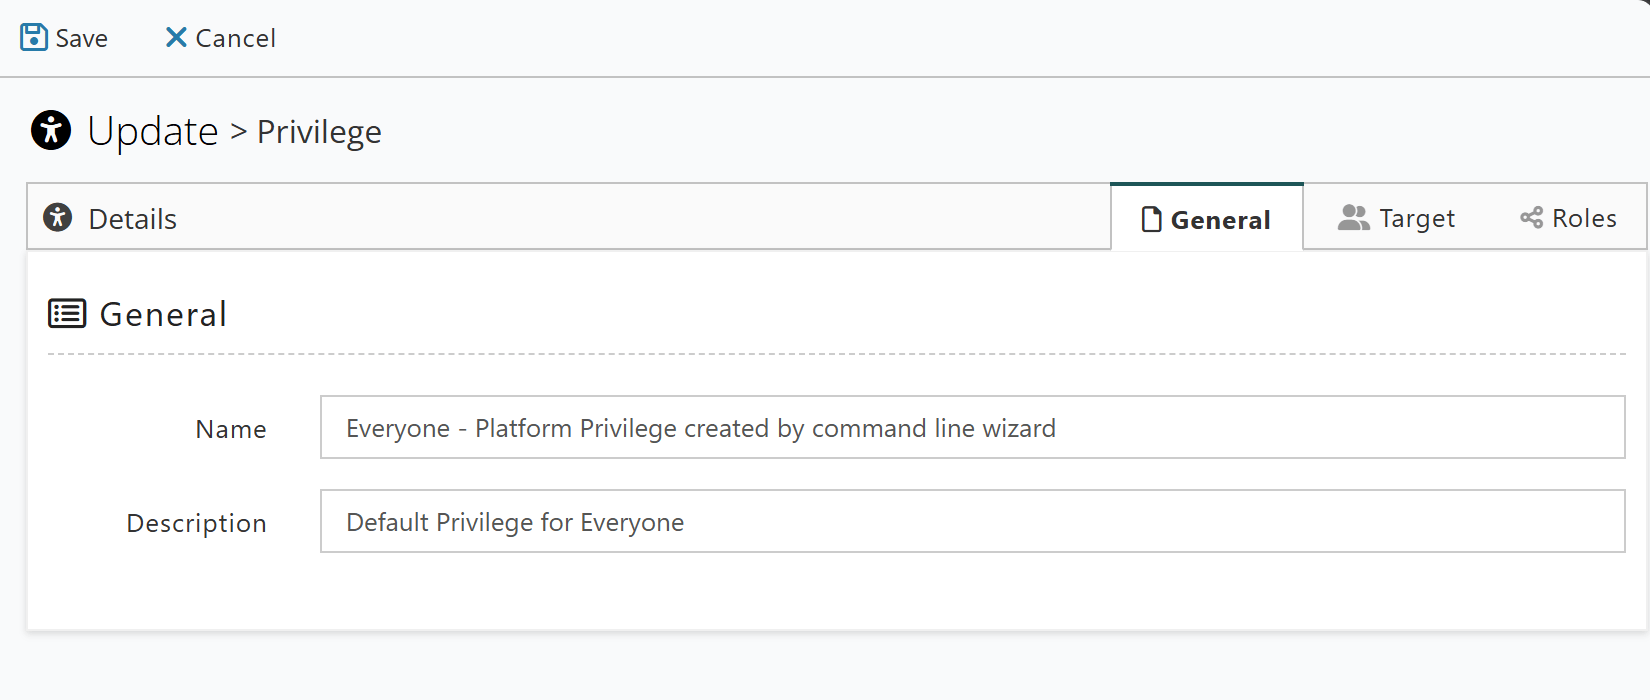
Assign a name and description of the Privilege in the General tab.
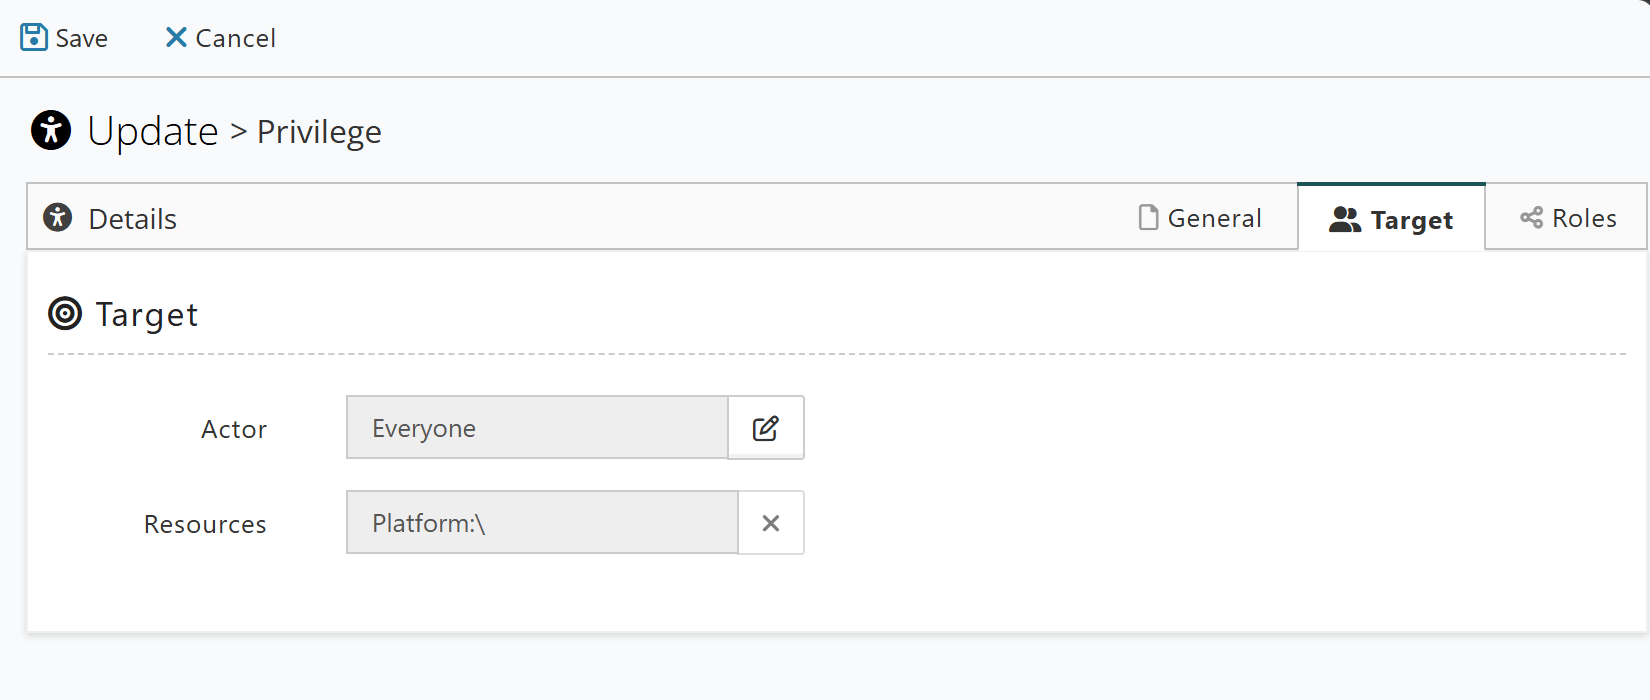
Select the target actor (Account or Group). An actor must be assigned in order to create a new Privilege.

Using the Tabs in the selector window, the target actor can be set to a Group, Application, or User.
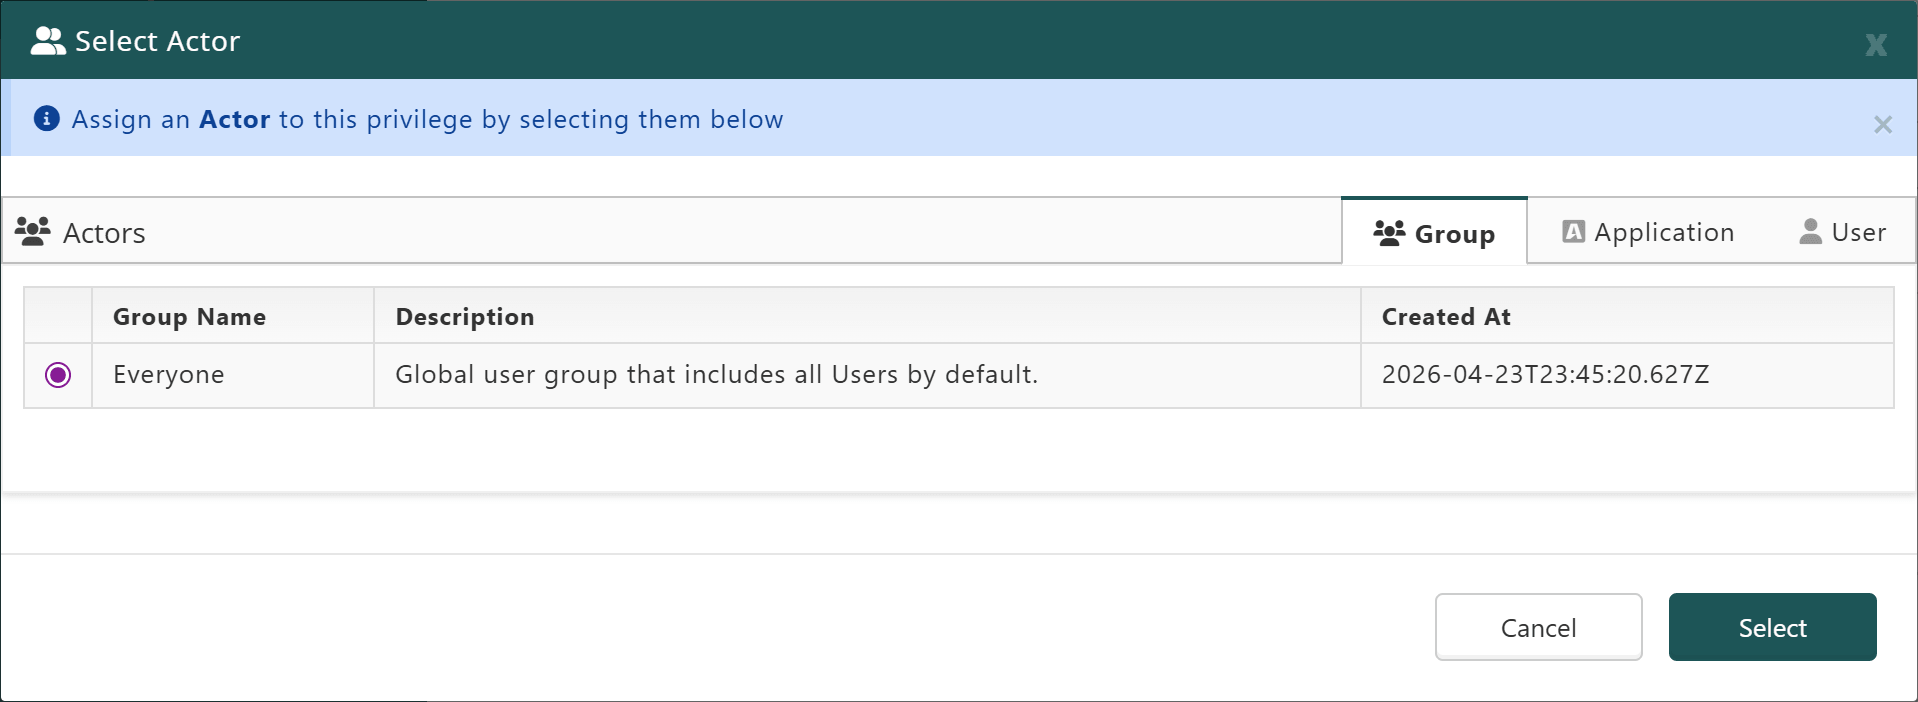
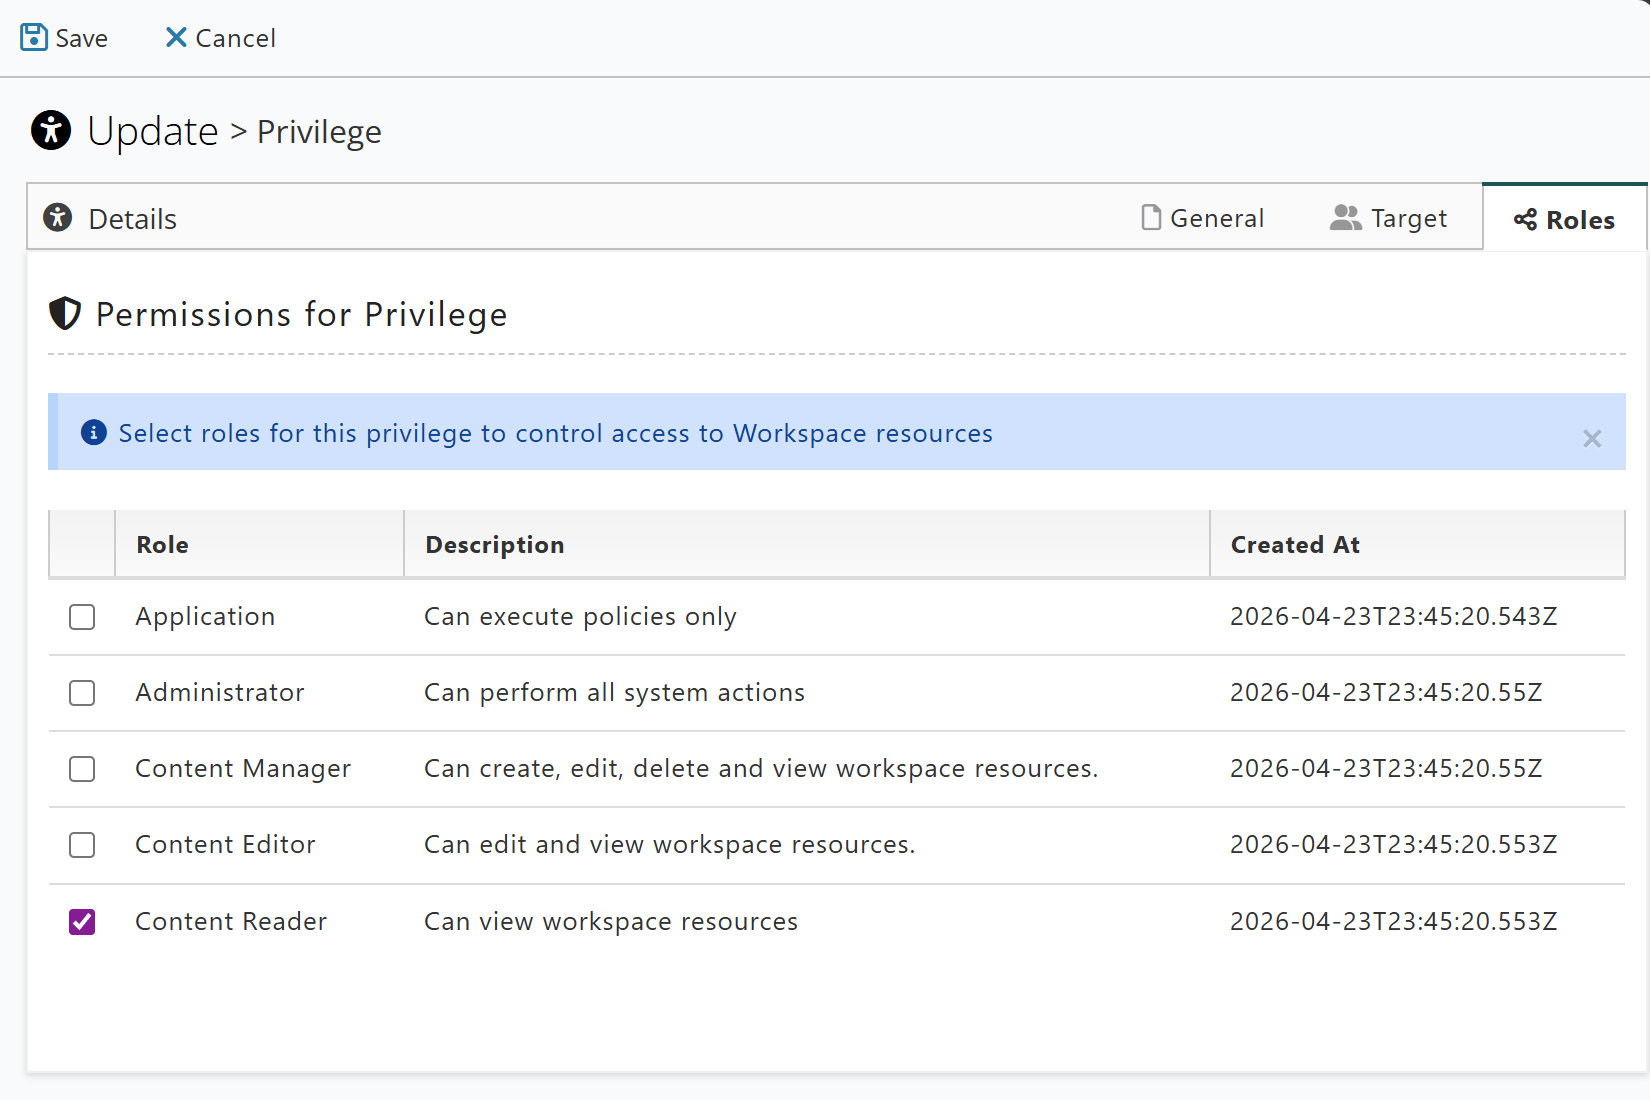
Assign the allowed Roles.

Lastly, click the Save button in the top-left.
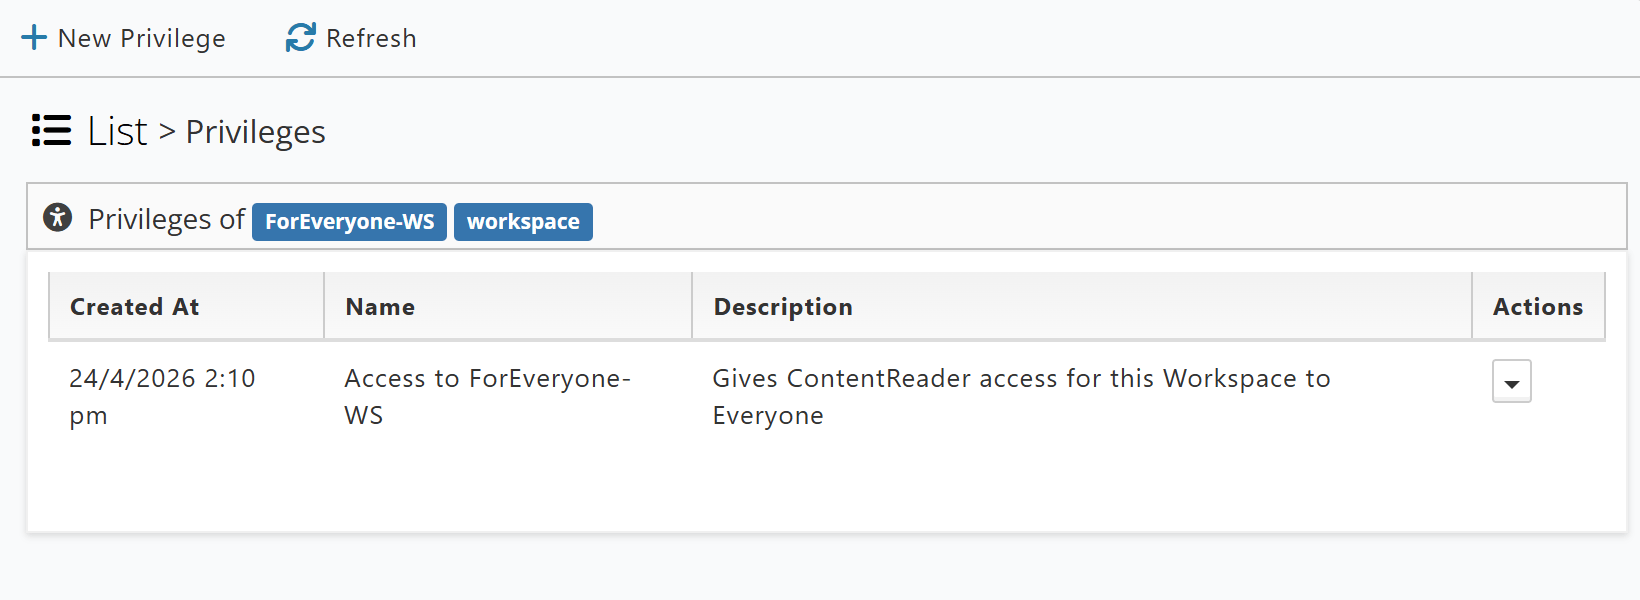
This new Privilege allows all Users read-only access to the ForEveryone-WS Workspace, if the account has the appropriate Actions to allow them to see Workspaces and their contents.
Privilege Actions
You can manage existing Privileges from the Privileges window found in Administration.
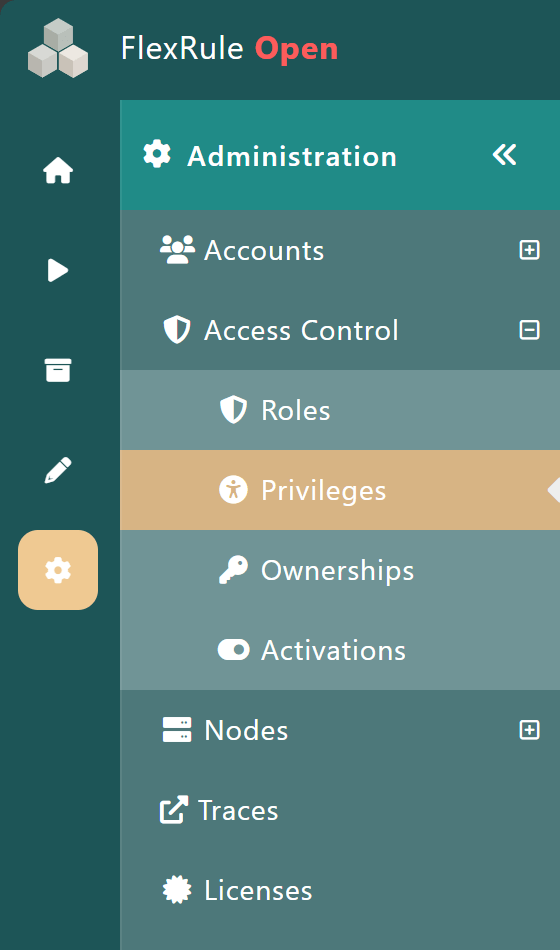
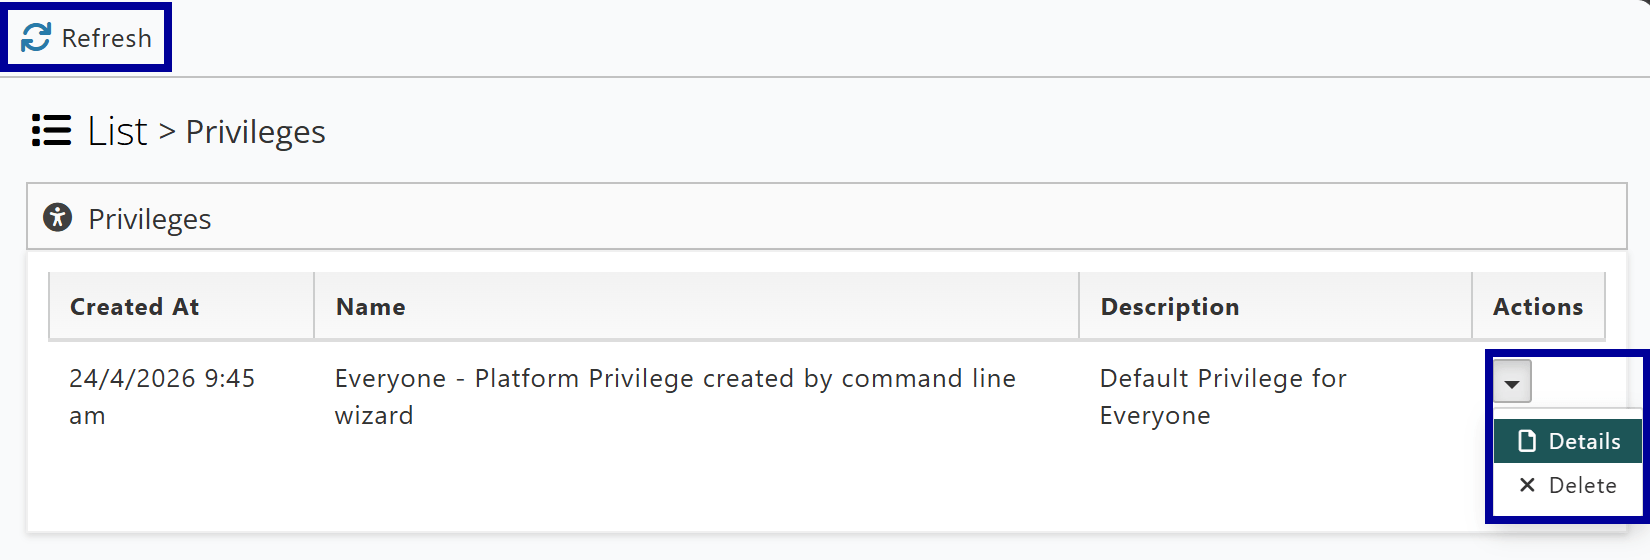
When in the Privileges window, there are a few options you can choose from:
- Refresh: Refresh the list of Privileges.
- Details: See the details of an existing Privilege.
- Delete: Delete an existing Privilege.
Privilege Details
Under the Privilege Actions, you can view or update the details of a Privilege.
General Tab
The General tab is where you can change or update the name and description for a Privilege.
Target Tab
The Target tab is where you can change or update the target actor. The target asset/resource cannot be changed.
Roles Tab
The Roles tab is where you can change or update the Roles allowed by a Privilege.
Ensure you click the Save button in the top-left to save any changes.