
◷ Reading Time: 3 minutes
Let’s say you have a project in your local and you want to transfer that project to any workspace that you have access in the DAM (Decision Asset Management).
In this example we are going to transfer the Delivery Cost Calculator project to a workspace called “Workspace R001” in the DAM.
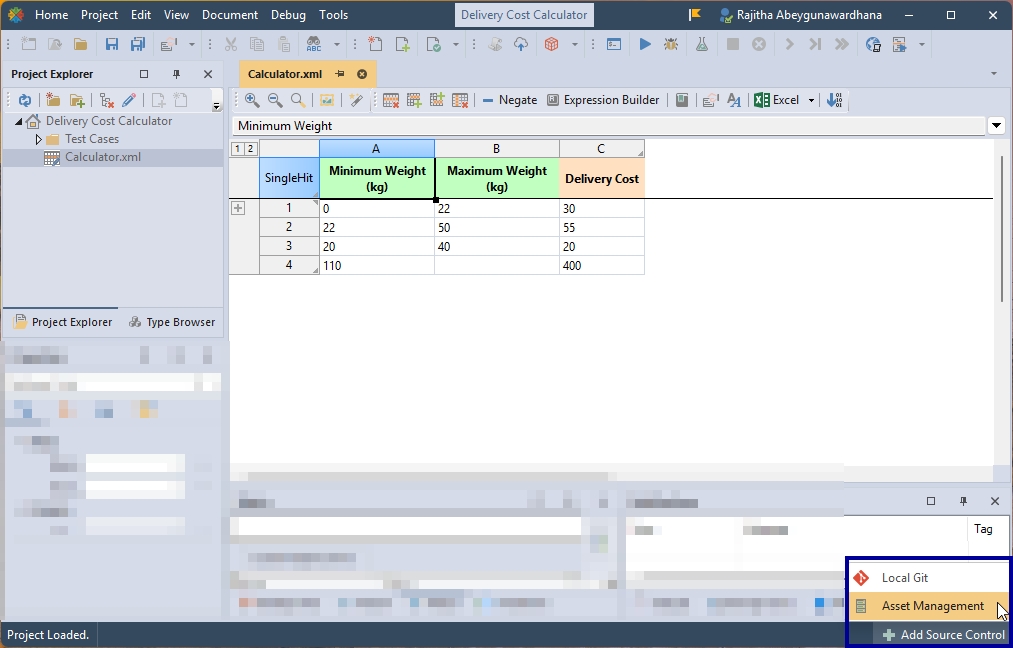
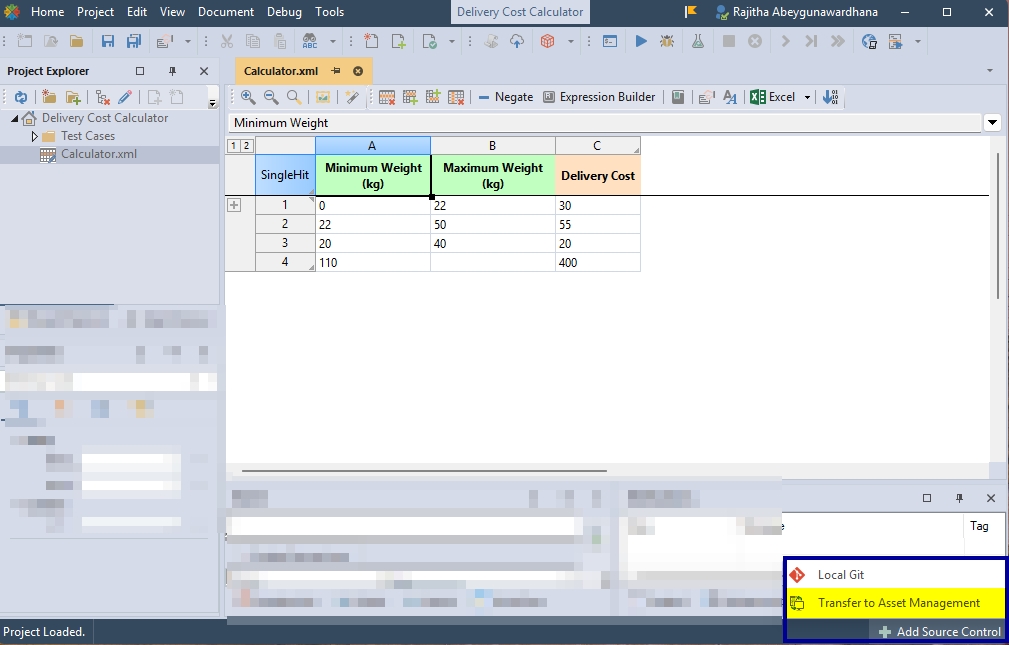
Click “Add Source Control” in the bottom-right corner, then select “Asset Management”.
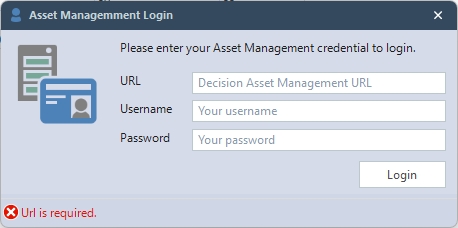
Then you will get a pop-up window asking to log in to Asset Management. (You need to get these credentials from your FlexRule Server Workbench Admin)
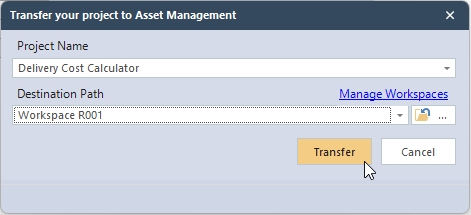
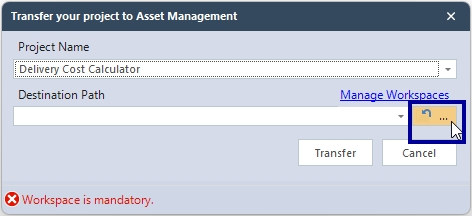
Once you log in, you will get the following window to select what’s your destination Path.

When you select the Destination Path which is your expected Workspace you want to transfer the project click “Transfer”.
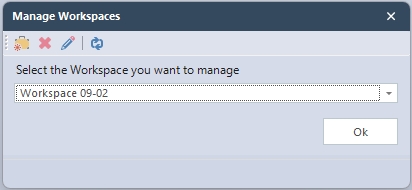
Manage Workspaces
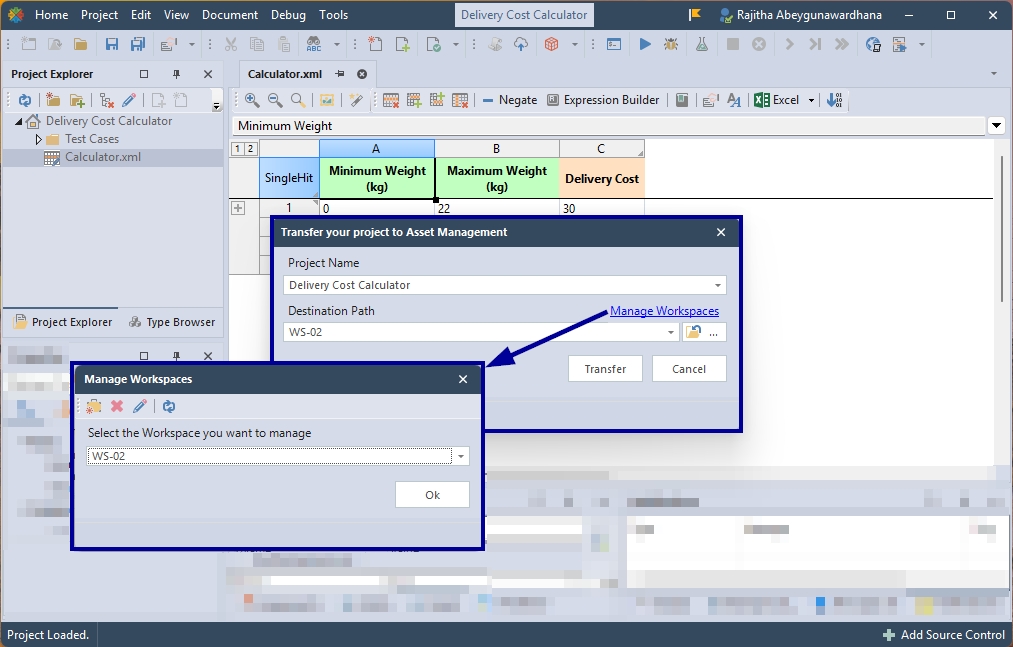
When you are working on a project in FlexRule Designer and want to manage your workspace, you can make basic changes in this window, such as creating a new Workspace, deleting an existing workspace, renaming an existing workspace, and refreshing. From the drop-down selector, you can select which workspace you want to manage.
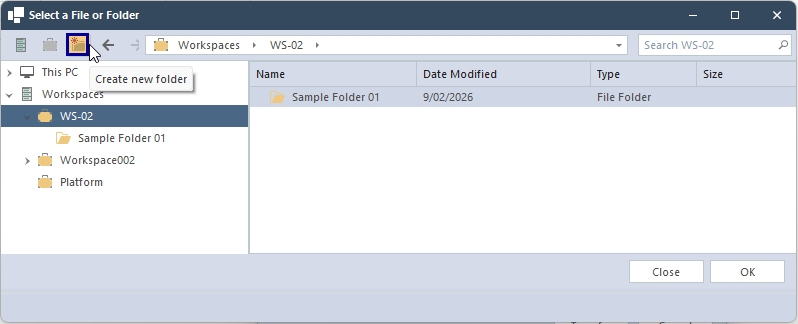
Create Folder inside the Workspace
If you want to organize your projects inside the Workspace, then you can create new folders inside the Workspace. Click on the following icon to open.
Transfer to Asset Management
Let’s say you have already logged in to Asset Management because you worked on a different project. Then you don’t need to log in again if it is the same Asset Management. You can simply click on “Transfer to Asset Management”.
Manage Workspace after Transfer
Let’s say, after you transferred your project to a Workspace, you still need to manage Workspaces.
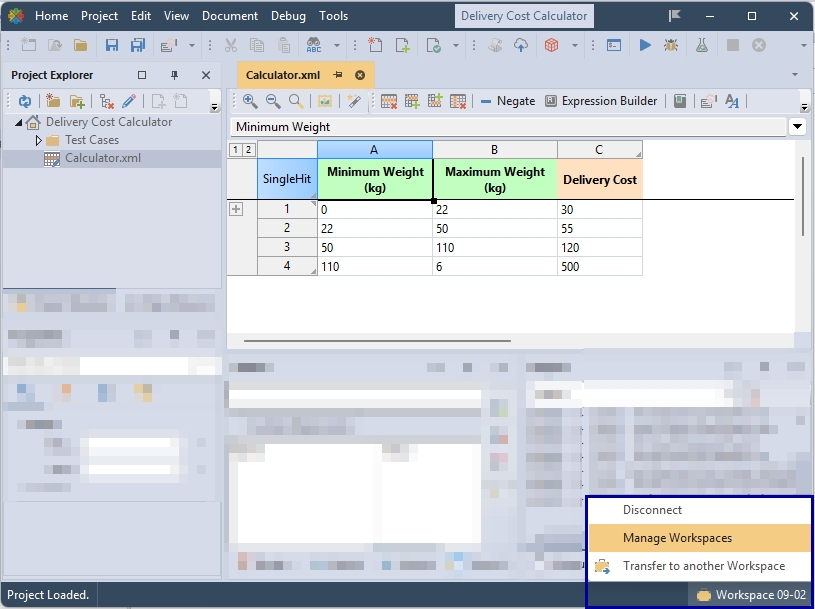
You can also disconnect from the existing DAM by clicking on the “Disconnect”.