
◷ Reading Time: 6 minutes
If you are currently using FlexRule Server version 8 you can easily migrate to FlexRule 0 (V10) by following these steps.
1. Download the latest FlexRule Server Version 10 from the User Portal
Navigate to your user portal and download the latest FlexRule Server version 10.
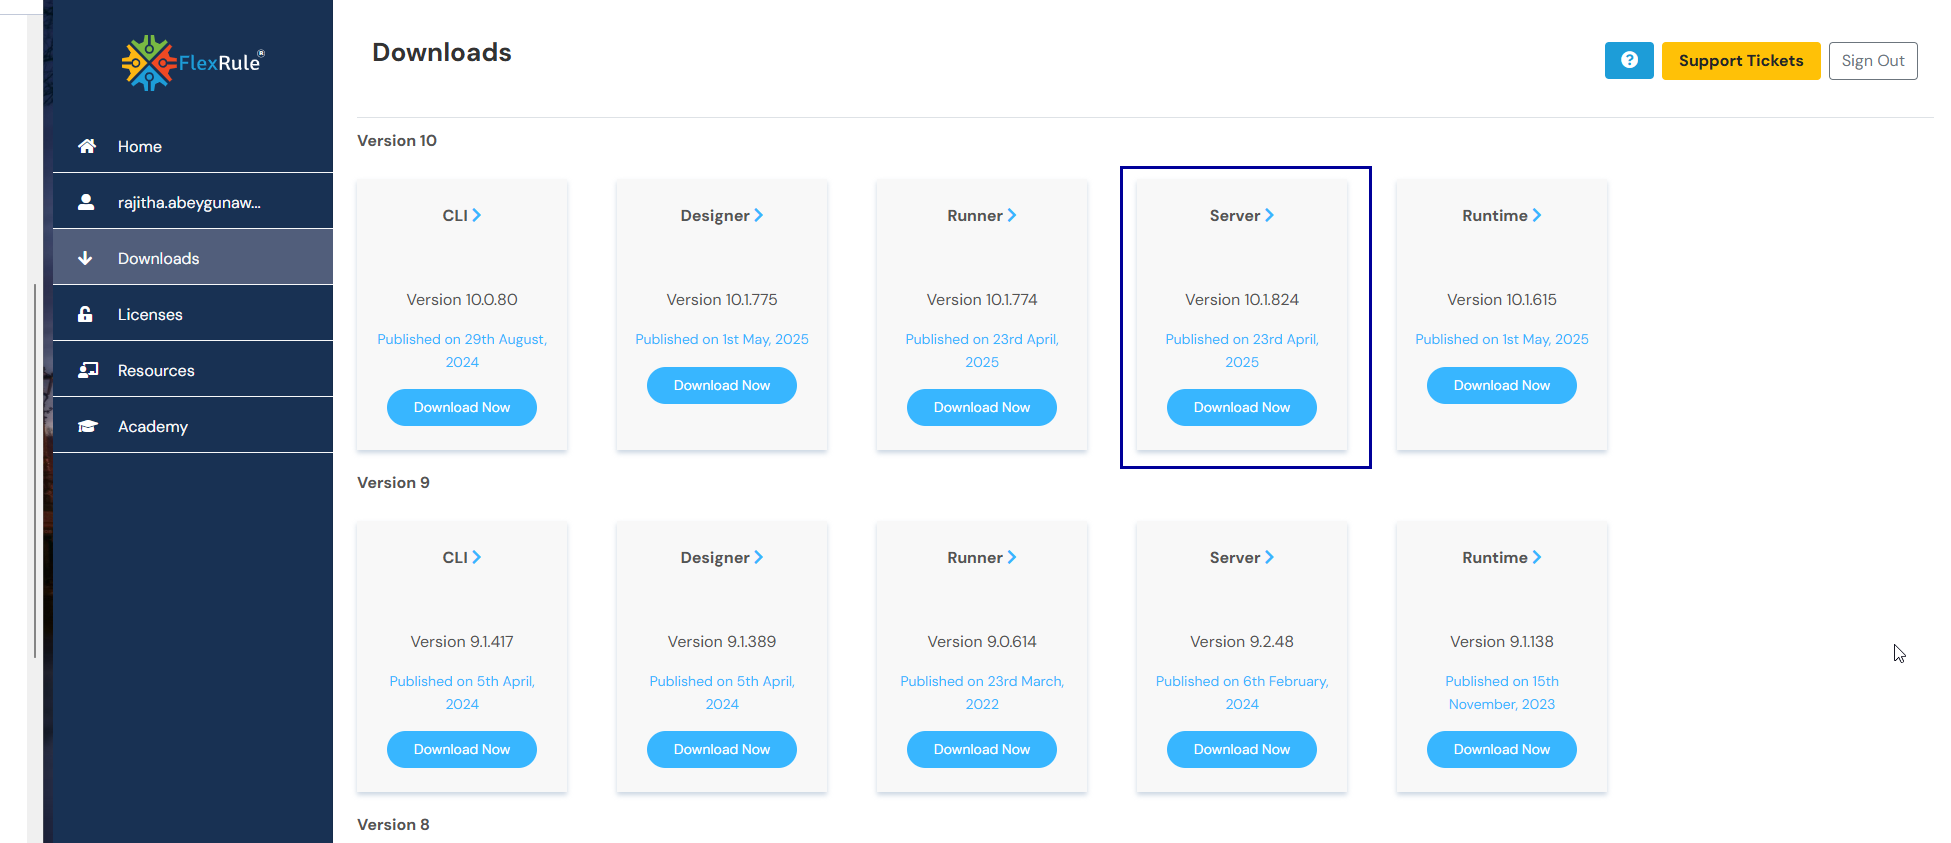
If you can’t see these v10 products on your portal, please get in touch with FlexRule Support.
2. Send the Serial Number to FlexRule Support
In order to generate License files, the FlexRule support team needs your machine’s Serial number. Please follow this article to create the serial number and return it to FlexRule support. Then we’ll add the license files to your portal.
3. Download the licenses (FlexRule Runtime and FlexRule Server, version 10) from the User Portal.
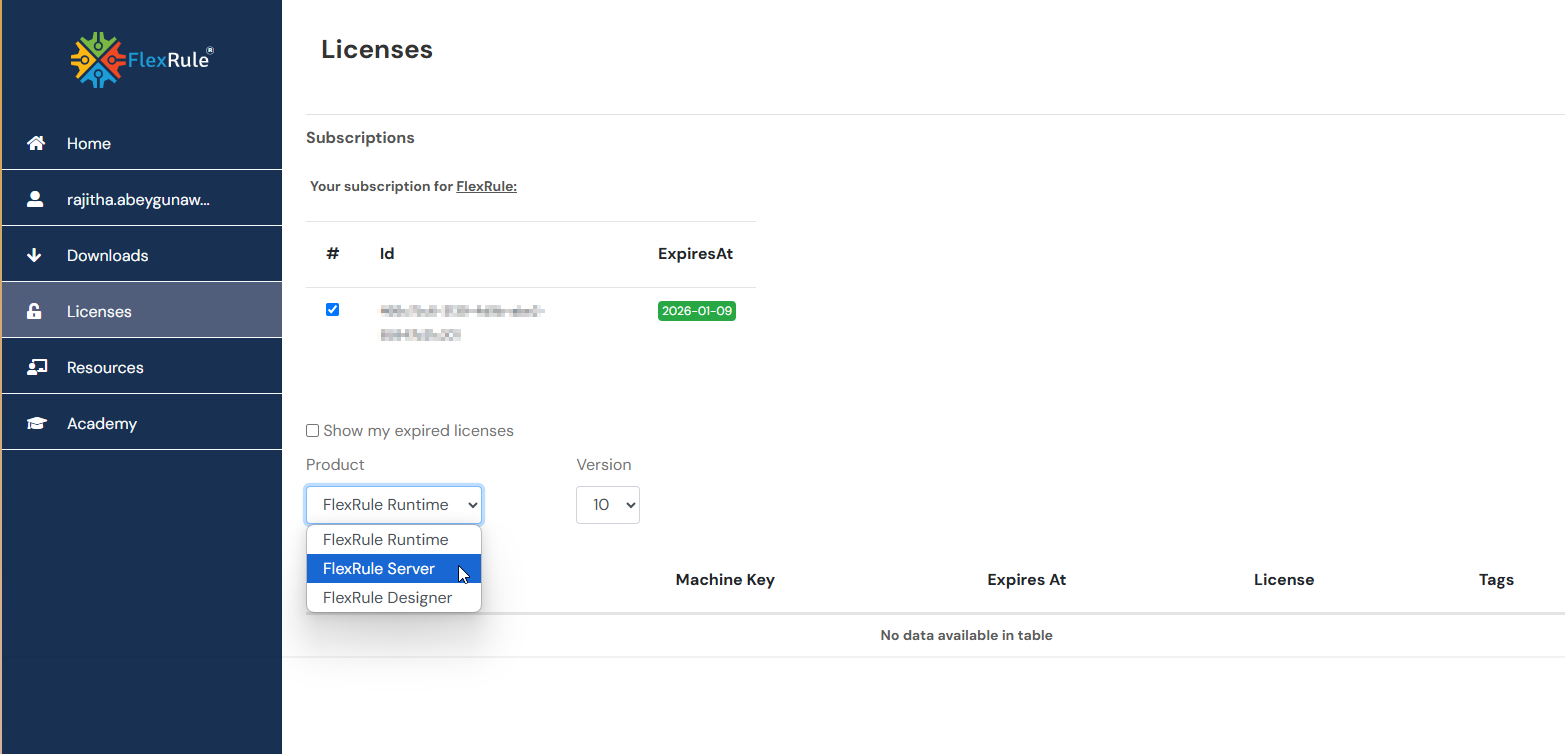
Log into your FlexRule portal and navigate to the License tab. Then, select the product and version from the dropdown list and download the license file. To proceed with this migration, you will need FlexRule Server and FlexRule Runtime licenses.
4. Follow the installation for FlexRule Server
Please follow this article for FlexRule Server installation.
Since you are migrating from the previous version of FlexRule Server, provide the following details during the installation steps.
Use your existing Database
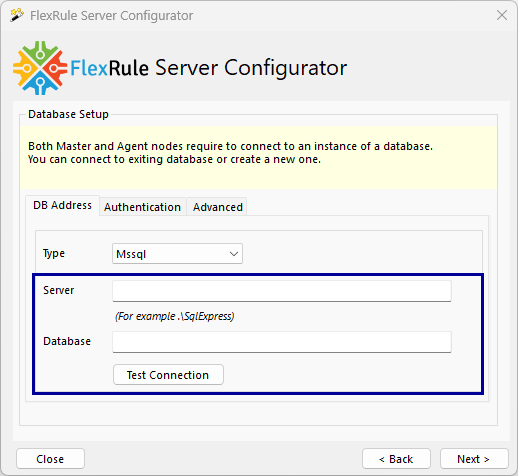
During the installation, you will be asked to enter the Database details. Please provide your existing Database details (from FlexRule Server V8) unless you want a fresh installation. This will help you to keep your existing packages in the Database.
After that, in your next step, you will see the following window and make sure you select “Migrate existing database to New Version” radio button.
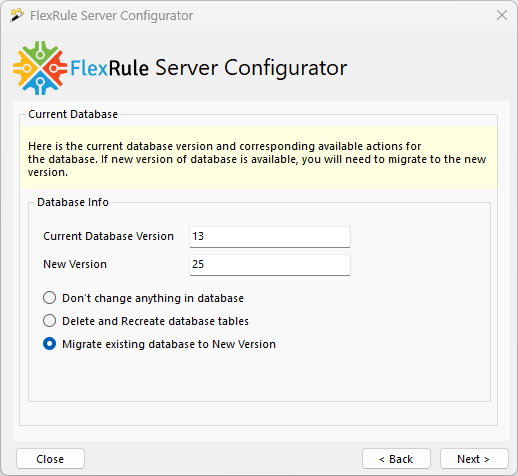
And then you will see the following window to migrate your current database to the new version. You can click the “Migrate” button.
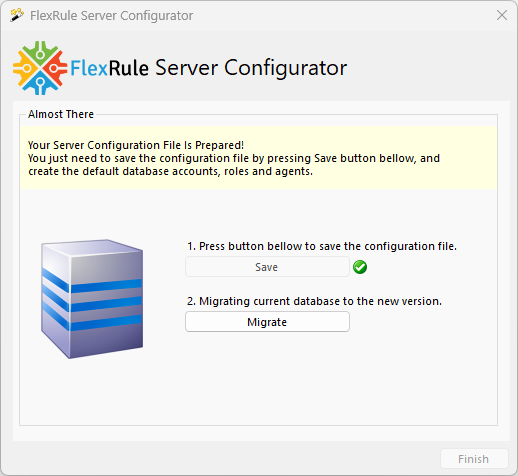
After you successfully install all four nodes of FlexRule Server(Master Management, Master Execution, Execute Agent, Workbench) you can login to the FlexRule Workbench with your credentials.
Then follow the rest of the steps on Workbench as described below.
5. Add licenses in the FlexRule Workbench
Make sure you copy and paste your new FlexRule Licenses as described in this step of the article.
After successfully adding your licenses, you will see both Server and Runtime licenses in the Workbench.
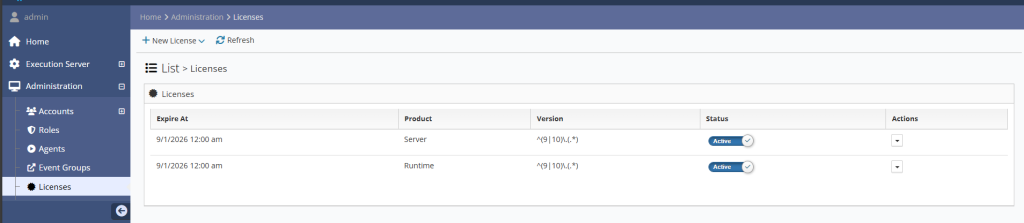
6. Give full access to the Admin user
Navigate to the Roles, under the “Administration” section, and select “the ” from the dropdown.
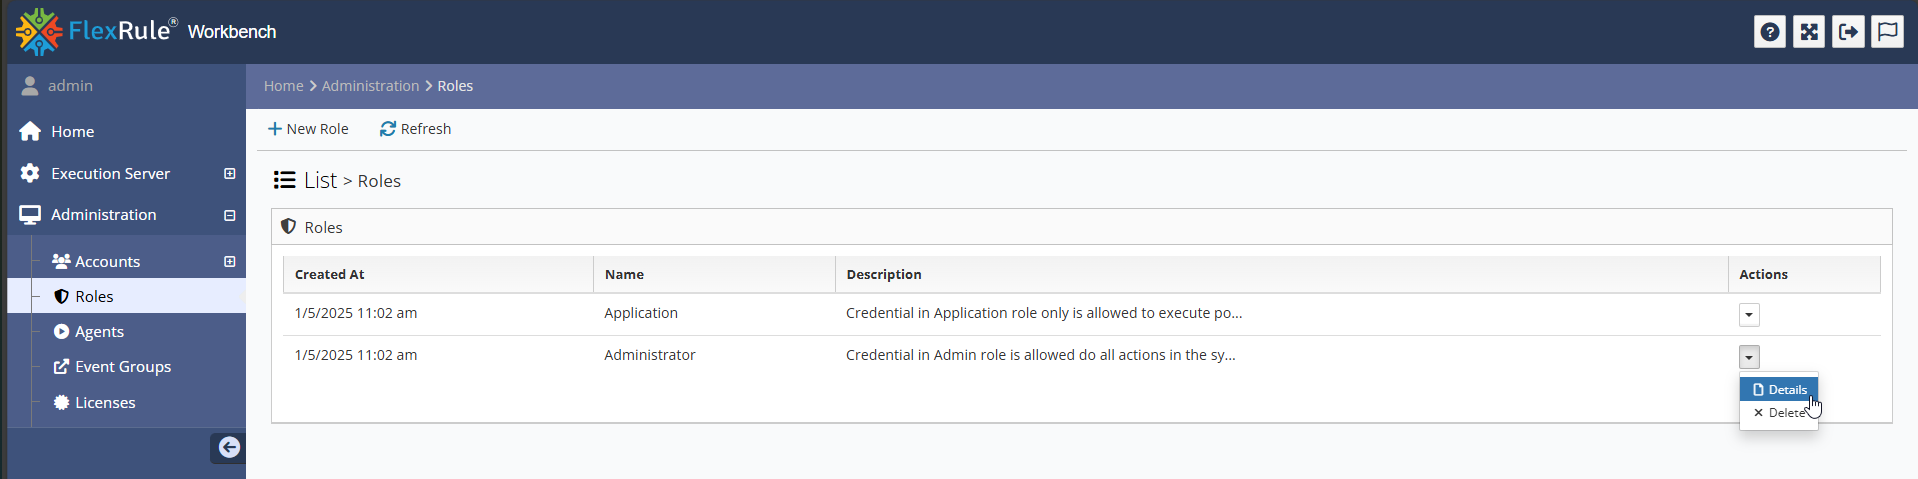
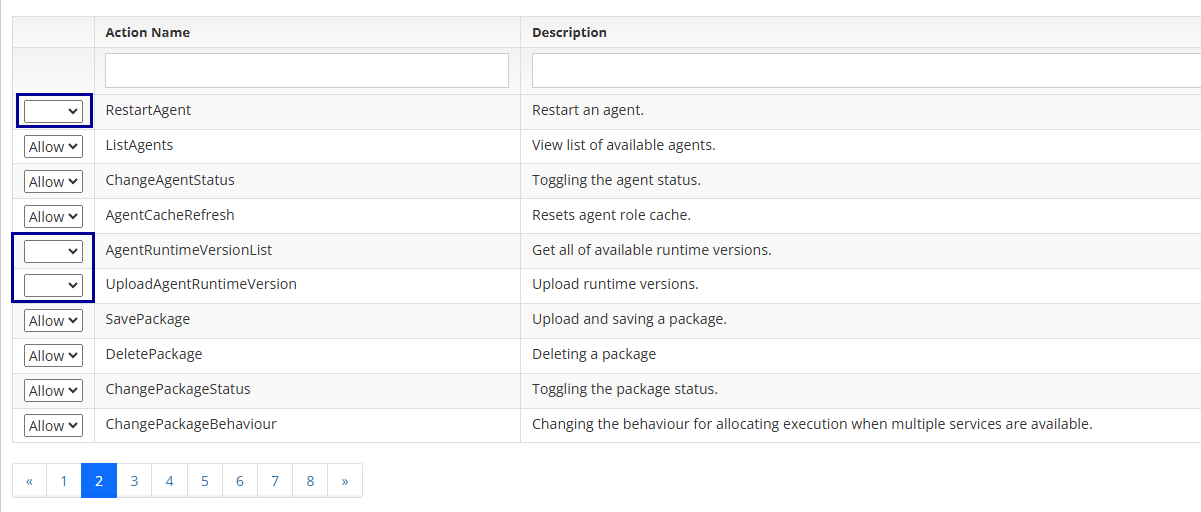
Go to the “Action” section, go through each page individually using the navigation pane, and grant access to “Allow” for all actions as follows. The following is the example page only.
7. Create a new Agent
After migrating, you will see your old agent in the Agent section. However, you must create a new agent that is compatible with Version 10.
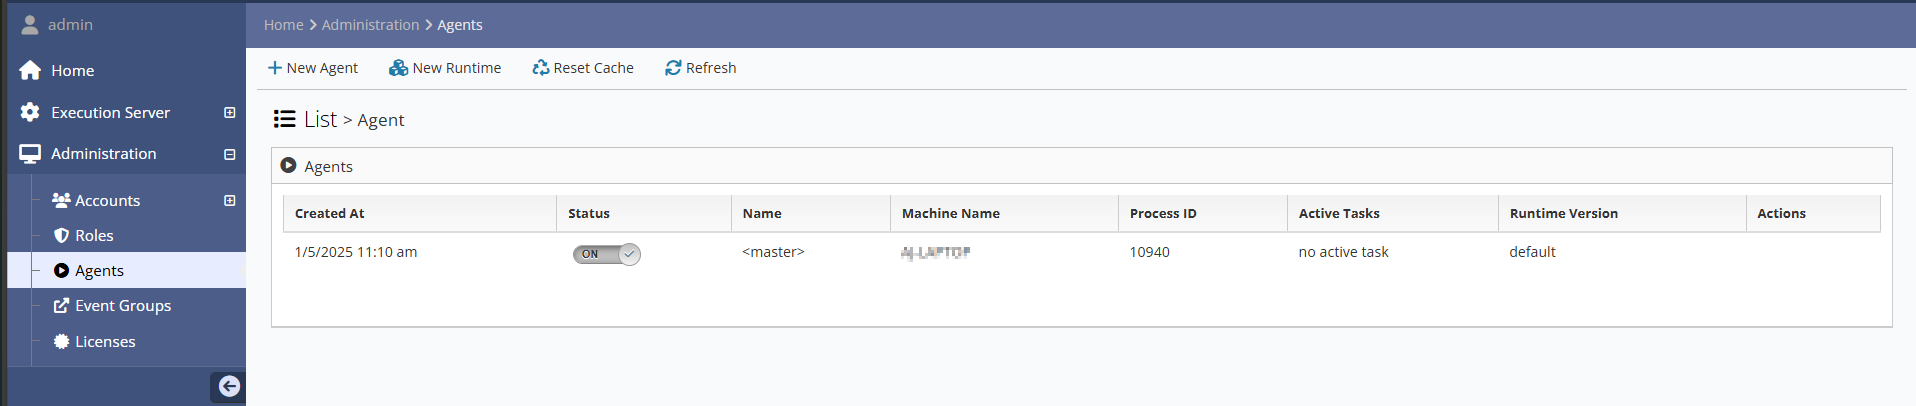
You will find the steps to create a new agent here. Also, make sure you download and update the Agent Runtime as described here.(Make sure you download the latest FlexRule Runtime V10)
After you set up the Agent, it will be as follows.
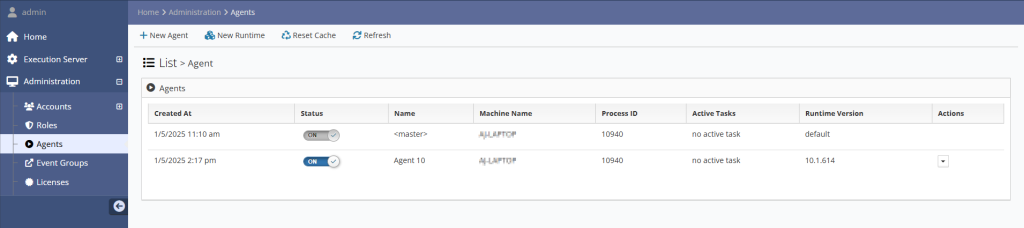
Now, as an admin, you should be able to execute the packages you already have.
8. Create a new Application account
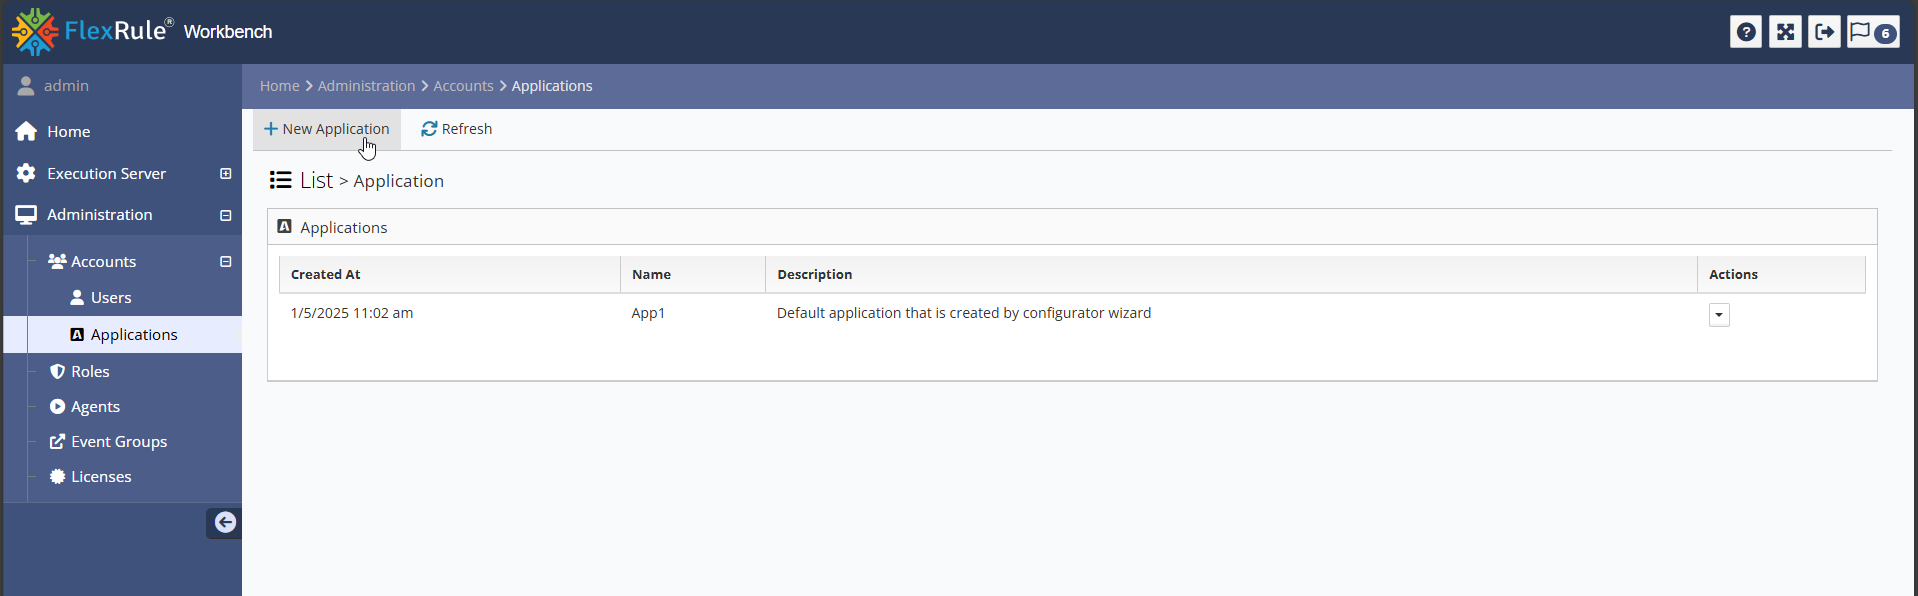
If you want to execute packages by third-party applications (e.g., a mobile app that executes a decision), you must create a new application account as follows.
Navigate to Administration-> Accounts -> Applications and click on “New Application”
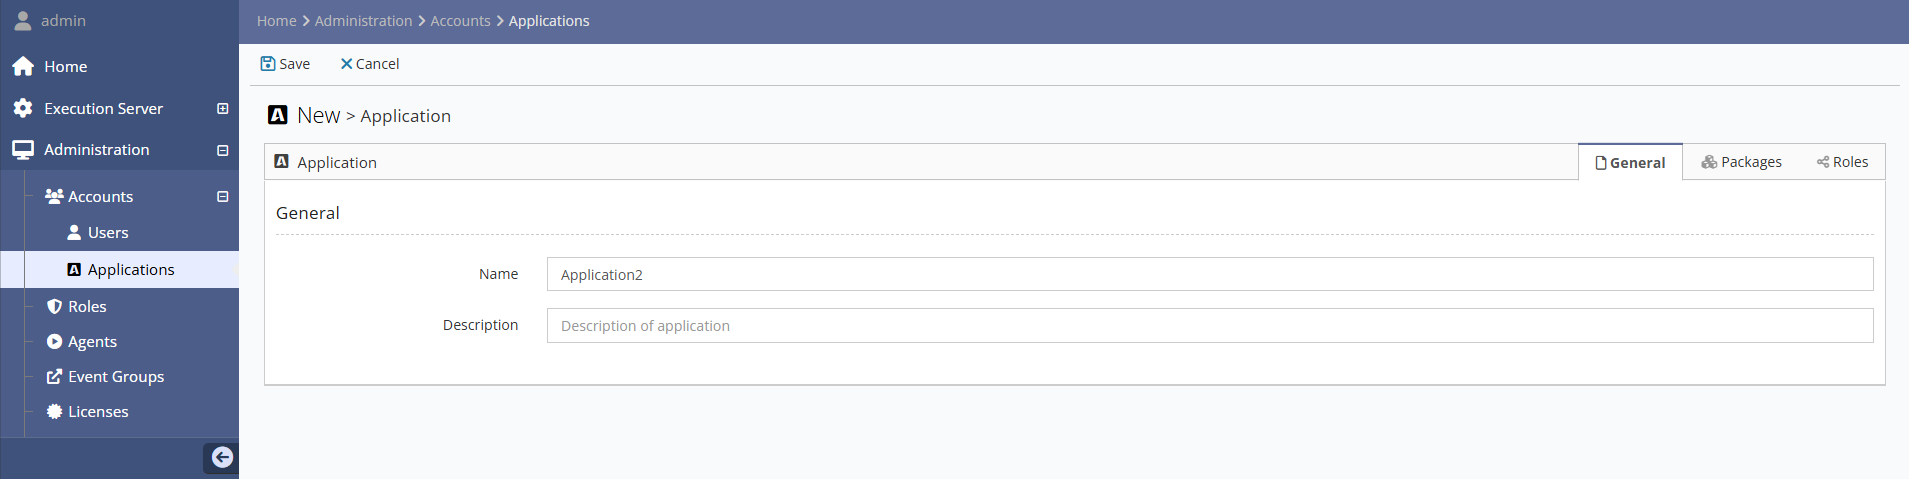
In the “General” tab, give a name for your application account.
Then navigate to the “Package” tab and grant the access to your Packages by checking on the checkbox.
Then navigate to the “Roles” tab and check on “Application” as follows.
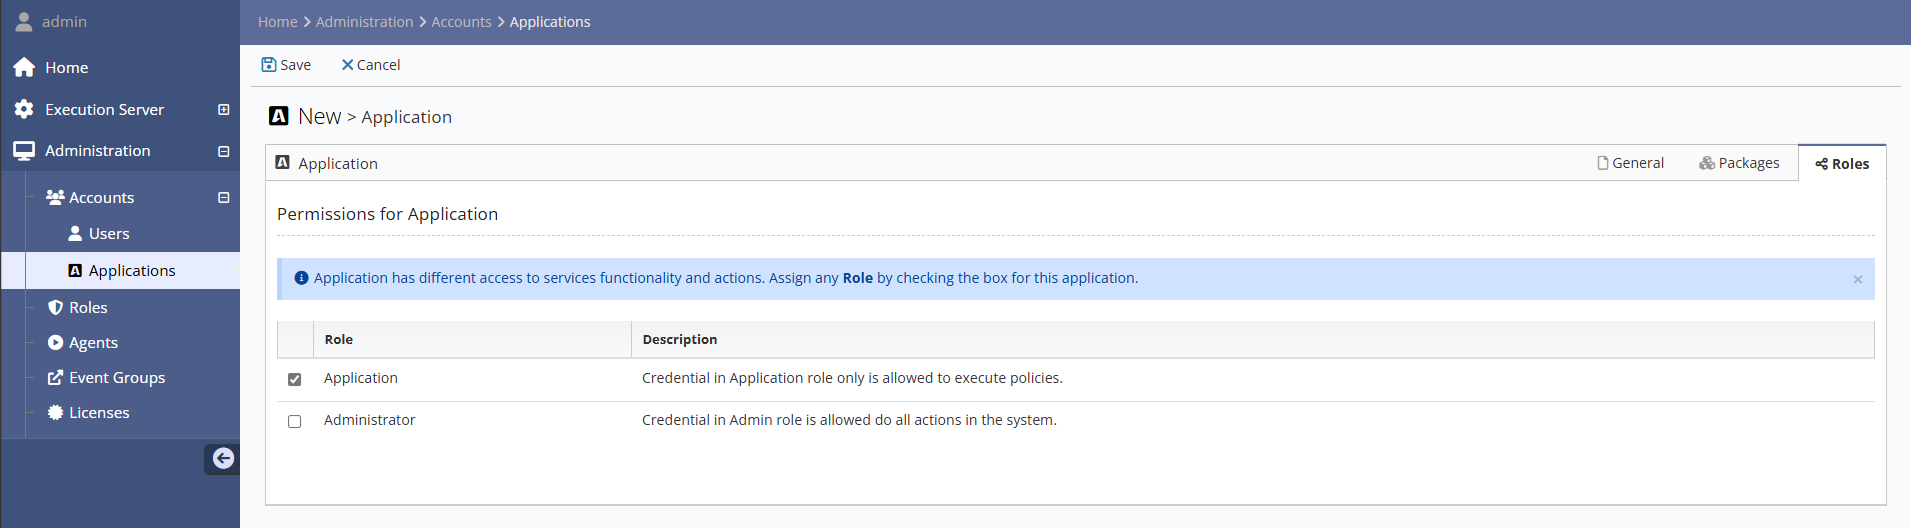
Then click on “Save” in the top left corner.
You can find the “Client Id” and “Client Secret” by clicking on “Details” of your new “Application Account”.
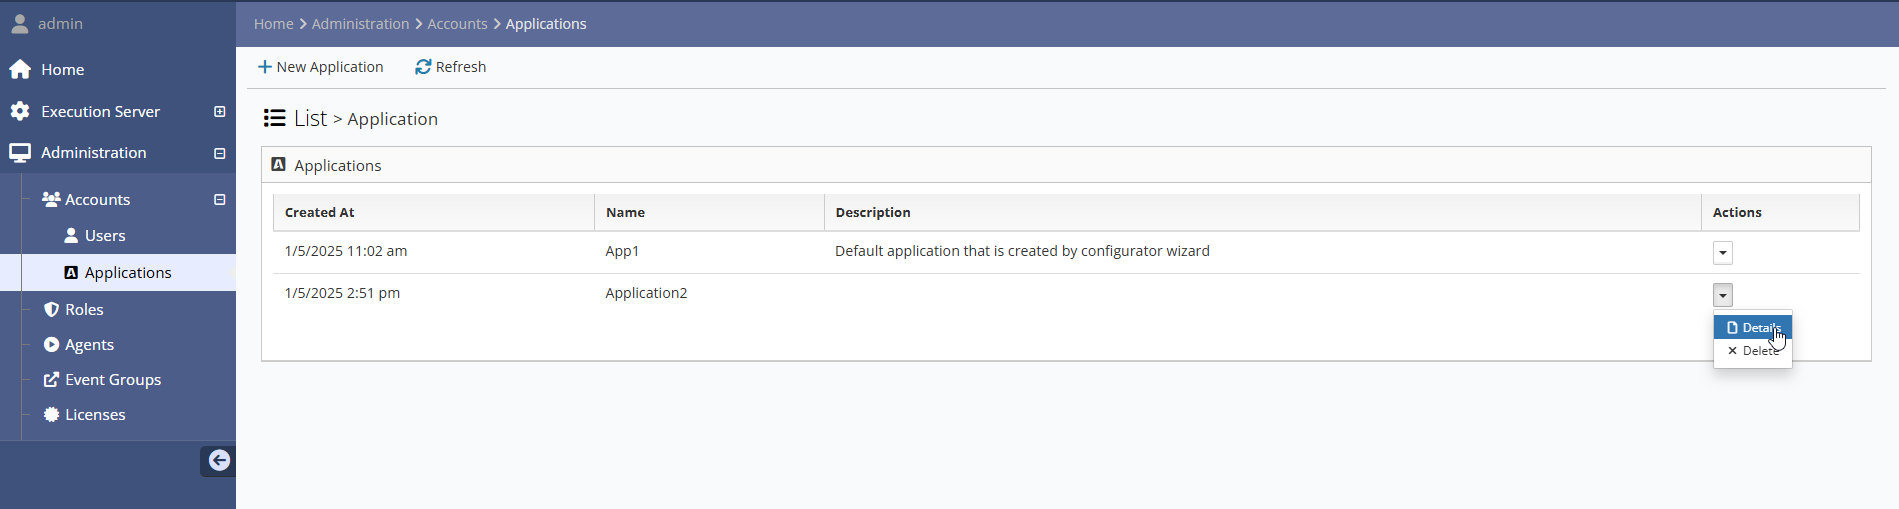
And then navigate to the “Keys” tab.
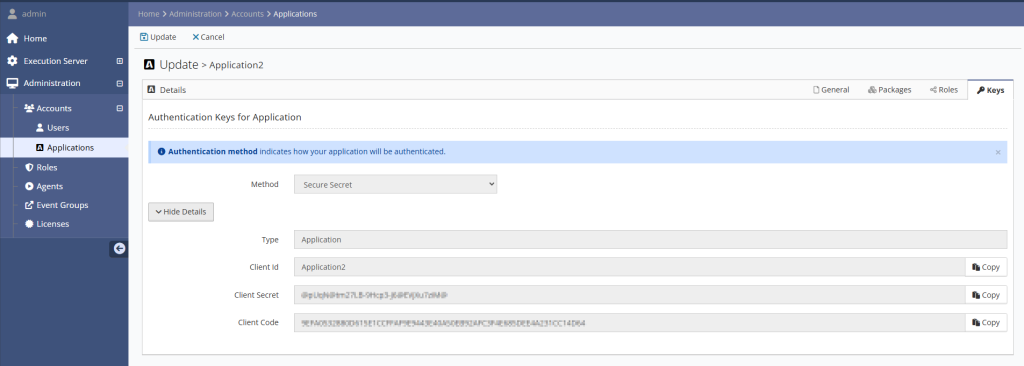
Now everything is set in for FlexRule Server version 10. If you are still having some issues with the migration, please contact FlexRule support with details.